- New
- Popular



How to Import 3D Models and 2D Materials into Your Floor Plan
Homestyler provides an extensive model library for furnishing and decorating your rooms. You can also upload your own 3D models and 2D materials to create more personalized designs. Uploaded models and materials are saved to your personal model library and can be reused across different projects. This guide explains how to select an upload type, upload a 3D Model, use uploaded content, and resolve common upload issues. For file preparation requirements, see: [Homestyler Model Creation Guidelines


- +12
Homestyler Update | All-New "Porch" Feature Now Live: Redefining Outdoor Design
🌟 Feature Overview Homestyler brings you a major technical update — the brand-new Porch tool is officially live! With this feature, you can easily design stunning outdoor porches, corridors, and entrance spaces. - One-Click Smart Generation: Say goodbye to tedious manual assembly. Simply draw the area on the canvas, and the system will automatically generate the 3D porch model. - Fully Parametric Components: Customize every detail with ease. Components such as roof slope, overhang width, column


- +3

Homestyler Update | How to Create and Customize Exterior Balconies
🌟 Feature Overview Easily design realistic outdoor balconies with the Exterior Balcony tool. Featuring auto-generated parametric railings and quick material replacement, balcony design is now more efficient than ever! 🏡✨ 🛠️ Step-by-Step Guide 1️⃣ Step 1: Access the Balcony Design Interface 1. In the left-hand navigation bar, click Build and find the Exterior Balcony icon directly under the "Structure" section. 2. In the pop-up dialog, check the box to select your target floor (e.g., 2F), then cl


AI Animator - Turn any image into a dynamic video
Welcome to the latest breakthrough from Homestyler: AI Animator. ✨ With just a single click, it transforms static images into vivid and engaging dynamic videos. Whether you want to showcase furniture growth, space walkthroughs, or seasonal transitions, AI Animator delivers a cinematic visual experience for you. AI Animator features 7 built-in animation templates to meet your presentation needs across different scenarios: 👇 Growth Animation: Showcases the dynamic process of furniture generating o


Homestyler V6.0 is Newly Launched! Design Faster, Smarter, and More Collaboratively
Homestyler V6.0 is a major milestone release. We’ve upgraded the product across three dimensions—core tools, AI capabilities, and team collaboration—so you can move from inspiration to construction drawings in a single, continuous workflow. On the 3D design side, new parametric components make architectural detailing faster and easier to edit. On the intelligent side, the brand‑new AI Studio unifies all AI features into one place, covering everything from mood exploration and floor‑plan generati


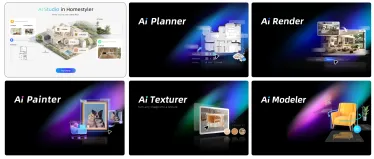
AI Render -- One click rendering of realistic renderings
With AI Render, you can use preset tags or enter your own ideas to transform design models into more realistic renderings, clearly presenting lighting, materials, and spatial atmosphere. From bedrooms filled with morning sunlight to courtyards surrounded by greenery, you can explore different moods and also add people, pets, and accessories to bring more life into the space. Skip complicated rendering settings and spend more time on design and creativity. Entry Location Open the 3D design tool,


- +3

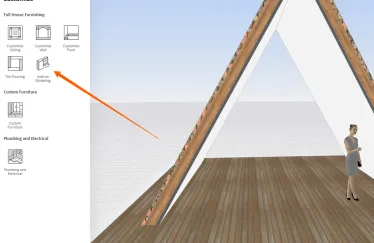
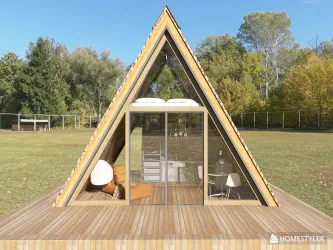
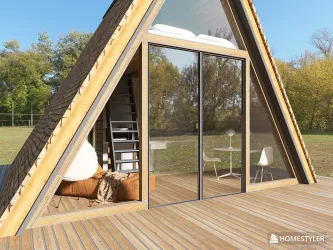
A Frame Tutorial using Interior Modeling
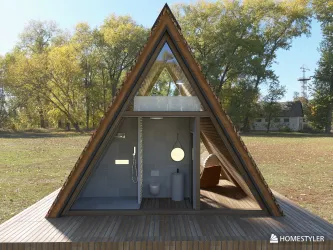
Okay, I have a few beautiful folks ask me how I do an A Frame. It's hard for me explain in writing so I'm posting some videos on how I do it. I would suggest that you have to know at least how Interior Modeling works. It is not so much as you're an expert of this tool, but if you know how to work this tool - it will make your life so much easier because you can create objects and save them as such- and resuse them later on. Your creative life will not be contained in just using the objects that


URGENT: Charged monthly but Order History stuck in 2025 (Account Basic)
Hello Admin. I have been a paying Pro member for months. My bank account is continuously being debited every single month, but my Homestyler account is stuck on "Basic". I checked my Order History page on the website and it hasn't updated since 2025, meaning your payment system is taking my money but failing to apply it to my profile. I have recently purchased the 3D model renewal upgrade as well and am completely locked out of designing and editing. Please check my backend ID and manually map m
URGENT! Purchased 3D Model Upgrade and my account downgraded to Basic
I have been a paying Pro member for months. I recently purchased the 3D Model Upgrade, and your system has glitched and downgraded my core account to Basic. I can see my old designs, but I am entirely locked out of editing. Please manually fix my backend tier mapping. My email was ignored and no reply to my help request My User ID is @Alexandra_paradowska Thank you


Is it possible to create a split level home in homestyler?
I've been trying for multiple days to create a split level home with no luck. The home has 4 levels: basement, entrance level, living room level and bedrooms level I have tried many workaround but none of them work in a way that makes an accurate 2d and 3d designs Any help would be appreciated. Here are some things i've tried. None of them work properly This one i hand modelled the top half of the walls but the floor plane is still there This one, the ceiling of each floor is visible This one th


Items not loading correctly
I have been having problems for the last week or so on the site with decorations not loading properly. The items never fully load or just show as a white object. Also the custom furniture, the kitchen cabinets are not loading correctly. I am looking for a way to upload my picture to show what it is doing. I have cleared my catche, cookies, restarted, made sure no programs are running in the background, tried a differnt computer. I am frustrated at this point. If it is the site I can take a break

Can't decide on a wall paint color? Try it in your room first.
Not sure which wall paint color works best with your furniture? Try it first in Homestyler. In this tutorial, we’ll show you how to use the “RGB” feature to change wall colors and quickly compare different color schemes in your room. If you’re working on wall color matching or comparing design options, this method helps you test base colors more intuitively and improve your color selection workflow. 🔔 Subscribe to Homestyler for more interior design and 3D design tutorials: https://www.youtube.c
How to Quickly Create a Sloped Ceiling
This tutorial demonstrates the workflow for creating a sloped ceiling in Homestyler, including adding a gable roof with beams, adjusting the drop height and slope angle, setting beam spacing, rotating the ceiling direction, and modifying ceiling and beam materials. If you are designing an attic, a pitched-roof space, or want to create more dynamic ceiling designs, this method can help you quickly complete the basic structure and material setup. Material ID : 500000559, 55348486 🔔 Subscribe to Ho

AI Decor User Guide
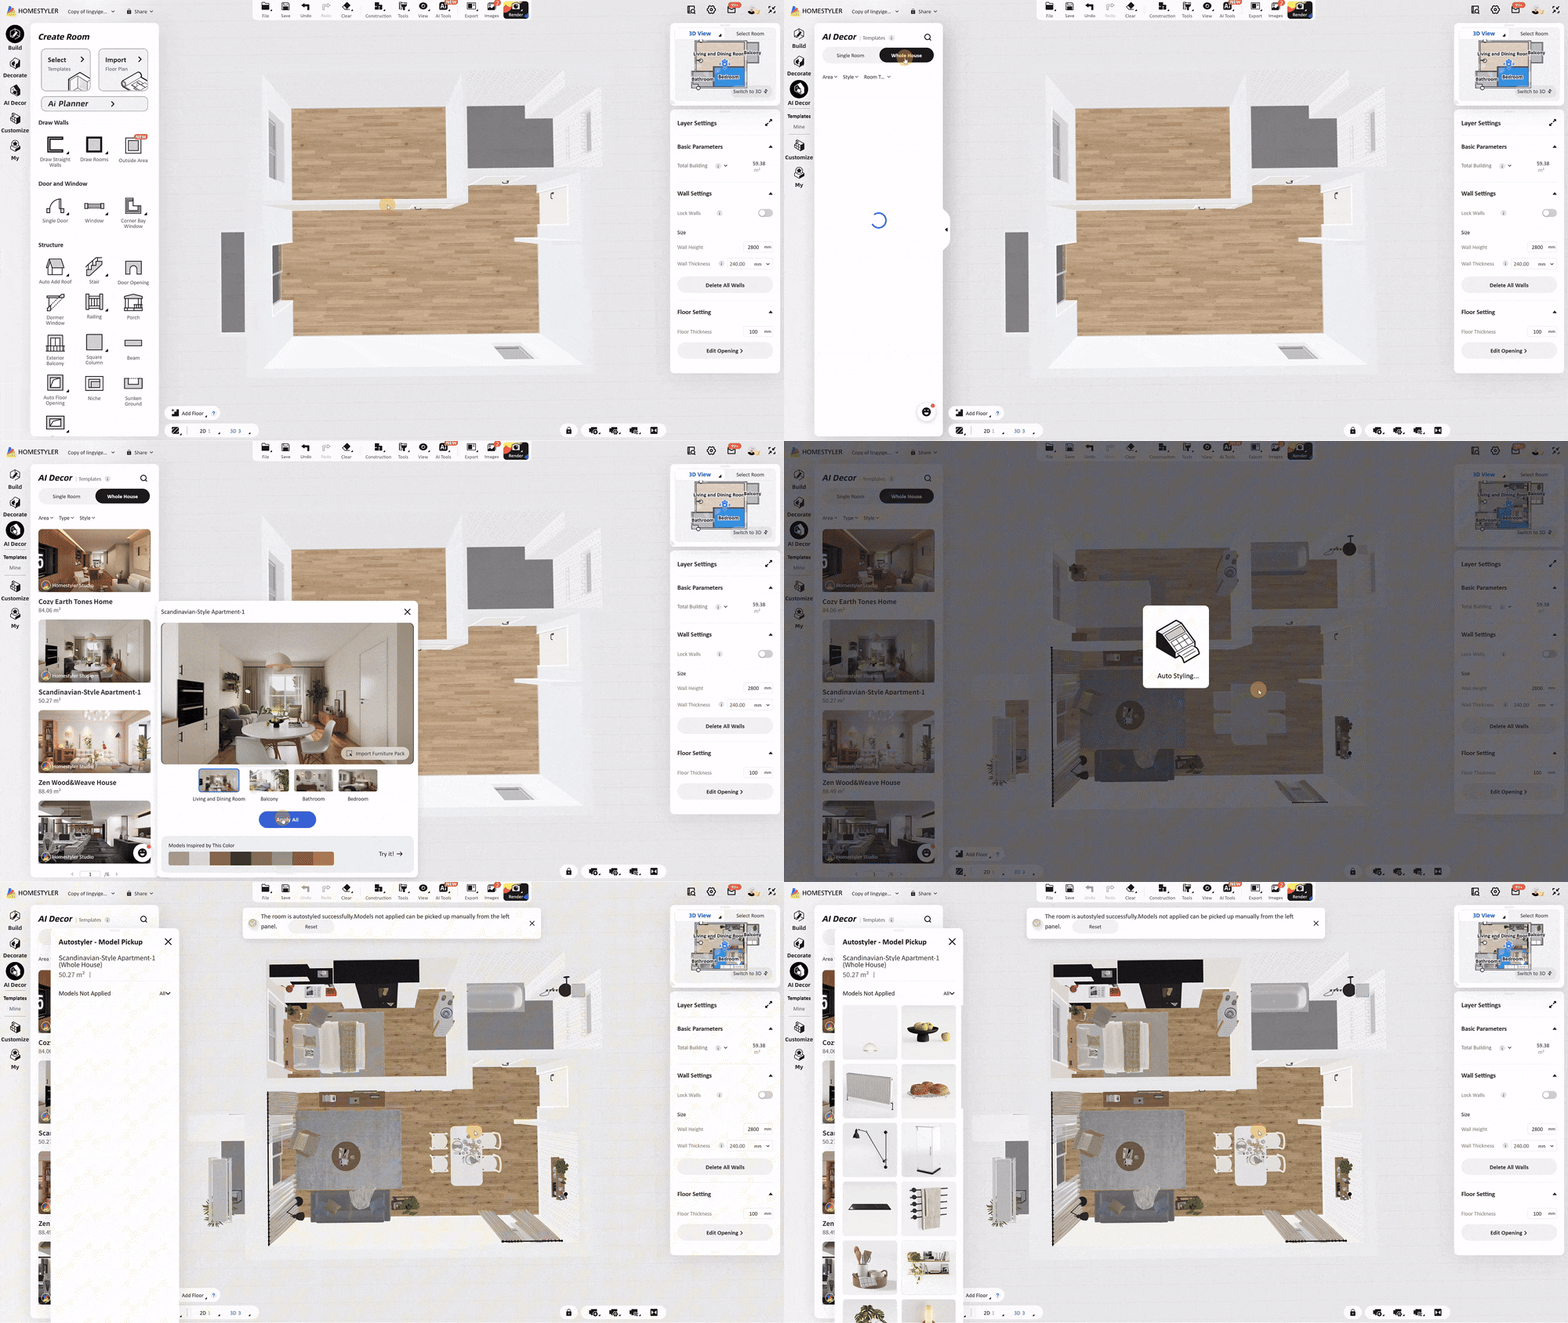
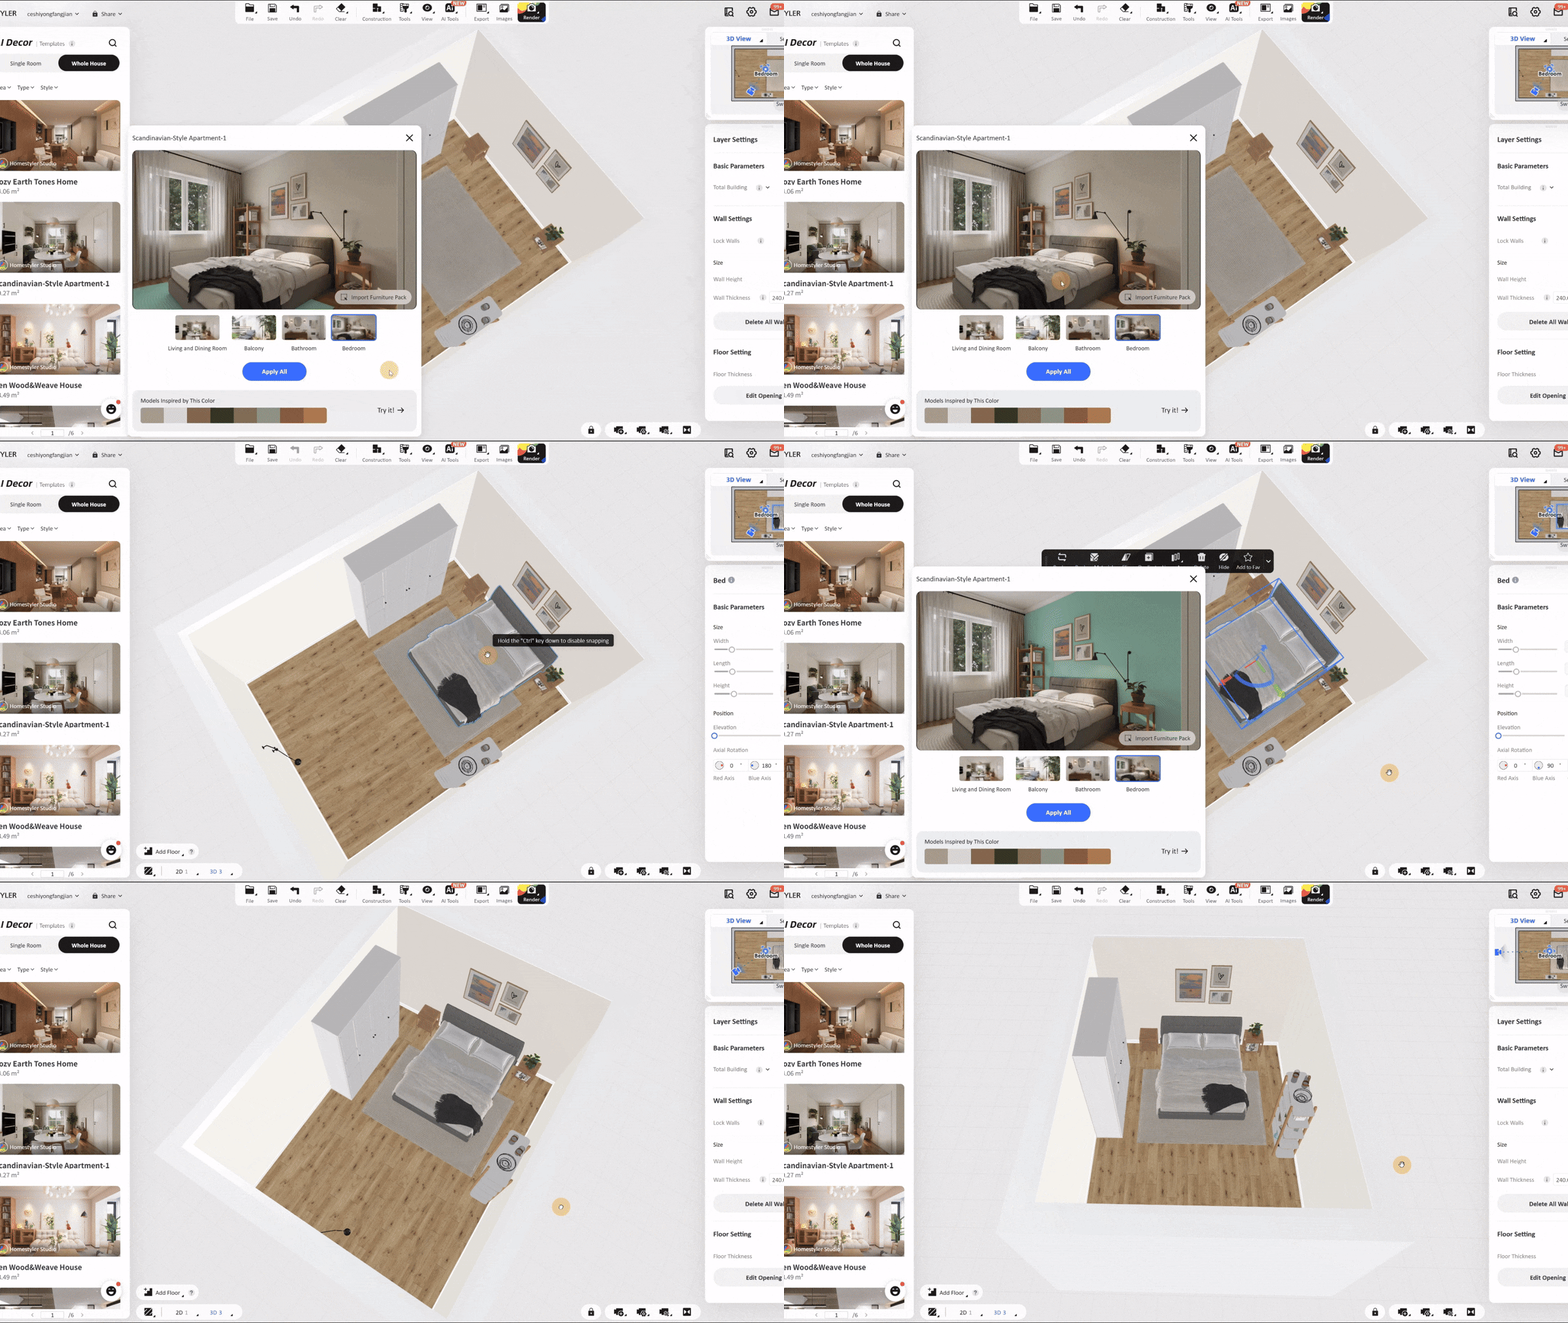
AI Decor helps you quickly apply professionally designed templates to your project. You can add one or multiple models from a template, apply an entire room design, or save your own designs as reusable personal templates. 1. Open AI Decor Click AI Decor in the left navigation bar to open the template panel. AI Decor contains two sections: 2. Browse and Select a Template Under Templates, use the following options to find a design: - Single Room: Browse templates for individual rooms. - Whole Hous


- +8
Build a Japandi-Style Apartment Master Bedroom in 6 Minutes
In this video, we'll guide you step by step through creating a Japandi-style apartment master bedroom. Starting from scratch, you'll learn how to draw the floor plan, apply interior finishes, design the ceiling, and efficiently arrange furniture and decor. Whether you're a beginner or a professional designer, this video is packed with practical 3D design tips and techniques! 👉 Try Homestyler for free: https://www.homestyler.com/ 🔔 Subscribe for more 3D design tutorials! https://www.youtube.com/@

Please cancel my subscription, i dont wanna pay this
Dear Homestyler Support Team, I am writing to request the immediate cancellation of my Homestyler subscription and to stop any future automatic renewals or charges. I would also like to request a full refund for the most recent subscription charge. I did not intend to continue the subscription and would appreciate it if the latest payment could be refunded to the original payment method. Please confirm in writing that: My subscription has been cancelled. No further payments or automatic renewals

help with render aereal and render top view
Good morning From a certain point onwards, everything rendered from a side or aerial view becomes excessively lit, to the point of appearing 'washed out' from too much light, but I don't understand which parameter I changed. Can you help me? Thanks a lot

help with visualisation of objects
Good morning I'm furnishing an apartment with a kitchen and I need to add the range hood to the wall cabinets I've already placed. Homestyler adds the hood but it positions it so that it's visible and editable only on the 'ceiling' layer, while in 2D it's transparent and in 3D it doesn't show at all. What should I do?


problemi di visualizzazione oggetti
buongiorno sto arredando un appartamento con una cucina e devo aggiungere la cappa ai pensili che ho già inserito. Homestyler aggunge nla cappa ma la posiziona com evisibile e modificabile solo sul piano "soffitto" mentre in 2D è trasparente e in 3D non sivede proprio. Come devo fare? grazie mille a chi mi vorrà aiutare


Помощь
Здравствуйте, служба поддержки Homestyler! Я хотел бы запросить возврат средств за недавнее списание оплаты в связи с автоматическим продлением подписки. Я не планировал продлевать подписку и не пользовался платными функциями после того, как с моего счета были списаны деньги. Пожалуйста, отмените мою подписку и верните средства на тот же способ оплаты, который использовался при покупке. Дата списания: 02.09.2026 Мой email: olgavlasenkova6@gmail.com Валюта и сумма списания: 1814,69 рублей
Помощь
Здравствуйте, служба поддержки Homestyler! Я хотел бы запросить возврат средств за недавнее списание оплаты в связи с автоматическим продлением подписки. Я не планировал продлевать подписку и не пользовался платными функциями после того, как с моего счета были списаны деньги. Пожалуйста, отмените мою подписку и верните средства на тот же способ оплаты, который использовался при покупке. Дата списания: 02.09.2026 Мой email: olgavlasenkova6@gmail.com Валюта и сумма списания: 1814,69 рублей

I didn't manage to turn off the subscription auto-renewal because I don't plan to use the service anymore. The money was charged. Please issue a refund.
I didn't manage to turn off the subscription auto-renewal because I don't plan to use the service anymore. The money was charged. Please issue a refund.
Build a Japandi-Style Apartment Living and Dining Room in 7 Minutes
In this video, we'll guide you step by step through creating a Japandi-style apartment living and dining room. Starting from scratch, you'll learn how to draw the floor plan, apply hard furnishings, design ceilings, and efficiently arrange soft furnishings. Whether you're a beginner or a professional designer, this tutorial is packed with practical 3D design tips and techniques! 👉 Try Homestyler for free: https://www.homestyler.com/ 🔔 Subscribe for more 3D design tutorials! https://www.youtube.c


