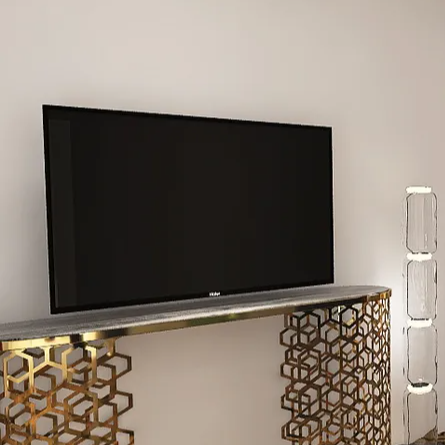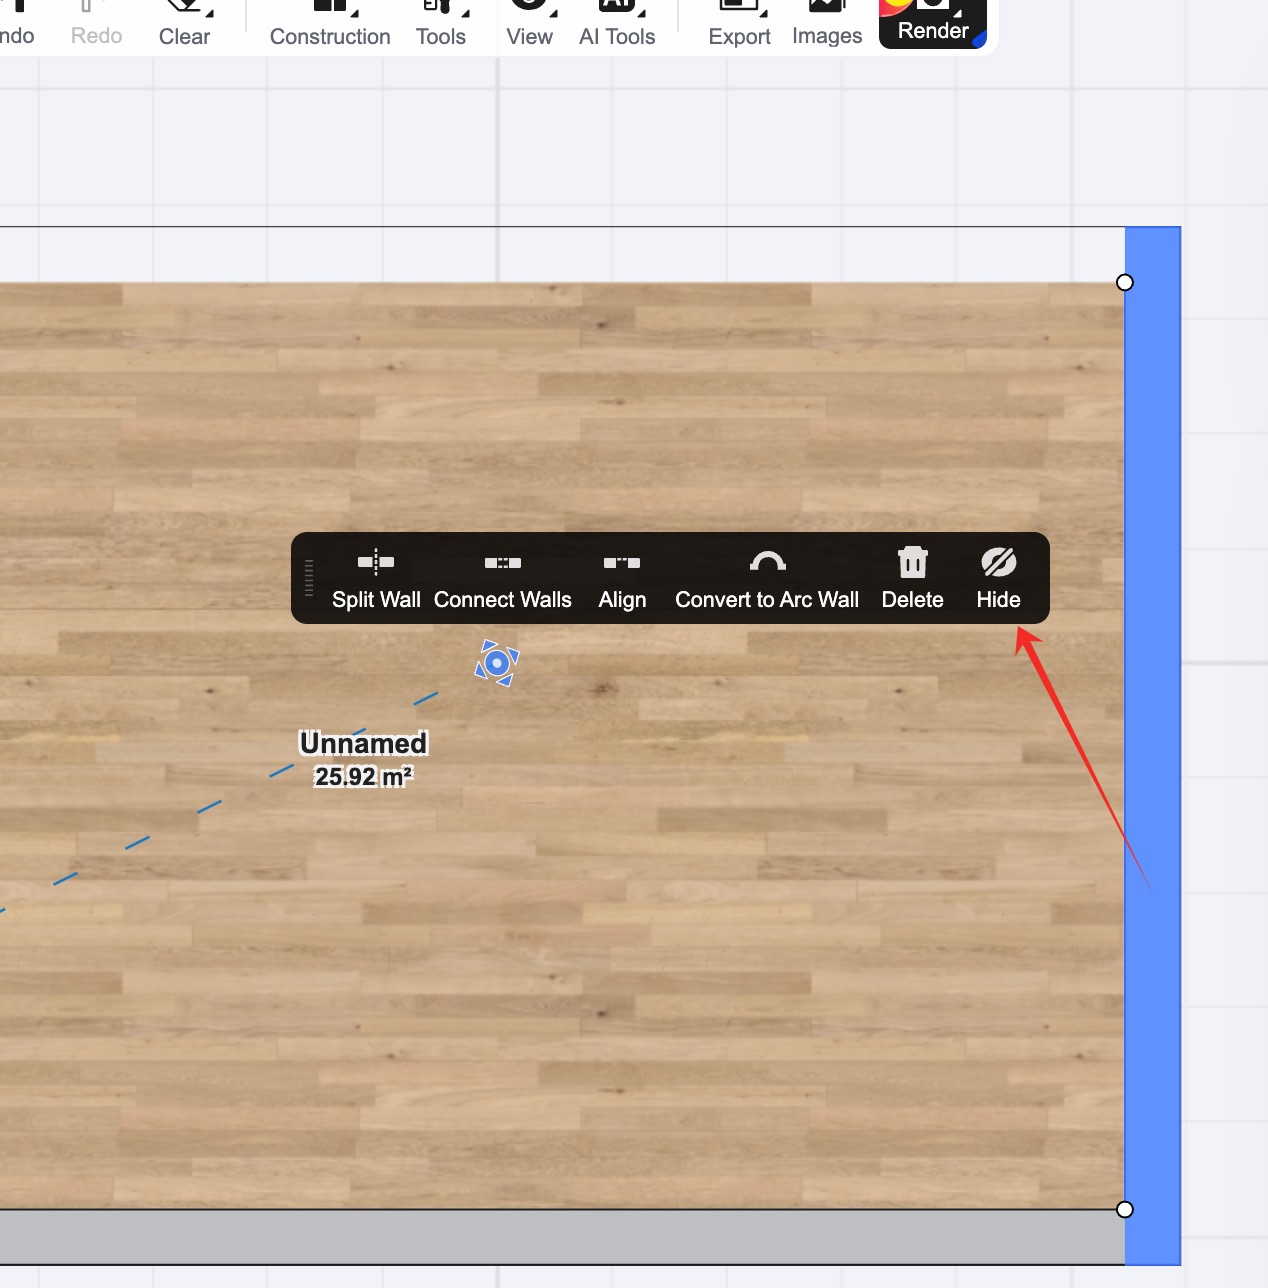
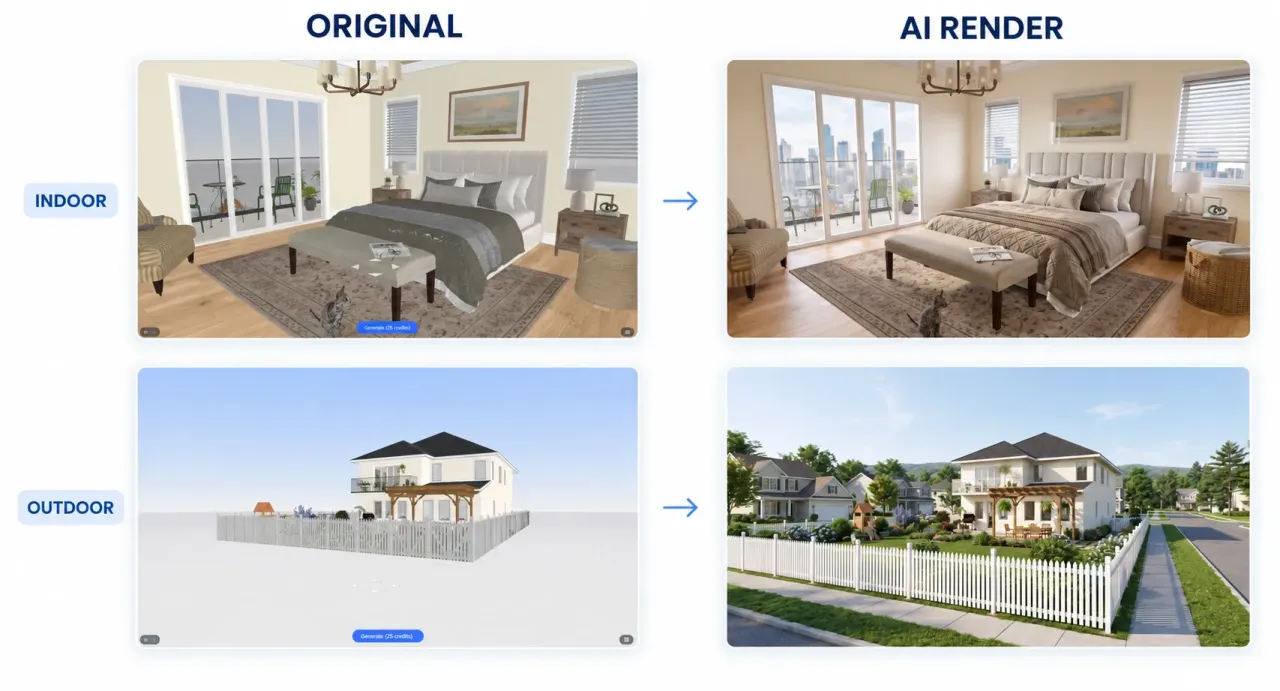
With AI Render, you can use preset tags or enter your own ideas to transform design models into more realistic renderings, clearly presenting lighting, materials, and spatial atmosphere.
From bedrooms filled with morning sunlight to courtyards surrounded by greenery, you can explore different moods and also add people, pets, and accessories to bring more life into the space. Skip complicated rendering settings and spend more time on design and creativity.
Entry Location
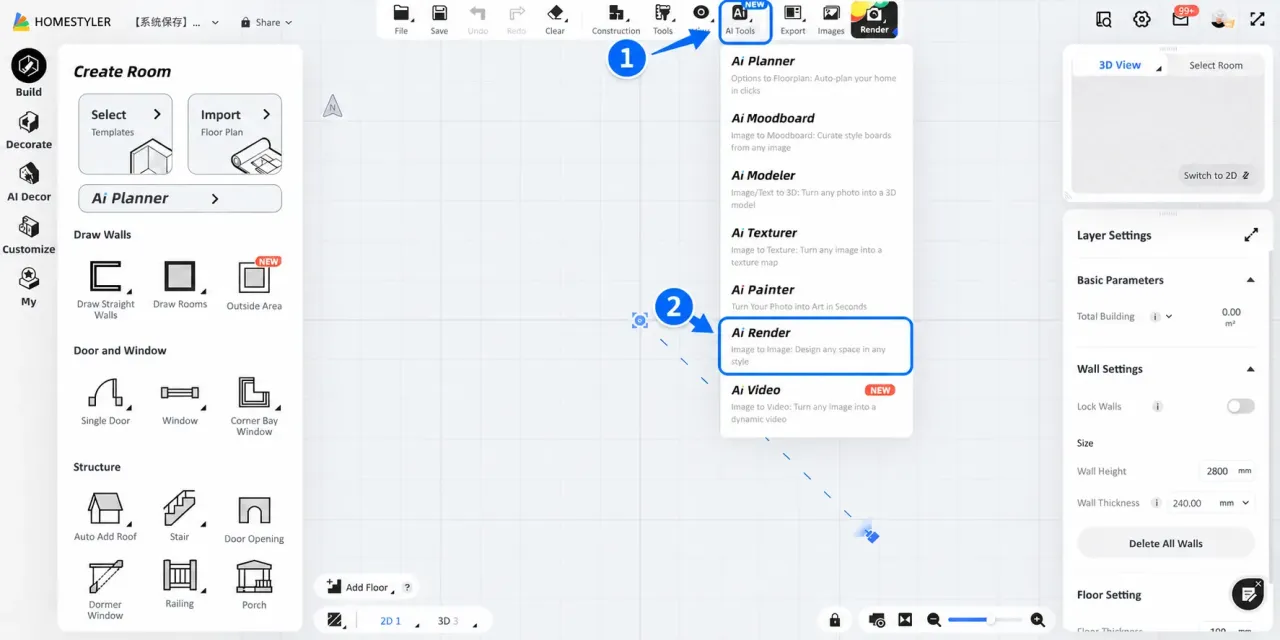
Open the 3D design tool, find AI Render under AI Tools at the top of the page.
Choose a Template
AI Render provides two prompt templates: Interior and Outdoor. Select "Interior" when displaying indoor spaces or creating annotation images; select "Outdoor" when displaying building exteriors or outdoor environments.
Under the Interior template, presets are further divided into Atmosphere Presets and Annotation Presets.
- Atmosphere Presets: Used to quickly set the overall effect of the space, such as lighting, outdoor scenery, and scene richness.
- Annotation Presets: Used to generate annotation images for elements such as lighting and furniture.
How to Use the Interior Template
Step 1: Add Prompt Descriptions
First use preset tags to build the overall tone of the scene, such as lighting, outdoor scenery, and scene elements. Selected tags will be automatically added to the Prompt; click a selected tag again to deselect it, or switch to other tags. If you have personalized needs, you can directly add descriptions in the input box.
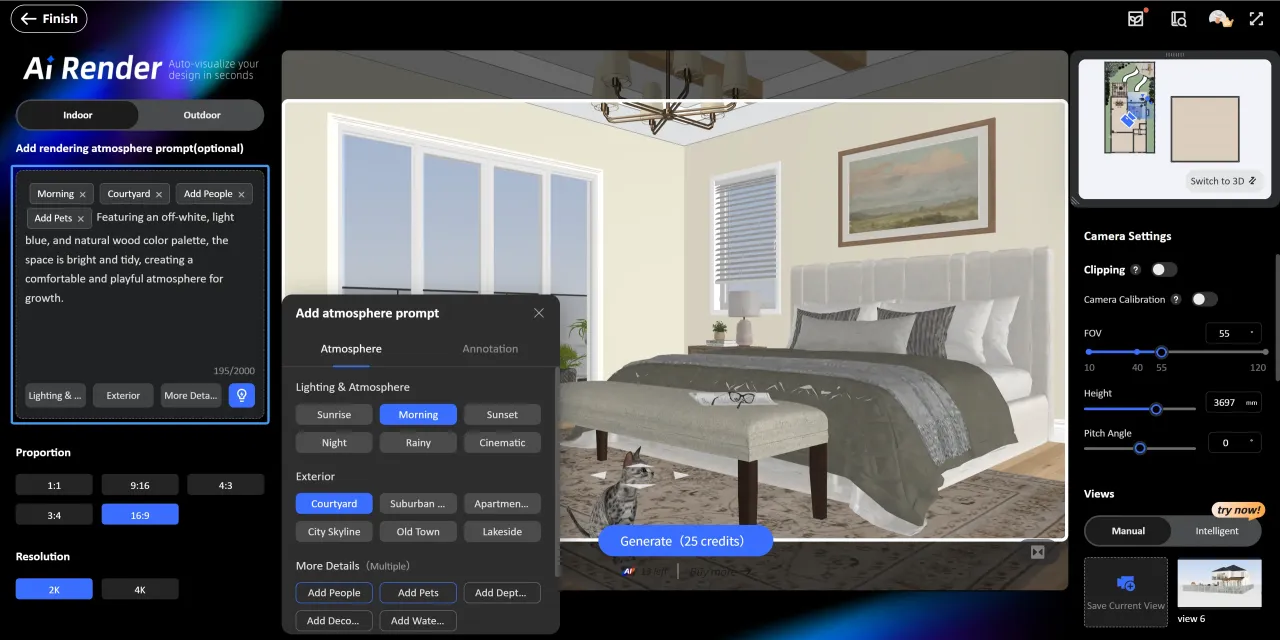
Step 2: Adjust Camera Angle, Aspect Ratio, and Resolution
Use keyboard shortcuts and the mouse to adjust the camera position and viewing angle:
- W: Move Forward
- S: Move Backward
- A: Move Left
- D: Move Right
- Q: Move Up
- E: Move Down
After confirming the view, choose an appropriate aspect ratio and rendering resolution.
If walls block the camera view, enable Clipping and adjust the Clipping Depth to reveal the space you want to display. During adjustment, check whether furniture and floors remain complete to avoid accidental clipping.
Tips: Click Save Current View to save the current camera angle for future rendering with the same composition.

Step 3: Click Generate
Click Generate, consume the corresponding credits, and wait about 1 minute to generate the rendering. (2K: 25 credits; 4K: 35 credits)
How to Create Annotation Images
Under the Interior template, switch the prompt preset to Annotation. AI Render provides three style options: Realistic, Watercolor, and Line Art; and two annotation types: Lighting and Furniture, both supporting multiple selections.
Note: Using Annotation Presets will clear the Atmosphere Preset prompts.

Outdoor Template Notes
Outdoor mode is suitable for presenting building exteriors, courtyards, and landscapes. First adjust the camera and determine the position of the building in the frame, then set the surrounding environment through prompts, and finally click Generate.
Presets Available in Outdoor Mode:

Note: Outdoor mode does not support annotation image generation. To create furniture or lighting annotation images, switch to Interior mode.
Tips
Q1: How can I ensure materials render correctly?
AI will reference the colors and textures in the model during rendering, so first ensure the model material settings are accurate. For important materials, you can add specific descriptions in the prompt.
Q2: How can I render an empty room into a fully furnished room?
In the prompt, describe the room's style, function, colors, materials, furniture arrangement, and overall atmosphere as clearly as possible.
Example:An American-style children's bedroom with a warm and natural overall feel, featuring an off-white, light blue, and natural wood palette. It includes a wooden kids' bed, desk, storage cabinet, and a soft rug. The space is bright and tidy, creating a comfortable and playful atmosphere for a child's growth.

Q3: Do I need to manually enter prompts?
No. For common scenarios, you can directly use preset tags; for special needs, you can manually enter text descriptions.
Q4: How can I generate different atmosphere effects from the same view?
First adjust the camera and save the current view, then you can reuse the same view repeatedly.