When you enter Homestyler Floor Planner, you will see an interface like this. The interface can be divided into five parts.
1 .The central canvas
2 .The left catalog
3 .The top toolbar
4 .The right property panel
5 .The bottom toolbar

1.【The Central Canvas】This is where you draw floor plans and decorate the rooms.
You are able to zoom in and out with your mouse curser. In addition, in 3D view you are able to move around by clicking on the four arrows on the bottom of the screen, and look around by clicking and dragging the left button of your mouse. Alternatively, we also provide hotkeys W, S, A, D, or the four arrows on the keyboard for a more spontaneous walk-through manipulation.
2.【The Left Catalog】There are five modules in the left catalog area - Create Room, Customize, Autostyler, Model Library, and My Folder.

2.1 Create Room
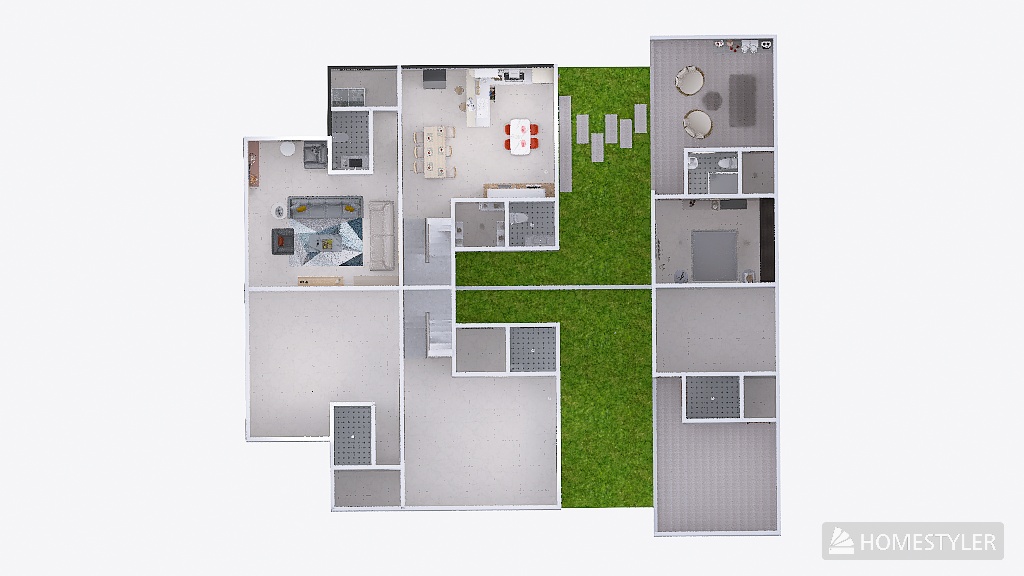
2.11 You could create rooms by opening a template design, importing a floor plan as image or CAD file, or directly sketch the floor plan.

2.12 Draw single walls by center or by edge, or directly draw rooms.

2.13 Add different types of doors and windows, and add building structures like openings, beams or columns.

2.2 Customization
2.21 Full house furnishing & Interior Modeling
Full house furnishing: In this section, you could customize ceiling, wall or floor, as well as tile flooring.
Interior Modeling: Similarly to SketchUp, you could use it to do 3D modeling and create building structures or even furniture due to your needs.

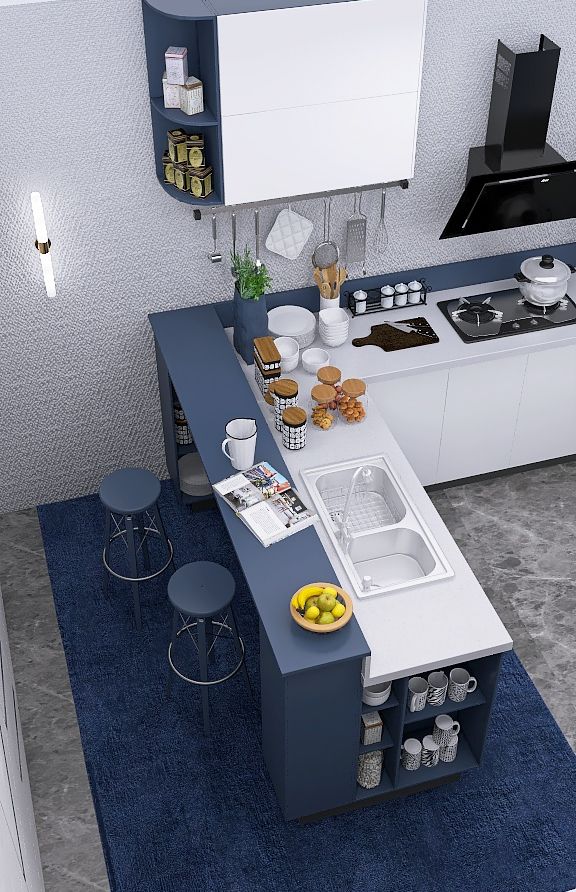
2.22 Custom Furniture allows you to easily customize kitchen cabinets, wardrobe and shelves with our furniture and parts catalog.

2.3 Autostyler
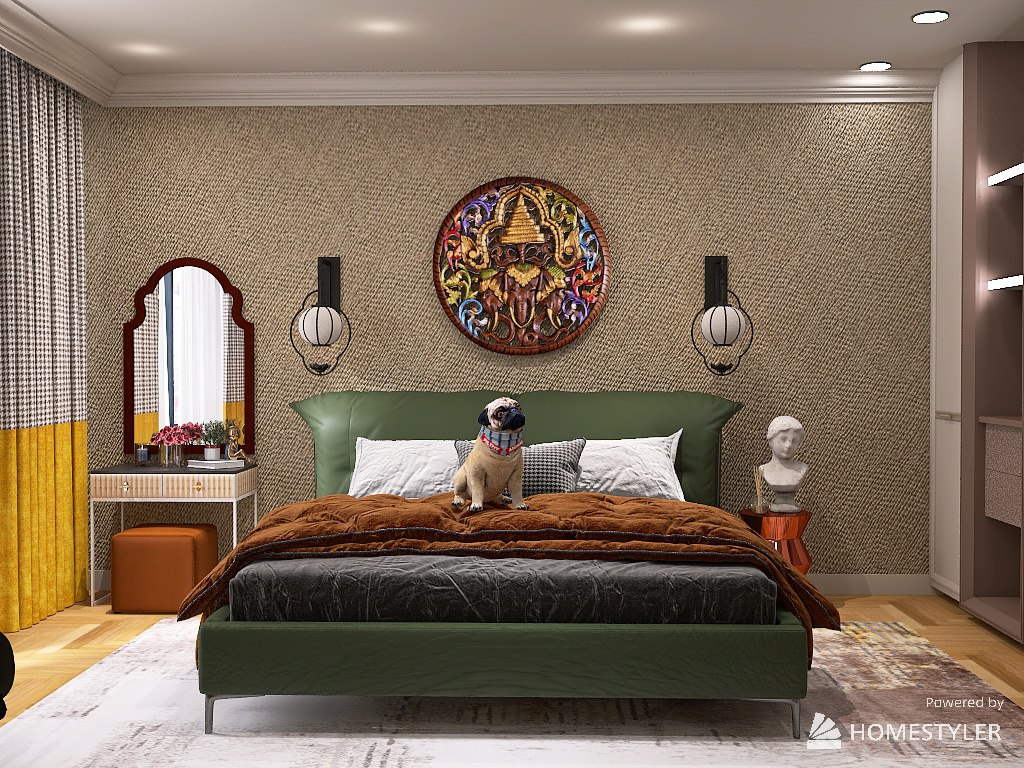
Autostyler decorates the rooms for you based on the template you choose. After you created rooms, click "Autostyler" and select a satisfactory project to apply. You could choose to apply the whole house design, or a single room design to your rooms. After applying, you can also adjust the position or size of the furniture to make it more suitable for your room.
2.4 Model Library
2.41 Trends: weekly updated trending model collections and packages, both free and paid, and some can be redeemed with Homestyler points.

2.42 Structure/Catalog/Finish: You could find over 100,000 models and materials in the Homestyler model library, like building elements, floor and wall paint, furniture in different kinds of spaces, plants and animals, exquisite home decoration, etc.

2.43 AI Fabric: It stimulates the curtain waving and fabric falling effects automatically. By placing the curtain nearby the window, you could click "wind blow" to make it wave. By placing throws or beddings above the furniture, you could click "place down" and drop the cloth onto the furniture.

2.44 Brands: View models from hundreds of real brands.
2.5 My Folder
In the "My" folder, you could find My Favorites, My History, My Uploads and My Unlocked.
My Favorites: You could find models that you collected here. You can also manage the fav groups
My History: You could find 3D models and materials that you recently used in this folder.
My Uploads: You could find your own uploaded 3D models and images in this folder. You can also find the customized models you made with Interior Modeling and the grouped models in Model Combination.
My Unlocked: The model collections or packages that you purchased or redeemed with points.

3.【Top Toolbar】Accessibility for project files, common tools and entry to render and export
3.1 Top left corner:
Quick project management entry: allows you to quickly name the project, and set the project's public/private status.

3.2 Top middle part:
Common toolbars including operation settings, material brush, tools drop-down menu, hidden and view, export and render.
3.3 Top right corner:
Fast access to Preferences, Help and Inbox.
Preferences: Click the settings icon, you can set your drawing operation preferences, as well as the unit of measurement.
Help: When you encounter problems, you can click the "Help" button to open the beginner's guide, view the tutorials or visit help center.

4.【Right Property Panel】In the property panel, you can select different objects like furniture or finishes, and then you could set parameters of basic properties or style properties to meet your custom needs.
4.1 Room Navigation Viewport:
Quickly switch rooms by clicking on the floor plans of different rooms. You can also switch to single room mode to focus on a single room, which relieves the burden on your browser and improves your design efficiency.

4.2 Property Panel:
When a material is selected, the parameter details such as size modification and angle rotation corresponding to the material will appear. When no object is selected, the relevant properties of the room wall will be displayed.

5.【Bottom Toolbar】 Add and manage multiple floors, adjust the views and display mode, and adjust camera settings
5.1Manage floors, switch levels and stair display settings
· The stairs icon: Add or delete floors or basement
· The selection box: Switch the current floor level, so that you could draw rooms and decorate on each floor separately
· The checkbox: Set whether to show all floors or display each floor separately

5.2 Switch between different display modes and 2D/3D views
·Switch between different display modes (material, wireframe or transparent)
·Switch between 2D (Plane, RCP or Elevation) and 3D (3D and Roam) views
5.3 Adjust the height and view angle, and save the views for reuse. And you could find the saved views in the rendering interface.

After learning this tutorial, you will get a basic understanding of Homestyler. Next, let us create a room!
Now let us proceed to the next tutorial of our Learning Path:
Other posts for beginners: