After creating the rooms, you could now start to decorate the rooms:
1.Design the interior finishes and add moldings
2.Pick up desirable models
3.Move, adjust and scale models
1.Design the interior finishes and add moldings
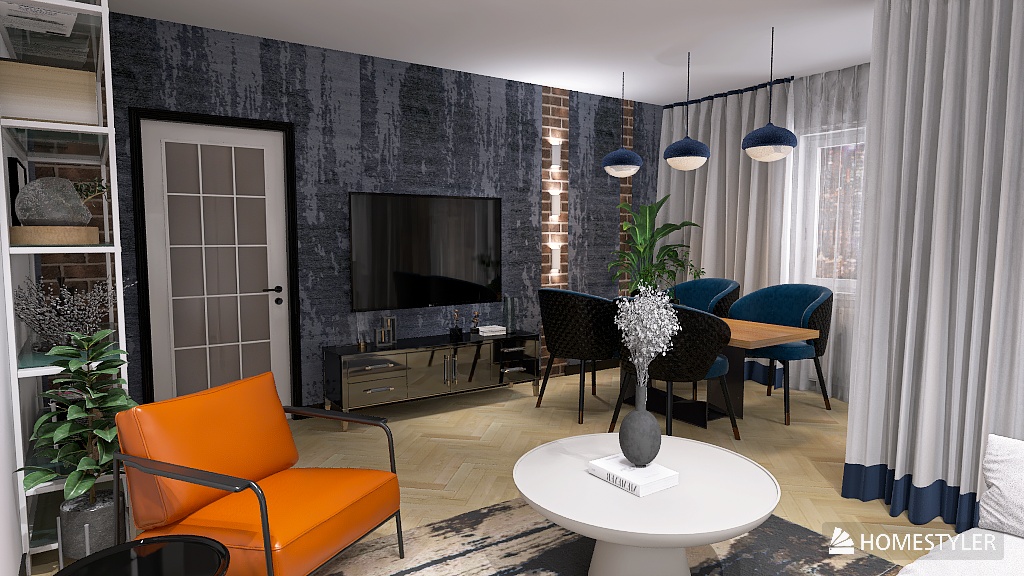
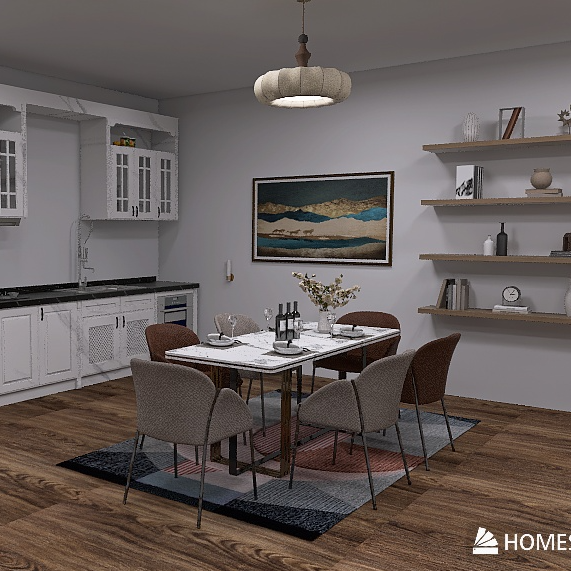
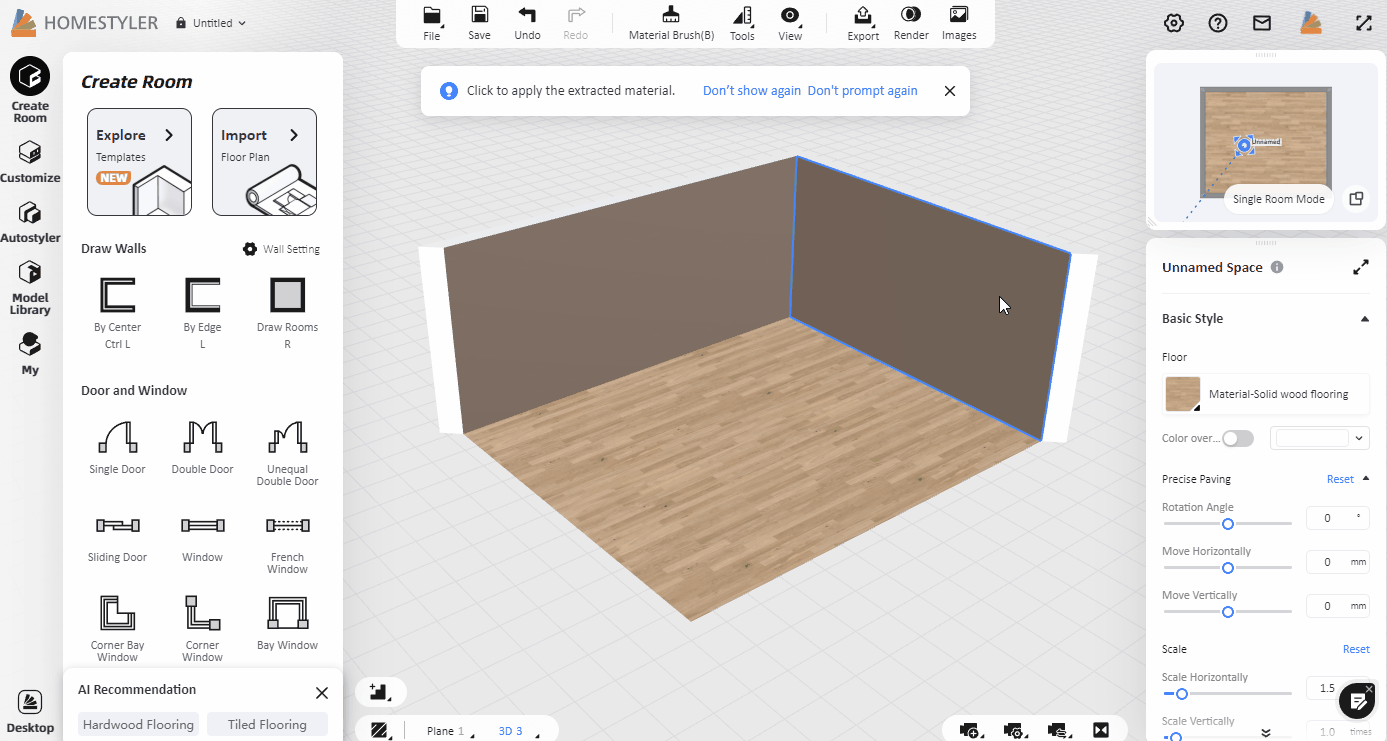
1.1 After completing the room drawing, switch to the 3Dview (shortcut key: 3), we can see that the wall, ground and ceiling of the room are all system default materials. Click on any surface and click "Replace" to change the material. If we need to apply the same material to other surfaces, we can select the material brush on the top, extract the material and apply it to other surfaces.
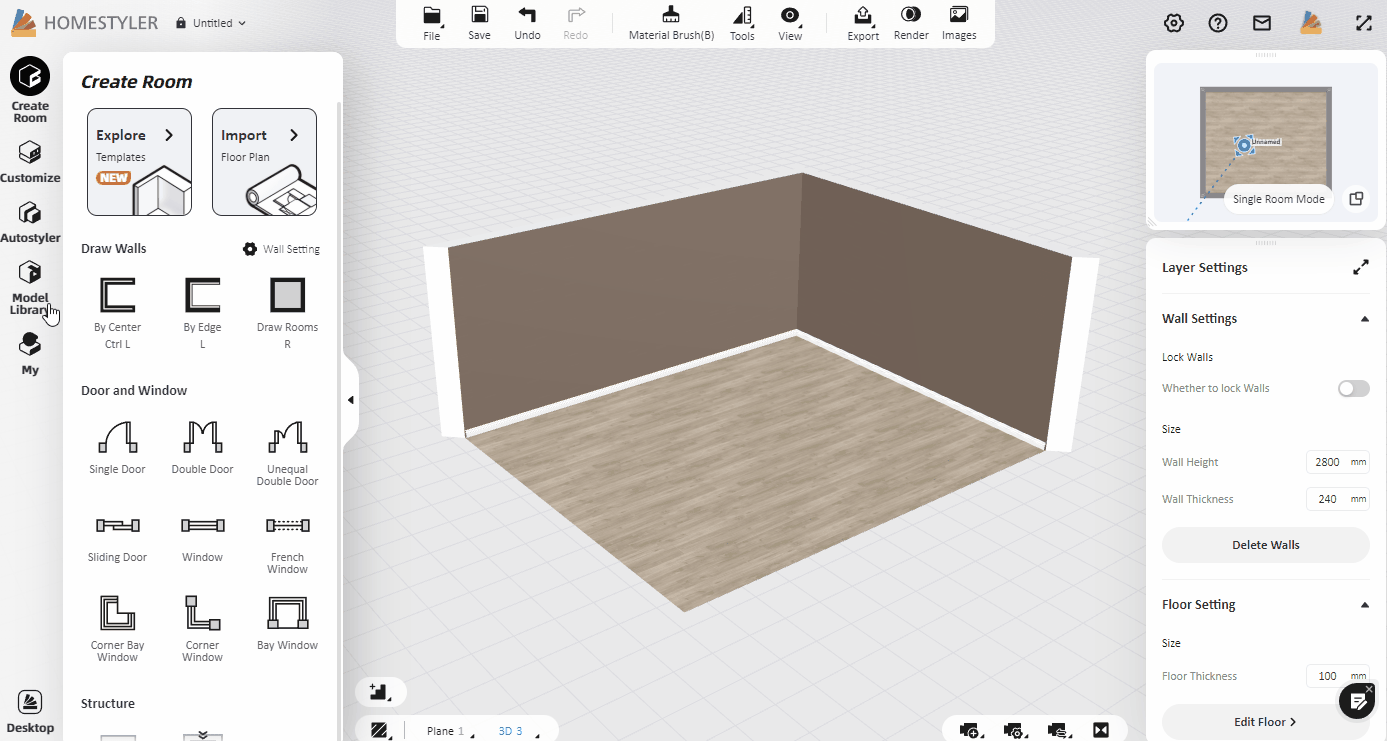
1.2 After the material is replaced successfully, you can add baseboards to the wall. Select the wall of any room in the 3D view, and switch on the "Baseboard" option on the right. We can then replace the material of the baseboard on the right. After the replacement, you can click "Apply to the current room" or "Apply to all rooms".
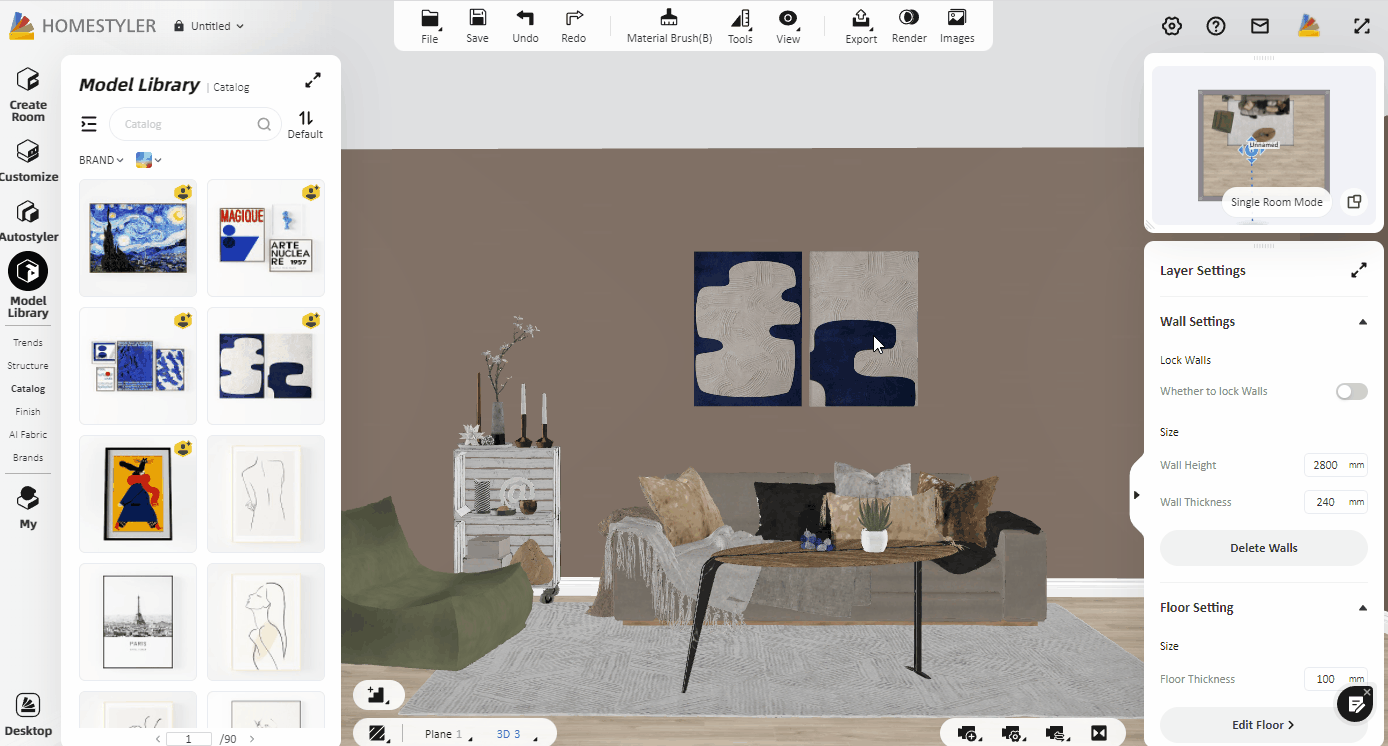
2. Pick up desirable models
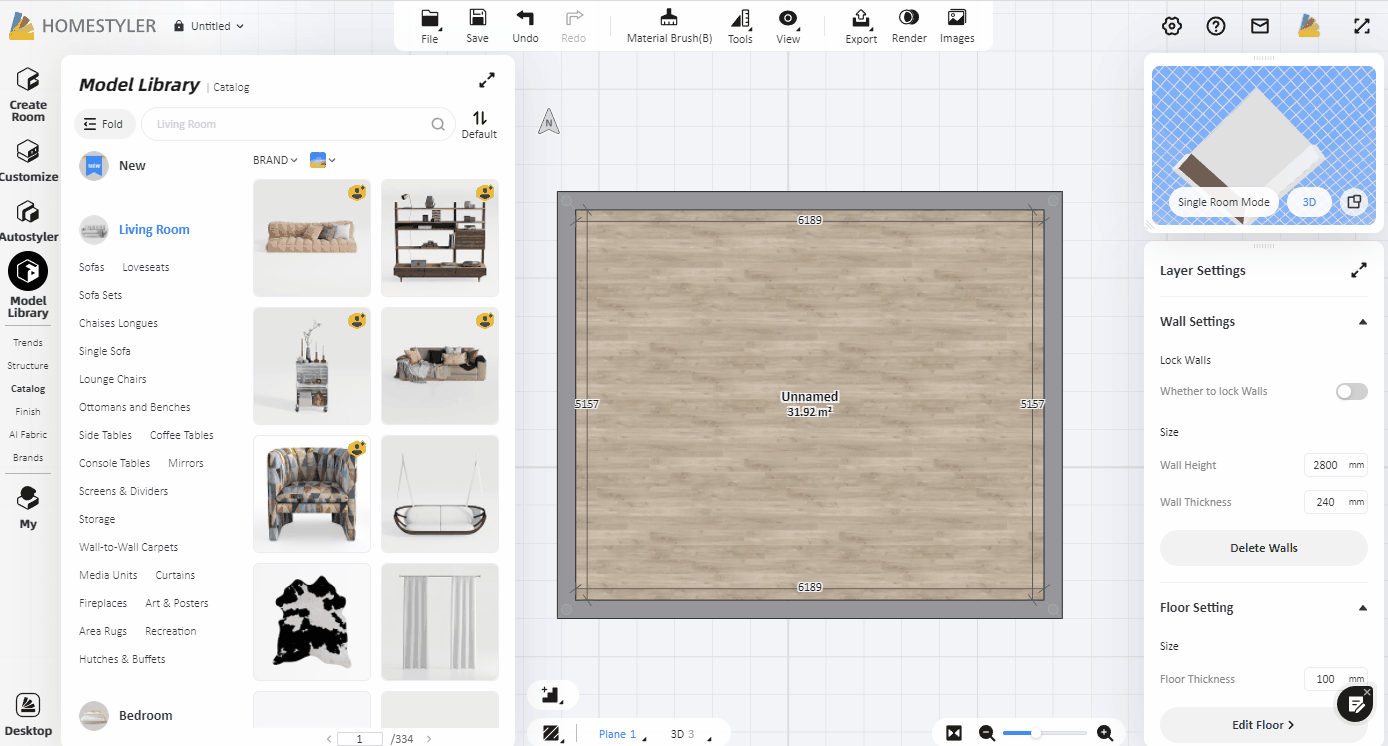
2.1 There are over 100,000 3D models and textures in the Homestyler model library, 90% of them are free. There are also paid premium models and model collections that can be redeemed with points. You can choose the model according to your needs. (At the same time, you can upgrade to our styler membership to enjoy a free pass to all models. Click the link to learn more:https://www.homestyler.com/pricing/resources)

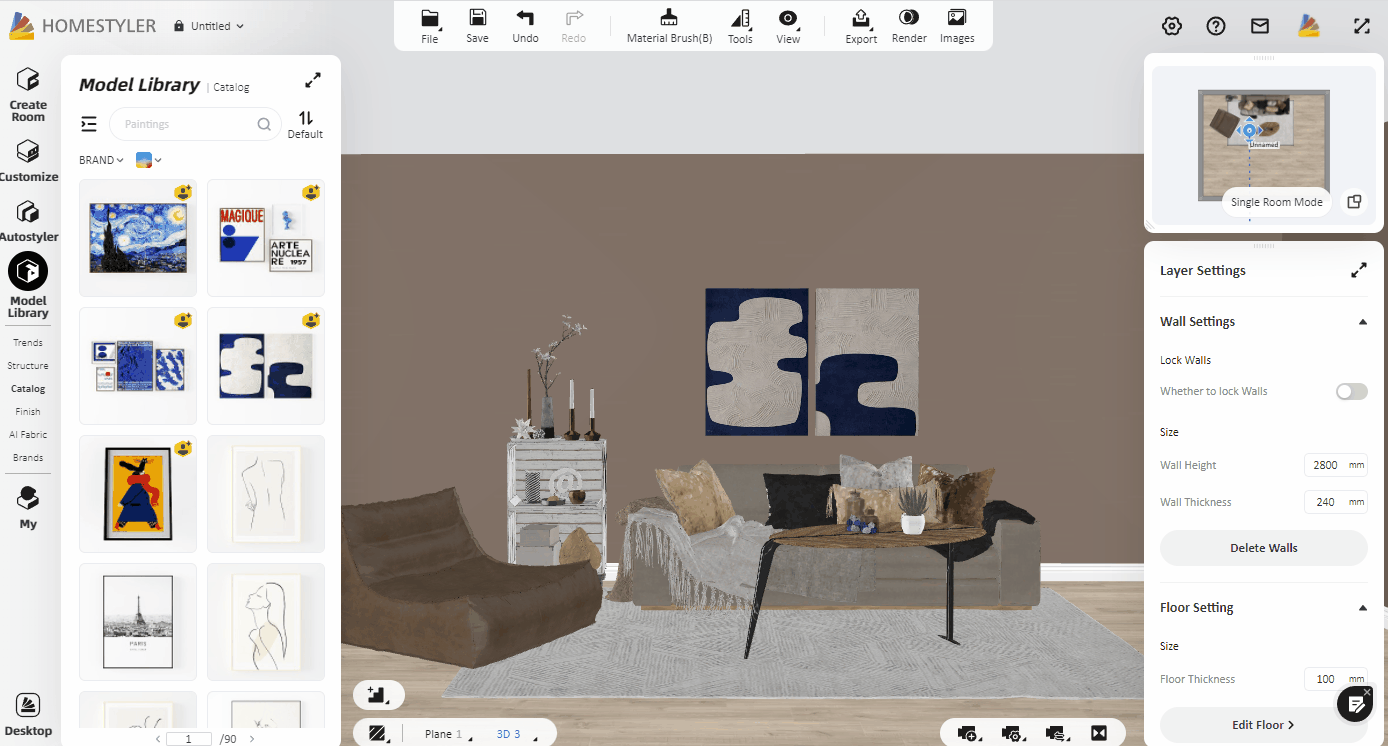
2.2 Click Model Library on the left side of the interface. Then you can choose the model category to pick the model you need. When selecting a model, Click the "collapse/fold" button and you can search for models while switching categories.
2.3 Above the model library list, we can see that there are search functions and color filters.
When you don't know which category the model exists in, you can choose search keywords to find the model you need.

2.4 Click the Color filter, you can quickly filter models of different colors in the current category.

2.5 When browsing the model, you can always click the "Favorite" button in the upper left corner of the model to add it to "My Fav" and save the model for next use.

2.6 How to find the collected model: Enter the "My - Favorites" catalog and you will find them. You can also find models that you have recently used under "My - History" and find your own uploaded 3D models and images in "My - Uploads" catalog.

3.Move, adjust and scale models
3.1 Position Movement and Size Adjustment
1) After selecting the model, drag the model and drop it into the room for placement.
2) Switch to 3D or Roam view (shortcut: 3/4) to view the 3D effect of the model. At this time, when the model is selected, the three-color axis will appear on the model. So you can adjust the position of the model up, down, left, right, front, and back by dragging the arrows.
3) When you select a model in 3D view, there is a "Scale" function in the drop-down box of the "Move" function, which allows you to quickly adjust the size of the model by dragging. At the same time, you can also precisely adjust the size and angle of the model and the height from the ground on the right property panel by typing in the value. (Note: Some models need to unlock the size on the right before you can adjust the size)
3.2 Replace Model
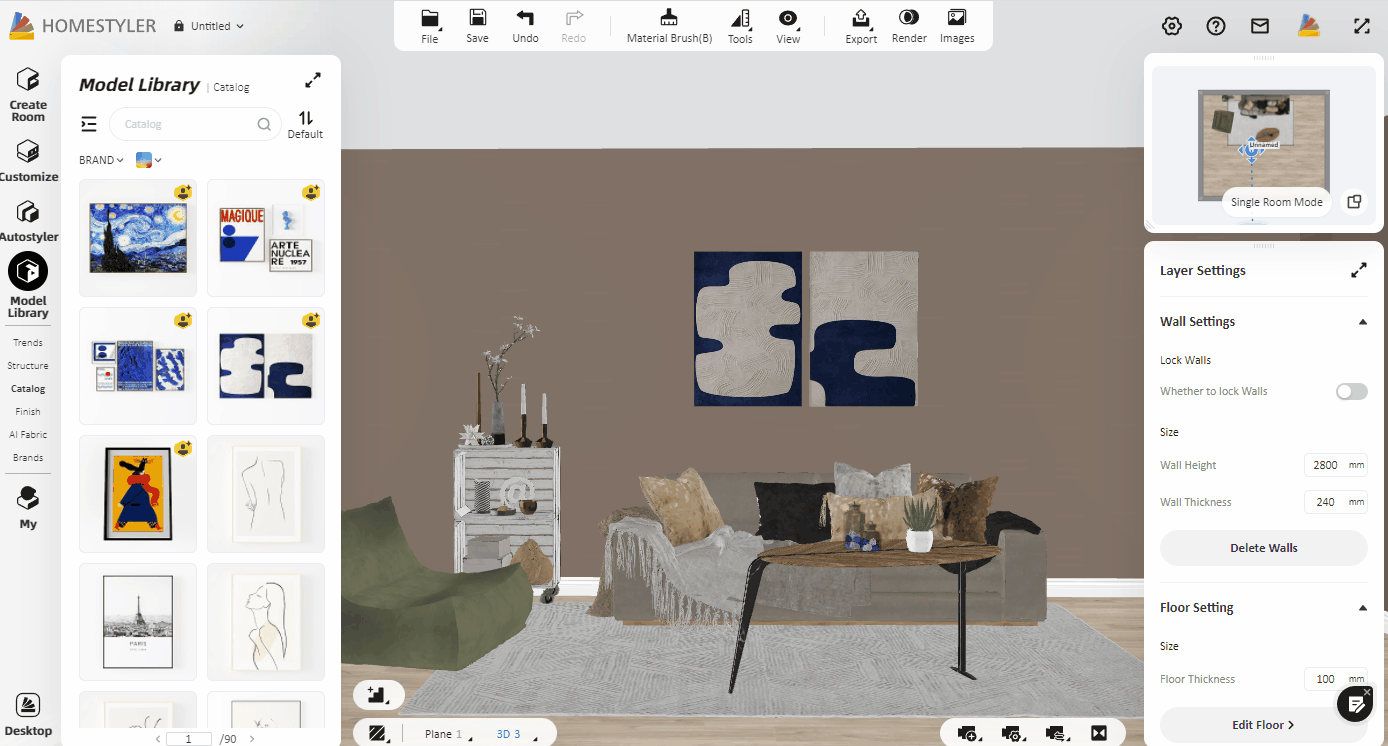
Select a model and click "Replace", you could replace the current model directly by selecting a new model.

3.3 Replace material for models
Select a model and click "Replace Material", you will enter the material replacement interface, where you could replace the materials as you wish.
3.4 Flip and duplicate models
1) Select a model and click "Flip", you can flip the model left and right.

2) Select a model and click "Duplicate", you can duplicate multiple models in the scene.

3.5 Lock, hide and delete models
1) After selecting the model and clicking "lock", the model will be frozen and will not be moved, preventing misoperation during the design process. To unlock it, select the locked model and click "Unlock".
2) Select a model and click "Hide", then this model will be hidden. Then you will not see the model in the design scene and it will not appear in the rendering. If you need to display the hidden model, click the view above to display the model. (Hide shortcut key: com+h, show hidden shortcut key: com+shift+h)
3) When you do not want a model to appear in your design scene, select the model and click "Delete" to delete it. You can also directly press the "Backspace" or "Delete" key on your keyboard when selecting a model.

So far, we have learned 80% of the knowledge. Next, we are about to do the final operation - render beautiful images!
Now let us proceed to the next tutorial of our Learning Path:https://www.homestyler.com/forum/view/1486265087243472897