Documenting your floor plan design is crucial for showcasing your creations, maintaining a portfolio, or presenting to clients. Whether utilizing a dedicated floor plan software or another design tool, the process usually comprises a few simple steps. In this guide, I will explain how to efficiently capture a screenshot of your floor plan using Homestyler.
Step-by-Step Instructions for Capturing Your Floor Plan Screenshot
Follow these straightforward instructions to take a screenshot of your floor plan design:
Enhance Your Screenshots with These Tips
For more polished and professional screenshots, keep these tips in mind:
Troubleshooting Common Screenshot Issues
Should you face any challenges while capturing screenshots, here are frequent issues and their solutions:
Final Thoughts
Incorporating the process of taking screenshots of your floor plan design into your routine is a breeze. Armed with these guidelines, tips, and troubleshooting strategies, you can effectively capture and store your designs. Enjoy the creative journey with Homestyler!
Frequently Asked Questions
Q: What tools can I utilize to capture a screenshot? A: Options include built-in applications like the Snipping Tool on Windows or Command + Shift + 4 for Mac users. Furthermore, various third-party applications offer advanced features for screenshotting.
Q: Is it possible to edit my screenshots post-capture? A: Absolutely! You can employ image editing software to annotate or enhance your screenshots before sharing them.
Welcome to the Premier Floor Plan Creator


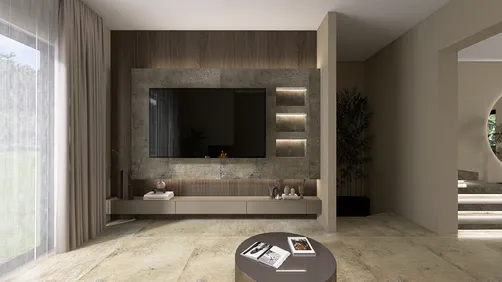
![[For my dearest Sabrinik 🧡]](https://hs-designs.homestyler.com/production/design/images/3f463715-5ed6-4c49-9346-16d464510aa6/1714085722568.jpg?x-oss-process=image/resize,w_502,m_mfit/format,webp)