
1.Add the Modeling Guide as a beginner's guide to interior modeling
You can go through the modeling guide to gain a basic understanding of the Interior Modeling funciotn. Follow the guided tutorial and use the basic functions to draw shapes, extrude to form a solid, and do detailed modeling with fillet, so as to quickly understand and get started with interior modeling. Click on the modeling guide in the Help menu in the upper right corner anytime if you want a recap, and complete the operations one by one according to the steps and guidance on the screen.
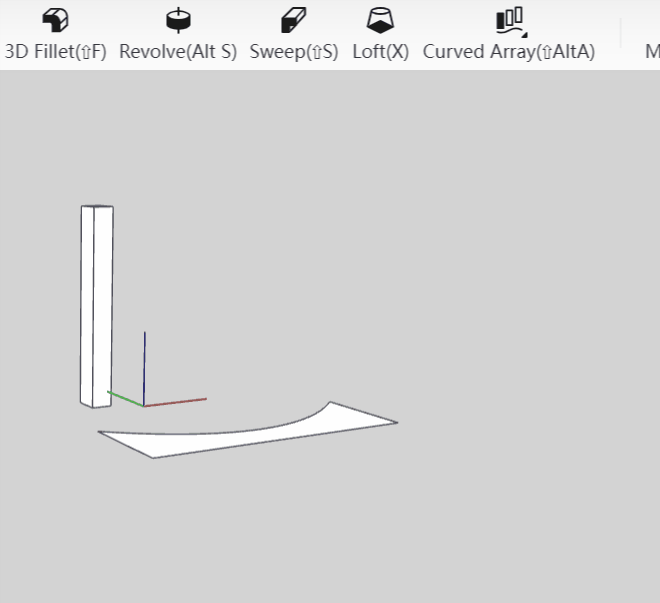
2.Add the Loft modeling function
The Loft feature enables efficient modeling of complex columns, flexible structures and furniture.
It solves the problem of surface modeling, and forms a smooth and excessive surface through the relationship between surface and surface, point and point, line and line. You can use it to make a 3d shape of any particular object, a bottle shape, a cylindrical shape object, a rectangular shape object, and many others.
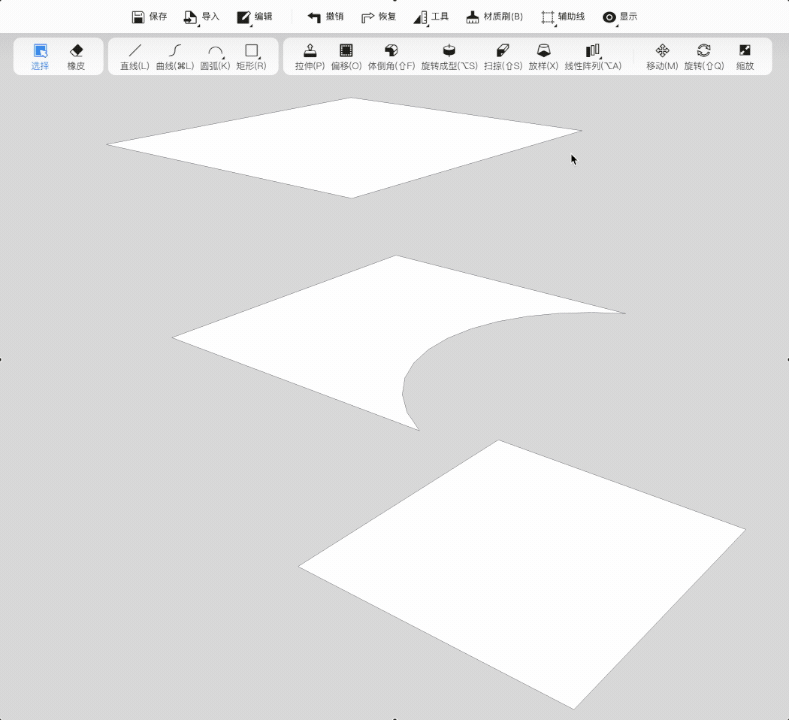
1)Draw the main shapes to be lofted.
2) Then click "Loft" from the top toolbar, select the lines or faces (two or above) to be lofted according to the text prompts.
3) *Optional: If you loft by faces, then after the loft is done, you can drag the endpoint on faces to change the lofting direction.
4) Click the Esc to complete and exit the command.
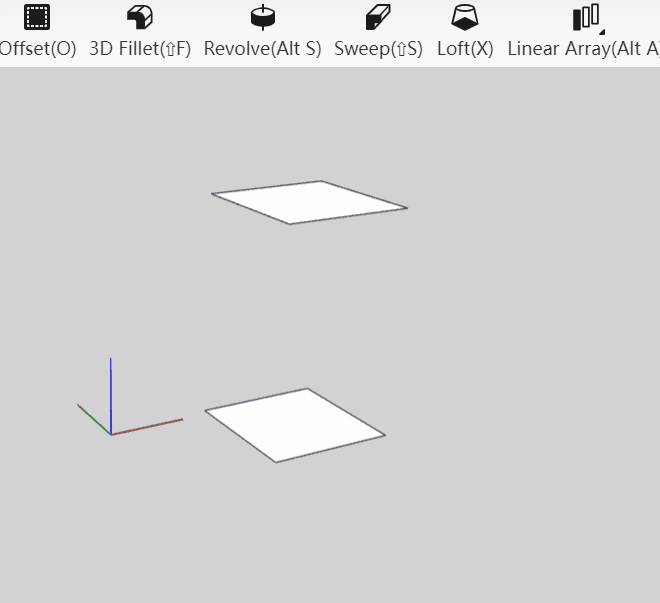
When modeling, you can choose to loft by lines, or loft by faces, as indicated below:
3.Add the Curved Array modeling function
The Curved Array function enables the easy modeling of wavy and curved railing structures. Similar to the Linear or Arc Array command, the curved array command allows you to create an array along a curve or spline path.
Instruction:
1) First, draw a surface with the array path and then create the model the be arrayed
2) Hover the Linear Array option and click "Curved Array" from the drop-down menu
3) Select the model to be arrayed, and then select the curve or spine as the array path.
4) Then you can drag the cursor to form the array (you can also enter the precise value of array quantity and spacing in the input box below; press the Tab key to switch the input boxes).
4.Add the Split function for line segment
The split function can quickly divide the selected line segments equally and improve efficiency (Note: the split function supports closed circles, arcs, and rectangles, but currently does not support curves and ellipses)
Instruction:
1)Select the line to be split and click "Split", you can drag the mouse to determine the number of equal sections, or you can enter the specific "Segment Number" value in the input box below.


2)After the segmentation is completed, there will be a blue prompt when the mouse hovers the line.

5.Add the Component function to modify the same models in batches
When you have created multiple identical models and need to make adjustments in batches, the component function is here to help and make it fast and efficient.
Instruction:
1)First create a model or shape, then select the model and click "Component". Then you can duplicate it or make an array for it.
2)Double-click on one of the components to adjust the model. After adjustment, click the blank space to exit the component. You will see other components will also change synchronously.


6.Support invert selection command using the shortcut key (Command/Ctrl+i)
The invert selection function can improve the efficiency of model selection. Select one model in the modeling interface, press the shortcut key Command/Ctrl+i to select other unselected models, then you can do other operations to these models in batches.
7.Add various New Text Fonts for the 3D Text function
When you choose to input 3D text, you will see a variety of new fonts that you could apply to the 3D text models.

8.Add Custom Flip function
The Custom Flip function allows you to define a flip plane by three points, and the model will be mirror flipped against this reference plane.
Instruction:
1) Select the shape, hover the "Flip" option and click "Custom Flip"

2) Then define a flipping reference plane on the model with three points. Then a new flipped model will appear next to the original model.


9.Support selecting the starting point to copy the model
When using the model copy function before, the starting point is the default of the system. And in this update, after you select the model to copy, you can select the starting point to copy and move (copy and paste shortcut keys: Ctrl/Command+C and Ctrl/Command+V).


