This case practice tutorial is a step-by-step instruction on how to create an exact multi-storey villa shown in the cover image. The contents include: using the "Add Floor" tool to add the second floor; detailing the structure of the villa; applying materials to the walls, floors and other structures; selecting models from Model Library to arrange the interior; arranging the outdoor landscape environment and so on.【Please turn on the Subtitle option to view the instructions】
【Timecodes】
0:00 Create the 1st floor, Add doors and windows
0:53 Add the 2nd floor and adjust the wall position
1:43 Set the room type, Add doors and windows
2:46 Create the balcony, Make holes in the floor
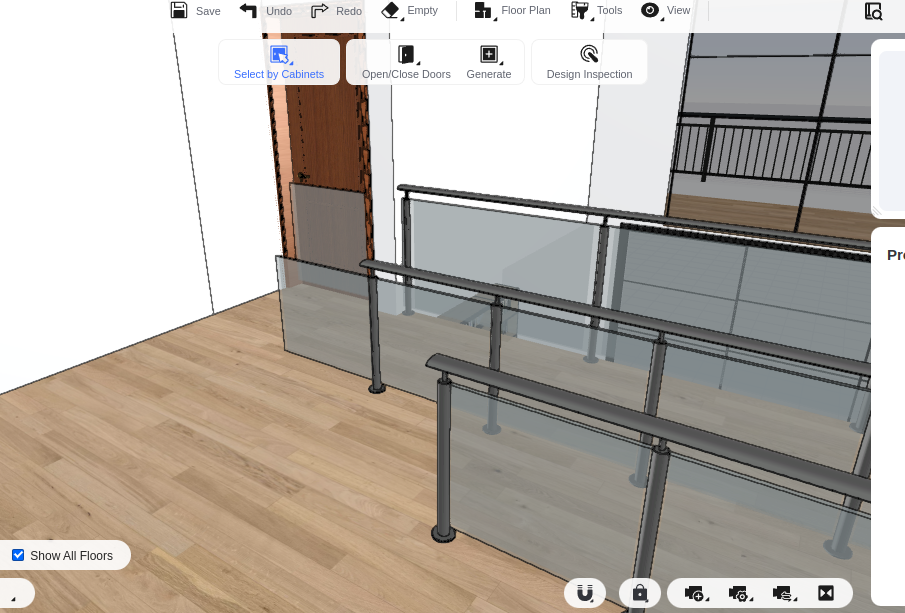
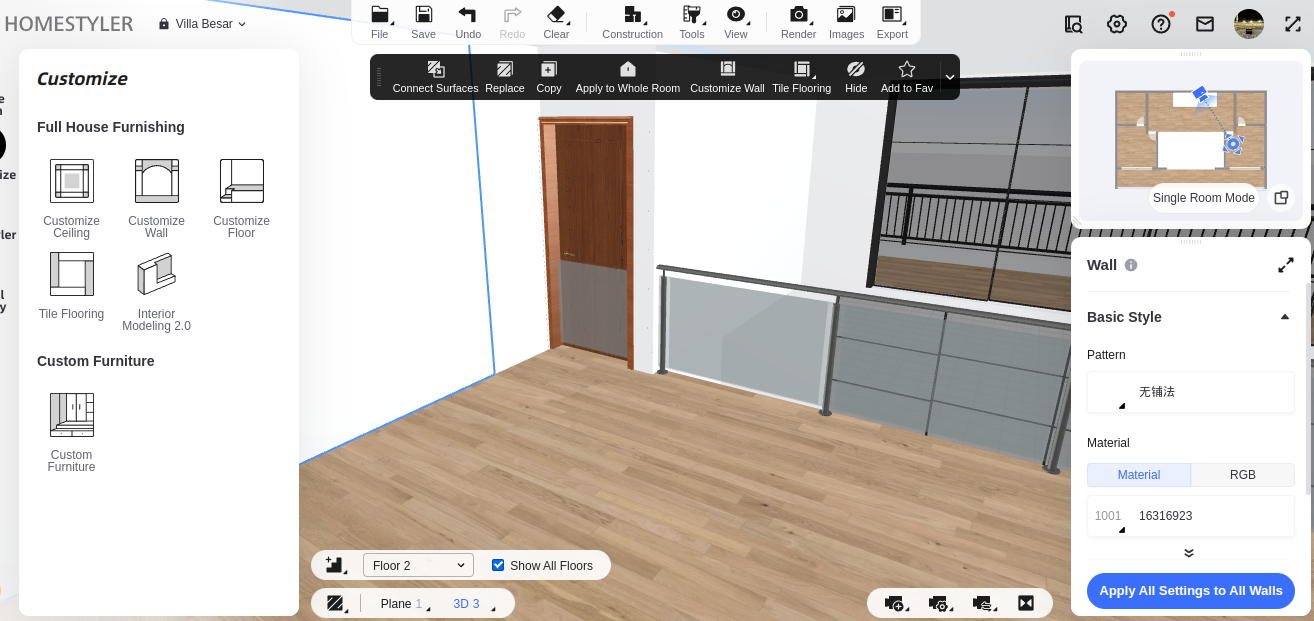
3:47 Add railings to the balcony and floor holes
5:27 Add curtains and other furniture to both floors
7:01 Enter "Interior Modeling 2.0", Draw the raised underside of the villa
8:31 Draw the puter fence, flowerbed and the ground surface
10:35 Draw the outdoor steps and the ramp for the garage
12:57 Apply materials to shapes individually
15:22 Apply a paving pattern to the floor
15:53 Add wall lamps and potted plants to the room
17:33 Arrange the outdoor environment
19:10 Adjust the viewing, lighting and environment to complete the rendering