When you finish designing the interior finishes and room decoration, now you could enter the last step of rendering~
1. Click the render button of the top tool to enter the rendering interface.

2. After entering the rendering interface, you can select the render type from the top from normal image, panorama, aerial view, top view and video.

The following are different types of renderings:
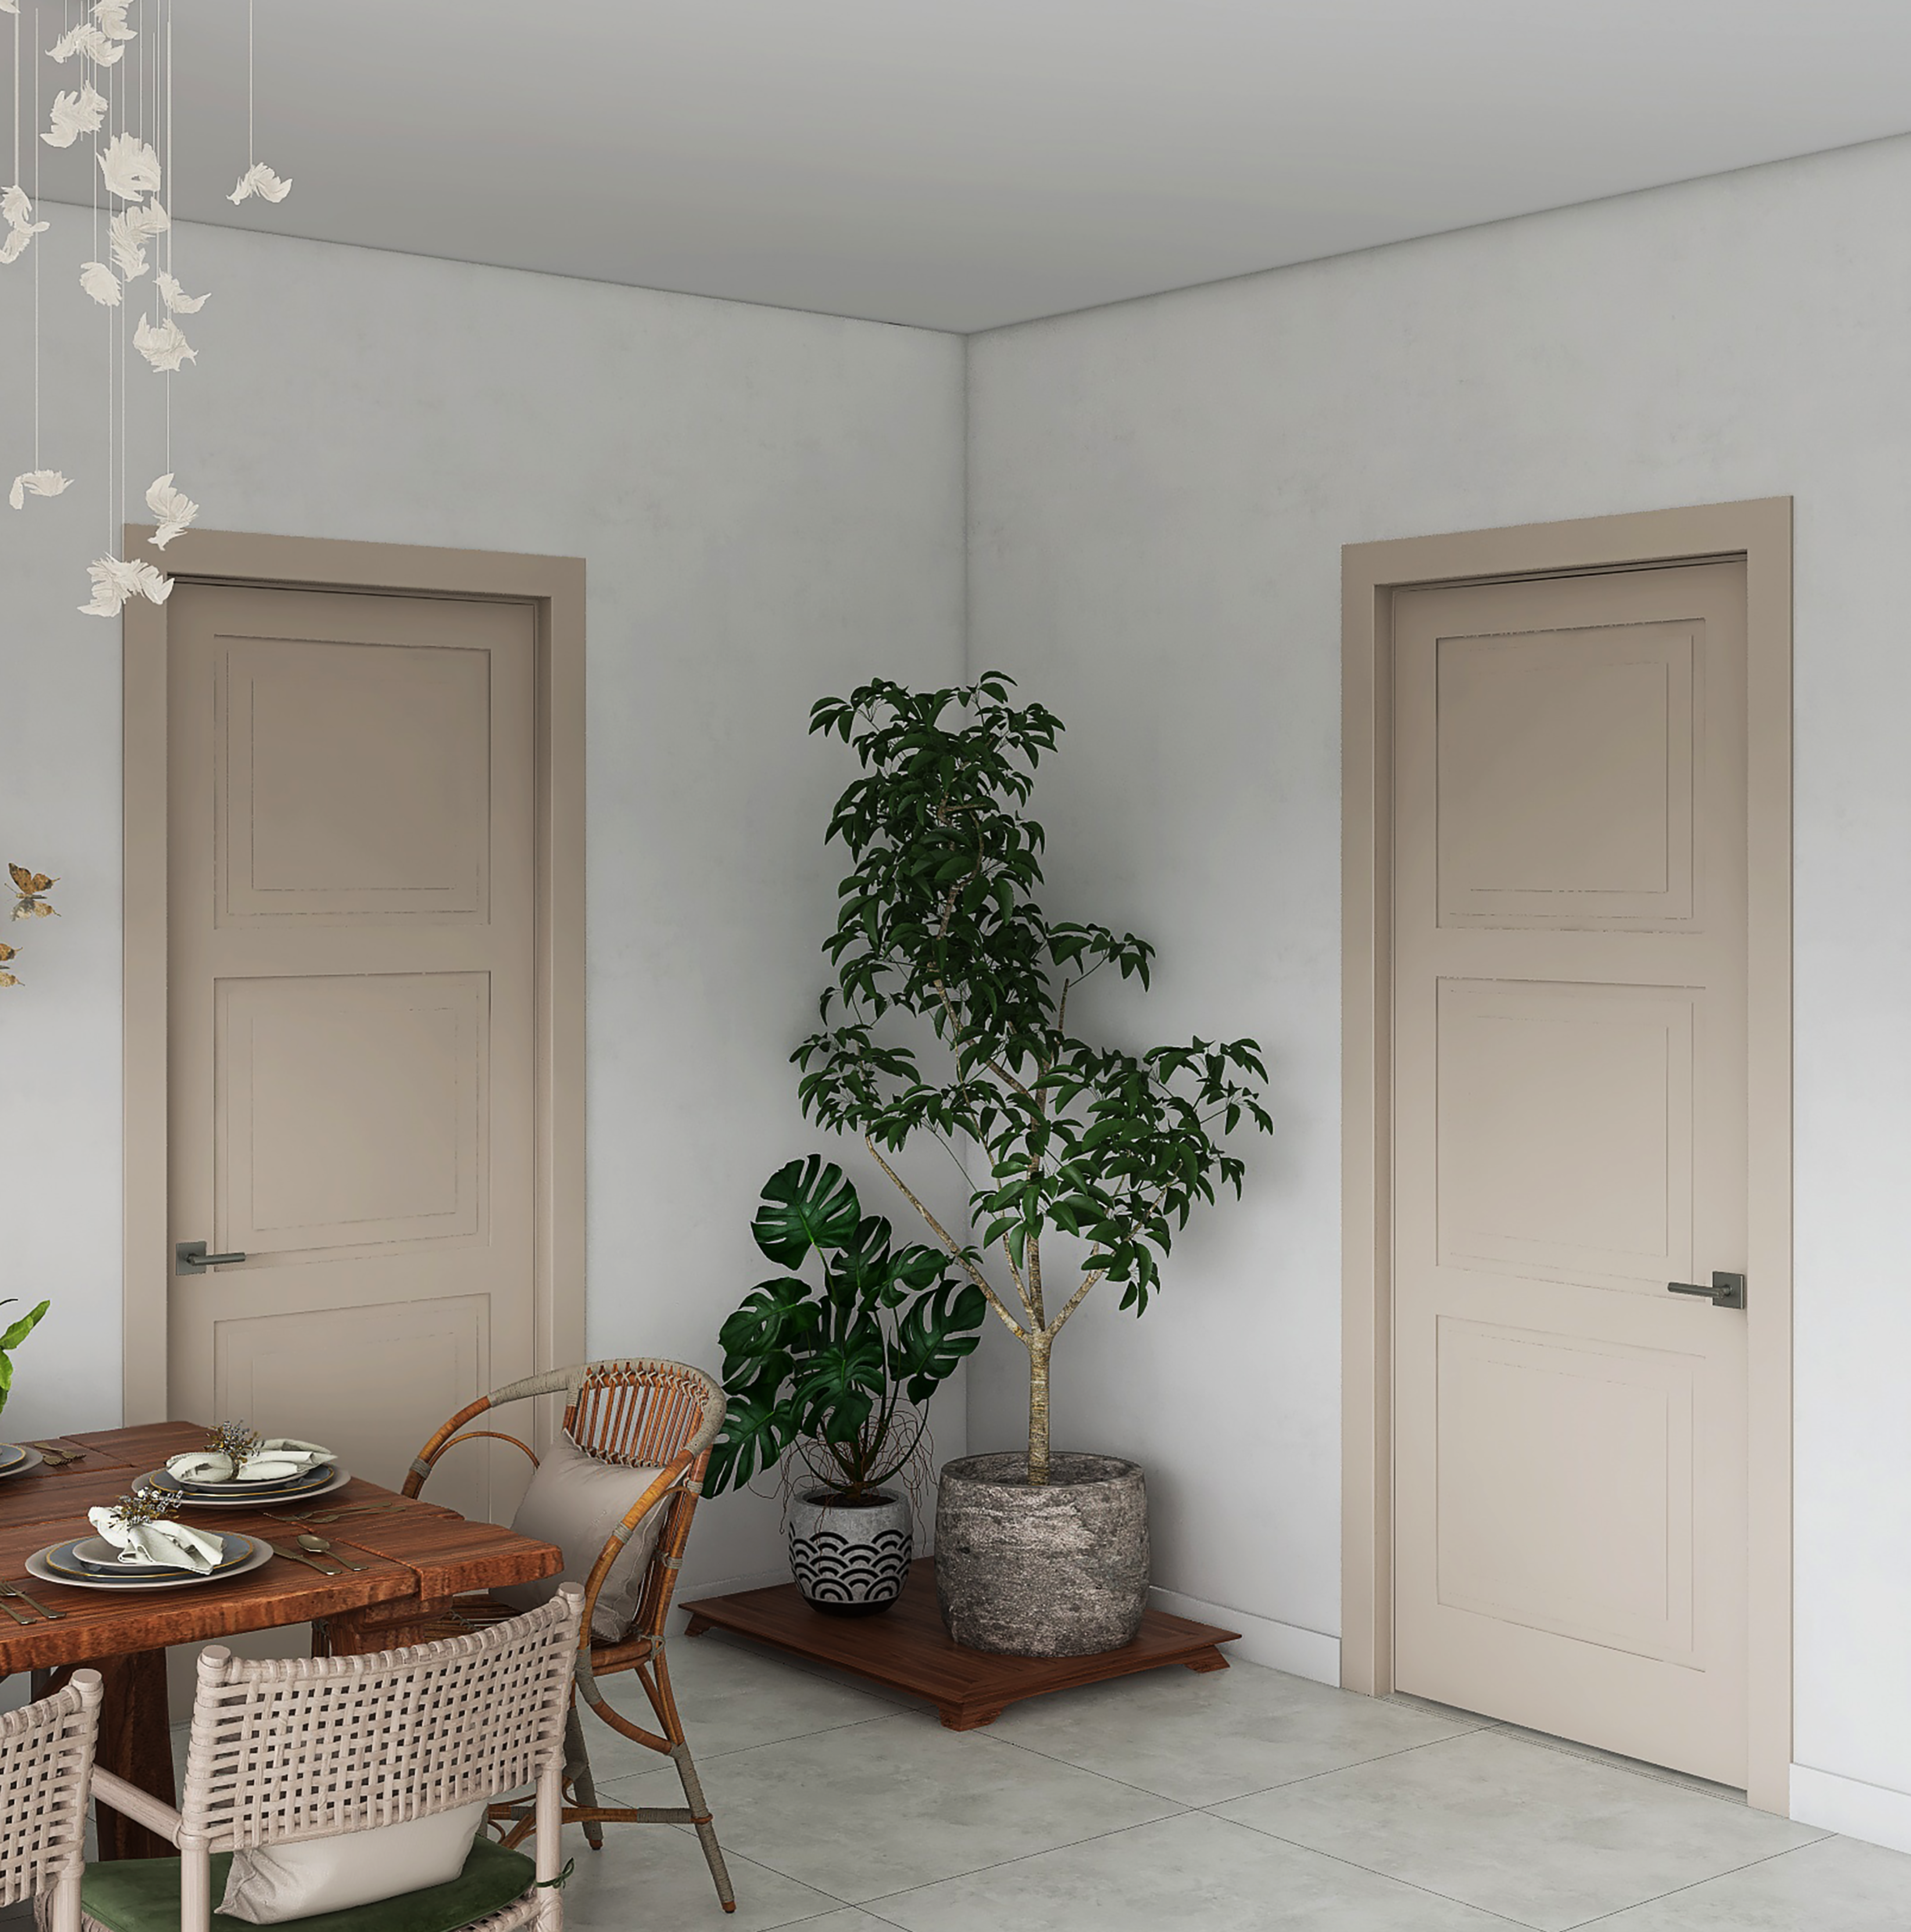
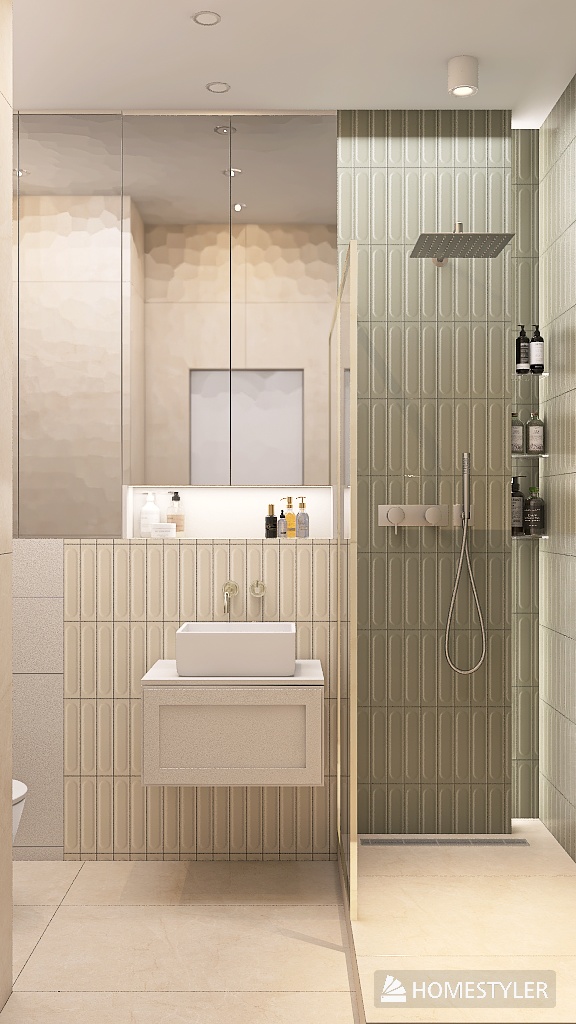
Normal Image:

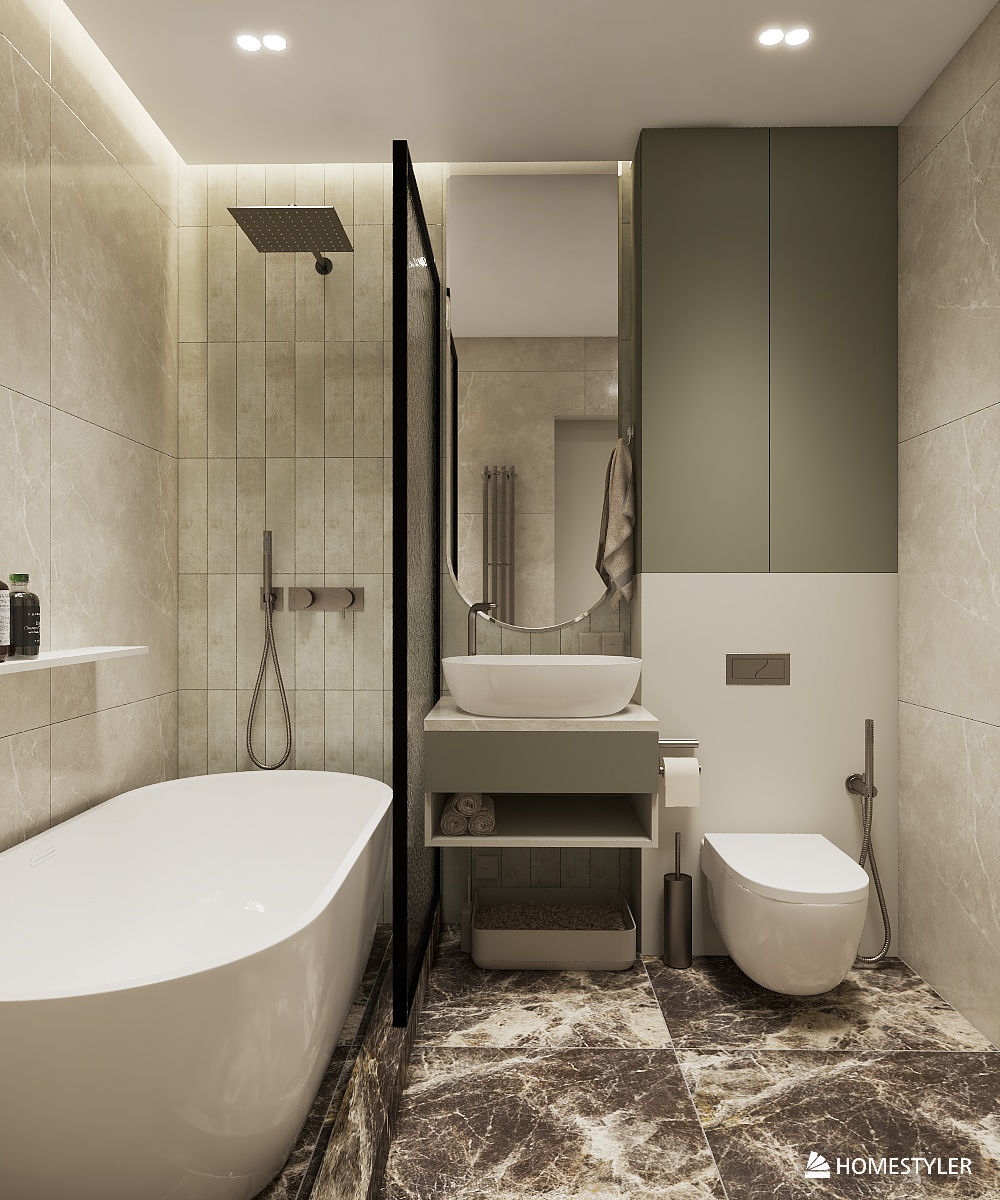
Panorama:
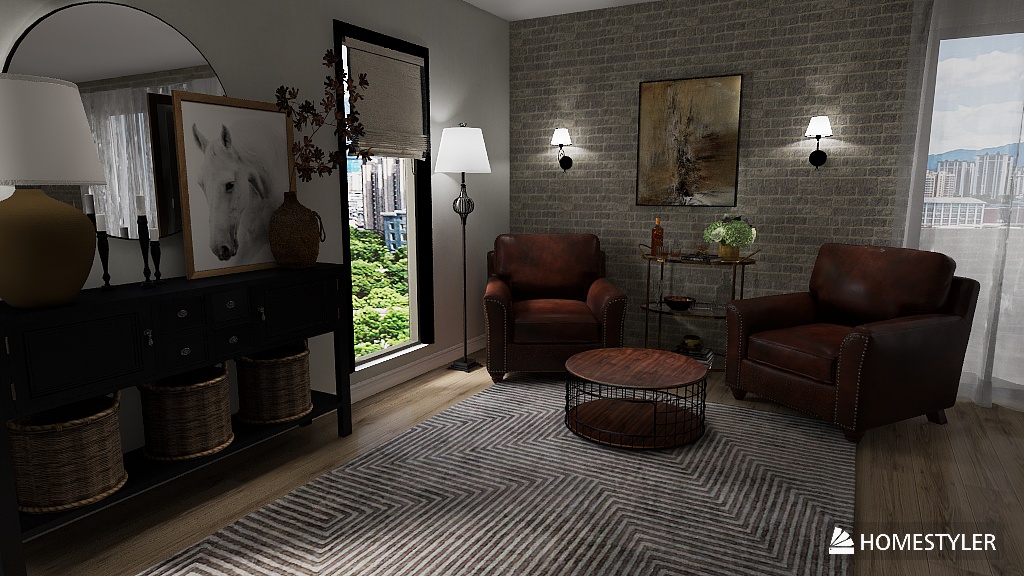
Aerial View:

Top View:

Rendered Video:
3. After determining the rendering type, adjust the 4 parameters of the rendering on the left, namely resolution, scale, lighting, and exterior.
3.1 First select the resolution. Different resolutions represent how clear the render is. You could view the resolution size from each level. At the same time, the higher the resolution, the longer the rendering time takes. (For example, when the network is stable, the rendering time for 1k is about 1 minute, and the rendering time for 4k is 5 minutes).

3.2 Next, we set the aspect ratio of the image, which is what will show up in the final render.

3.3 Then, you can see different lighting templates in the lighting section, and you could simply select a suitable template. You can also click "Add Lights" to customize lights, sunlight and virtual lights. Note: The night lighting template needs to be matched with the night scene environment to show the night effect.

3.4 Finally, select the environment (exterior view) and adjust the angle, brightness and other parameters of the exterior view.
4. After the rendering parameters are adjusted, we determine the rendering angle by adjusting the camera parameters on the right side (shortcut keys "w" "s" "a" "d" "q" "e" adjust the camera's front, back, left, right and up and down positions)

(Note: Do not place the camera in the middle of the wall, which will result in failure in rendering)

5. After the rendering parameters and camera parameters are adjusted, select "Speed Preview" at the bottom for a preliminary effect preview (Speed Preview will not consume your rendering quota).

6. After the preliminary effect preview, click "Render" to render the image. Enter the album and you will see the rendering in progress. You can go to do other operations and check the rendered images in the album after 2-5 minutes.

7. After the rendering is successful, click "Images" at the top to view the final rendering.

8. In the album, click the "Download" button below to save the render locally.

9. Finally, after you finish all the rendering, you can click on the avatar to enter the "My Designs" page and edit the project.

10. Hover on the project and click "Edit Project" to edit the project page for this design. If you click on "Edit Design", it will open the design on the design interface of Homestyler floor planner.

11. You can fill in the name, description and add the rendered image for different rooms for your project.

12. Finally, you could save the edited project and set the project to "Public" status, so that your work will be seen by more people and will have the opportunity to enter the Homestyler gallery. You will earn 50 points if your work gets featured. Visit Homestyler Gallery:https://www.homestyler.com/community/gallery
You can also send the project link to your friends or clients so that they could view your well-edited project on your Homestyler profile page.

This is the end of our Introductory Learning Path tutorial. Now you have already mastered the introductory knowledge of Homestyler. If you need to learn more advanced tutorials, please visit our "Learn & Help" channel. We look forward to seeing your talented design works!
Now let us proceed to the next tutorial of our Learning Path:
1. Introduction to design interface