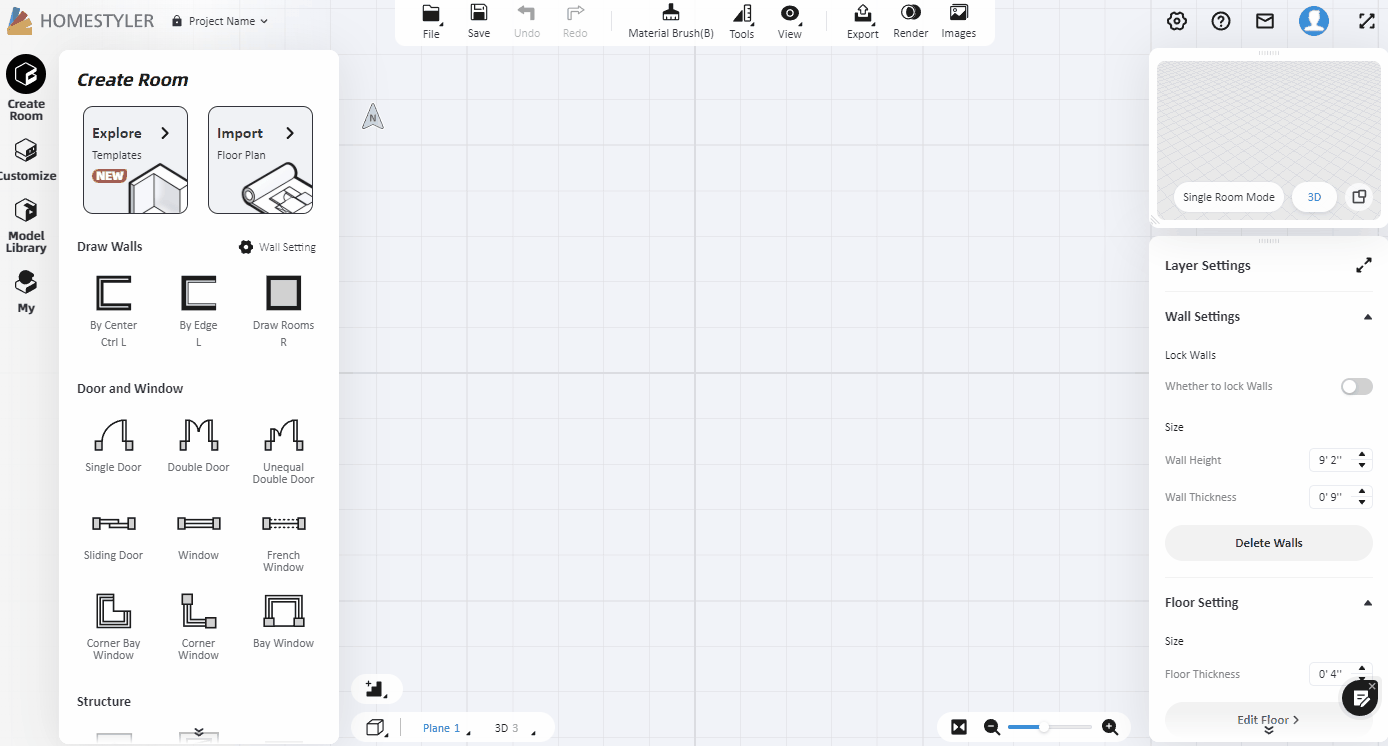
Enter the design interface, in the "Create Room" section from the left catalog, there are 3 ways to create a new floor plan, namely select from templates, import CAD/image, and free sketching.

1.Select from Room Templates
After clicking "Template", two template types will pop up, namely room template and project template. The room template provides an empty room, and the project template is a complete design. Here, we can click on the template's image and choose a free empty room template to try out.
2.Import CAD/image
If you already have a floor plan image or a CAD file, you can choose to start the design by importing the floor plan. When you click "Import Floor Plan", select the "Upload Image" or "Upload DWG" option to import. (Note: Check the requirements for importing files before importing to avoid errors)
Take "Upload Image" as an example:
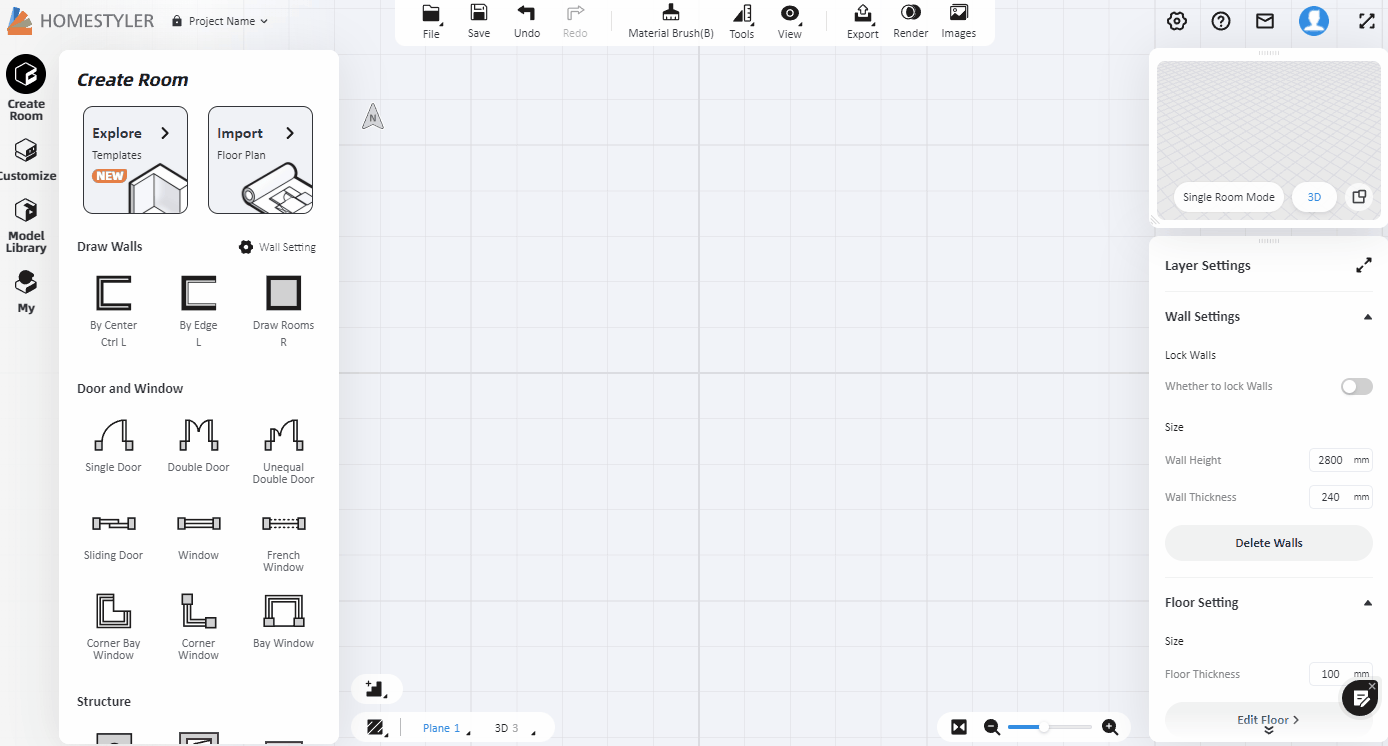
2.1 Before importing a floor plan image, click the setting button from the top right corner to set the measurement unit.

2.2 Click "Upload Image", select the floor plan file in JPEG or PNG format, and import.

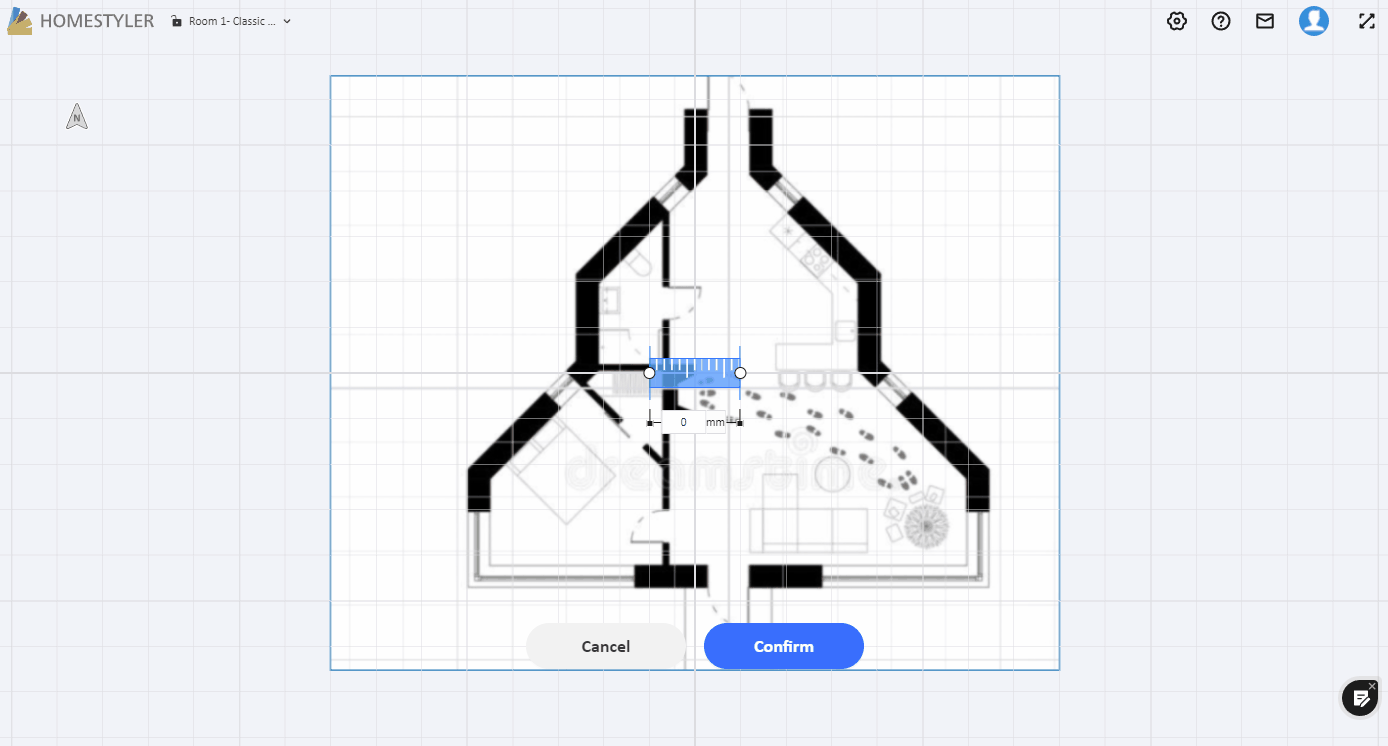
2.3 After successfully importing the image, firstly you need to set the scale, align the blue ruler on the imported image with a certain distance, then enter the actual size, and click "OK" to confirm the scale.
2.4 After importing, click the "Underlying Setting" button at the bottom, and untick "Show" in the checkbox to hide it, or click the "Delete" button to delete. In the pop-up box, you can also set the transparency of the underlying image (note: If you delete the underlying image, it cannot be recovered.)
*For the wall drawing operation after importing, see the detailed tutorial below.

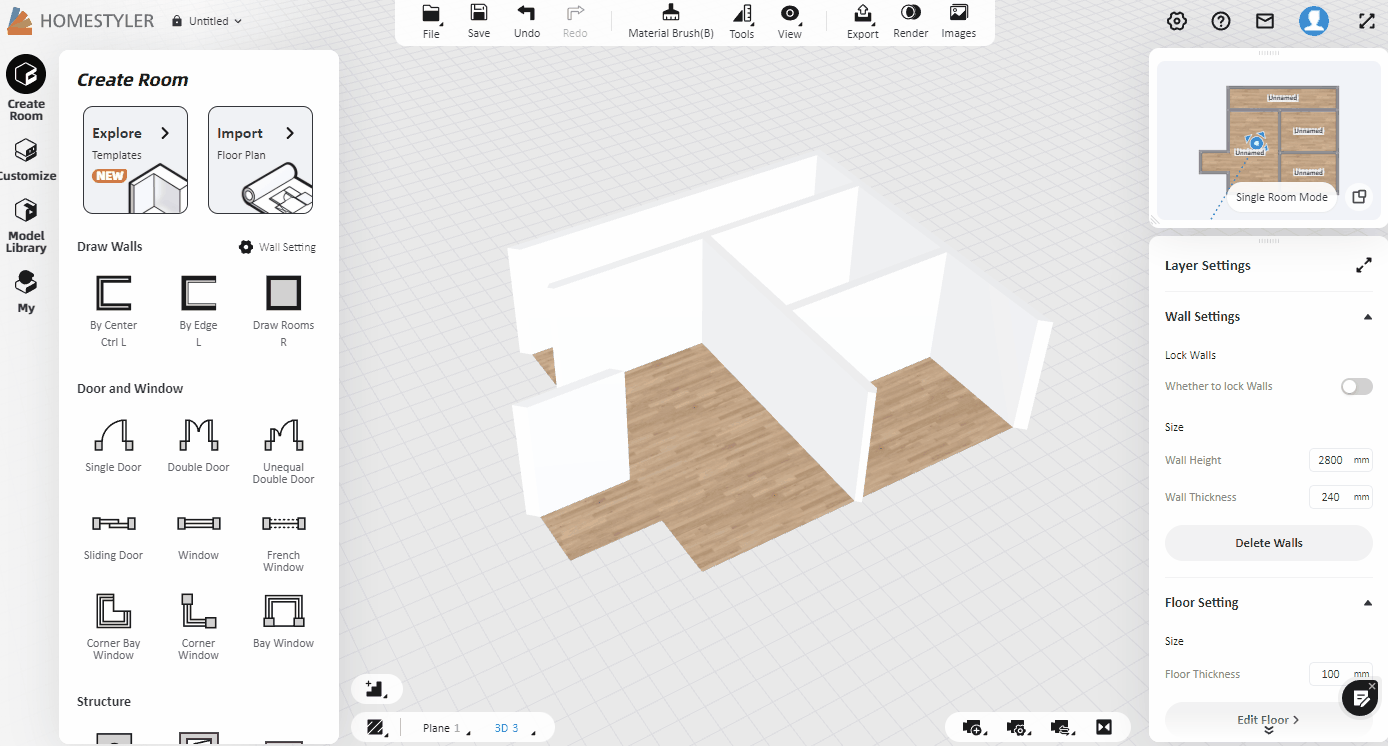
3.Free Sketching
3.1 Draw Walls tools:
There are three options of "Draw the wall by the centerline", "Draw the wall with the inner edge line" and "Draw rooms". The difference between "Draw Walls by Center" and "Draw Walls by Edge" is that the size of the painted wall is calculated based on the center of the wall or the inner edge of the wall)

3.2 Draw walls:
Select a drawing type, you can draw any straight wall on the canvas, you can directly input the length value of the wall when drawing, and press Enter to confirm. If the wall you draw can be synthesized into one enclosed shape, it will automatically form a room. You can press Esc to end the current command. At the same time, you can also set the "Wall Thickness" and "Orthogonal mode" at the top.

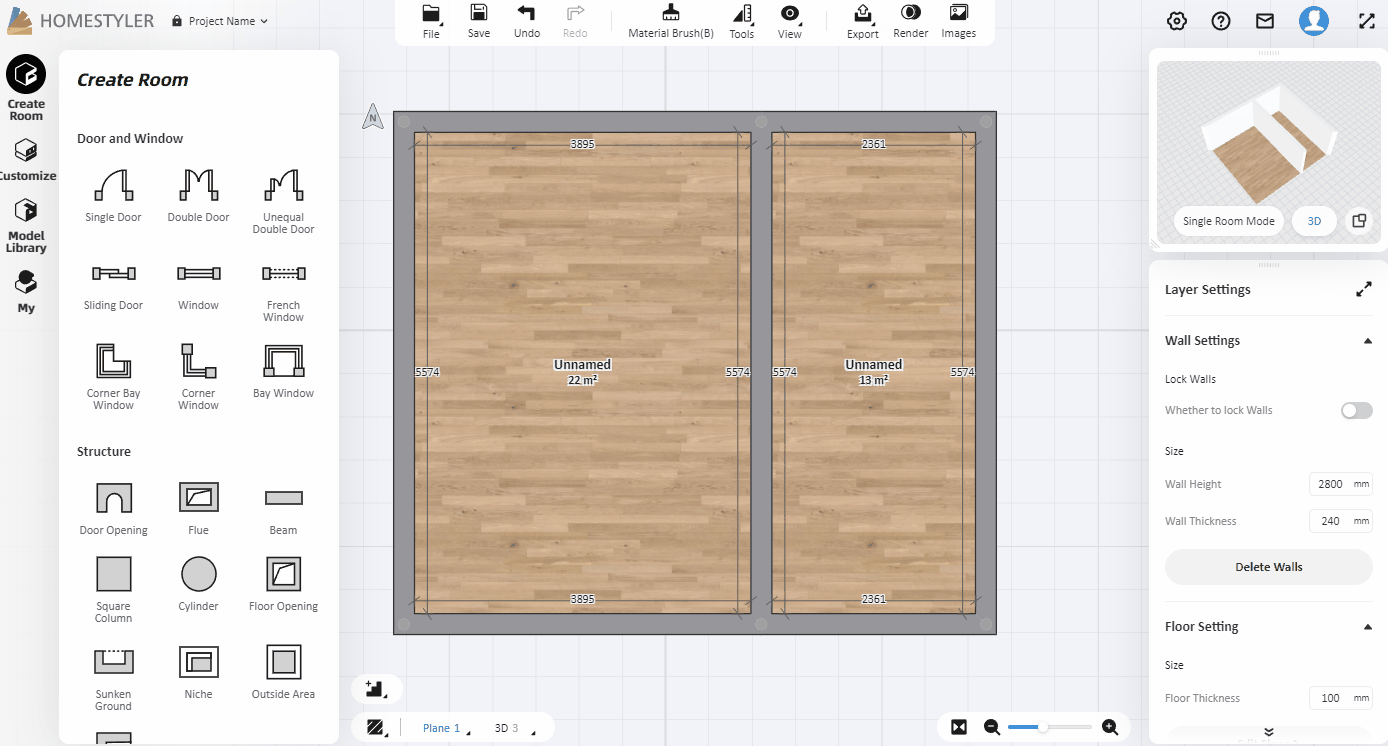
3.3 Draw rooms:
Click the "Draw Rooms" button to start drawing. Determine the corner of the room to start, and drag to form a room, you can also enter the length and width values directly to determine the size of the room (the size inputting can be switched through the shortcut key "tab"). After drawing, you can click and drag on the wall, and you can also change the size of the room.
3.4 Draw multiple floors:
After using the above method to draw a room on the first floor (or ground floor), click the stairs button at the bottom left corner to add a floor or basement. At the same time, you can turn on or off the "Show all floors" options to facilitate the subsequent design.
3.5 Floor opening:
In the case of multiple floors, we need to make openings for the floors. Select the model of "floor opening" in the structure catalog and put it on the floor, and adjust the size of the opening on the right side.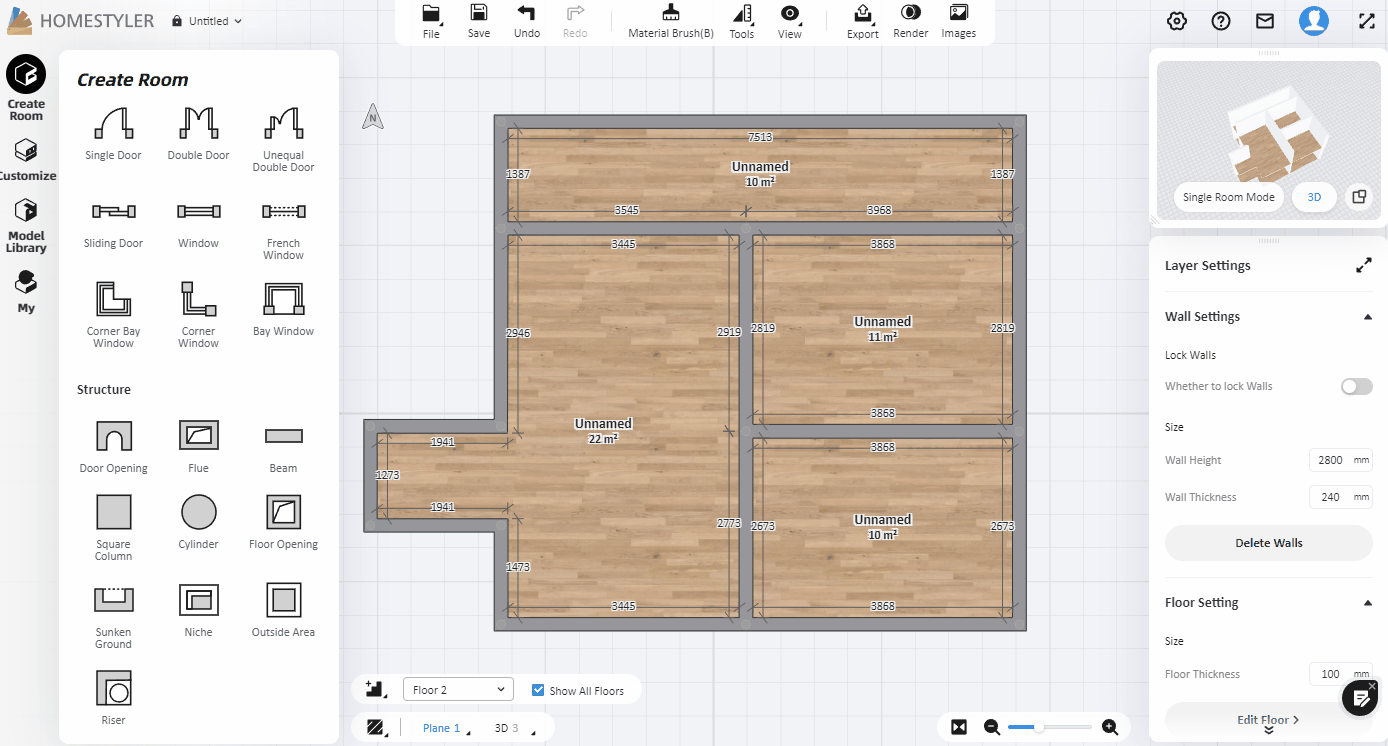
3.6Hide ceiling:
1)If you have only one floor, switch to the plane view and select the room where the ceiling needs to be hidden, and turn off the show ceiling button in the right panel.

2)If you have multiple floors, for the uppermost floor, you could hide the ceiling the same way as above. If you want to hide the ceiling of the lower floors, switch to the floor above it and then click "Edit Floor" on the right, you could remove the corresponding floor slab of the upper floor (which is the ceiling of the lower floor).

3.7 Wall setting: After the overall drawing is completed, select a wall in 2D view and you can set the wall type and wall thickness in the properties on the right. You can also perform delete, split, hide operations.

When no wall is selected, you can set the overall wall height and thickness of the room.

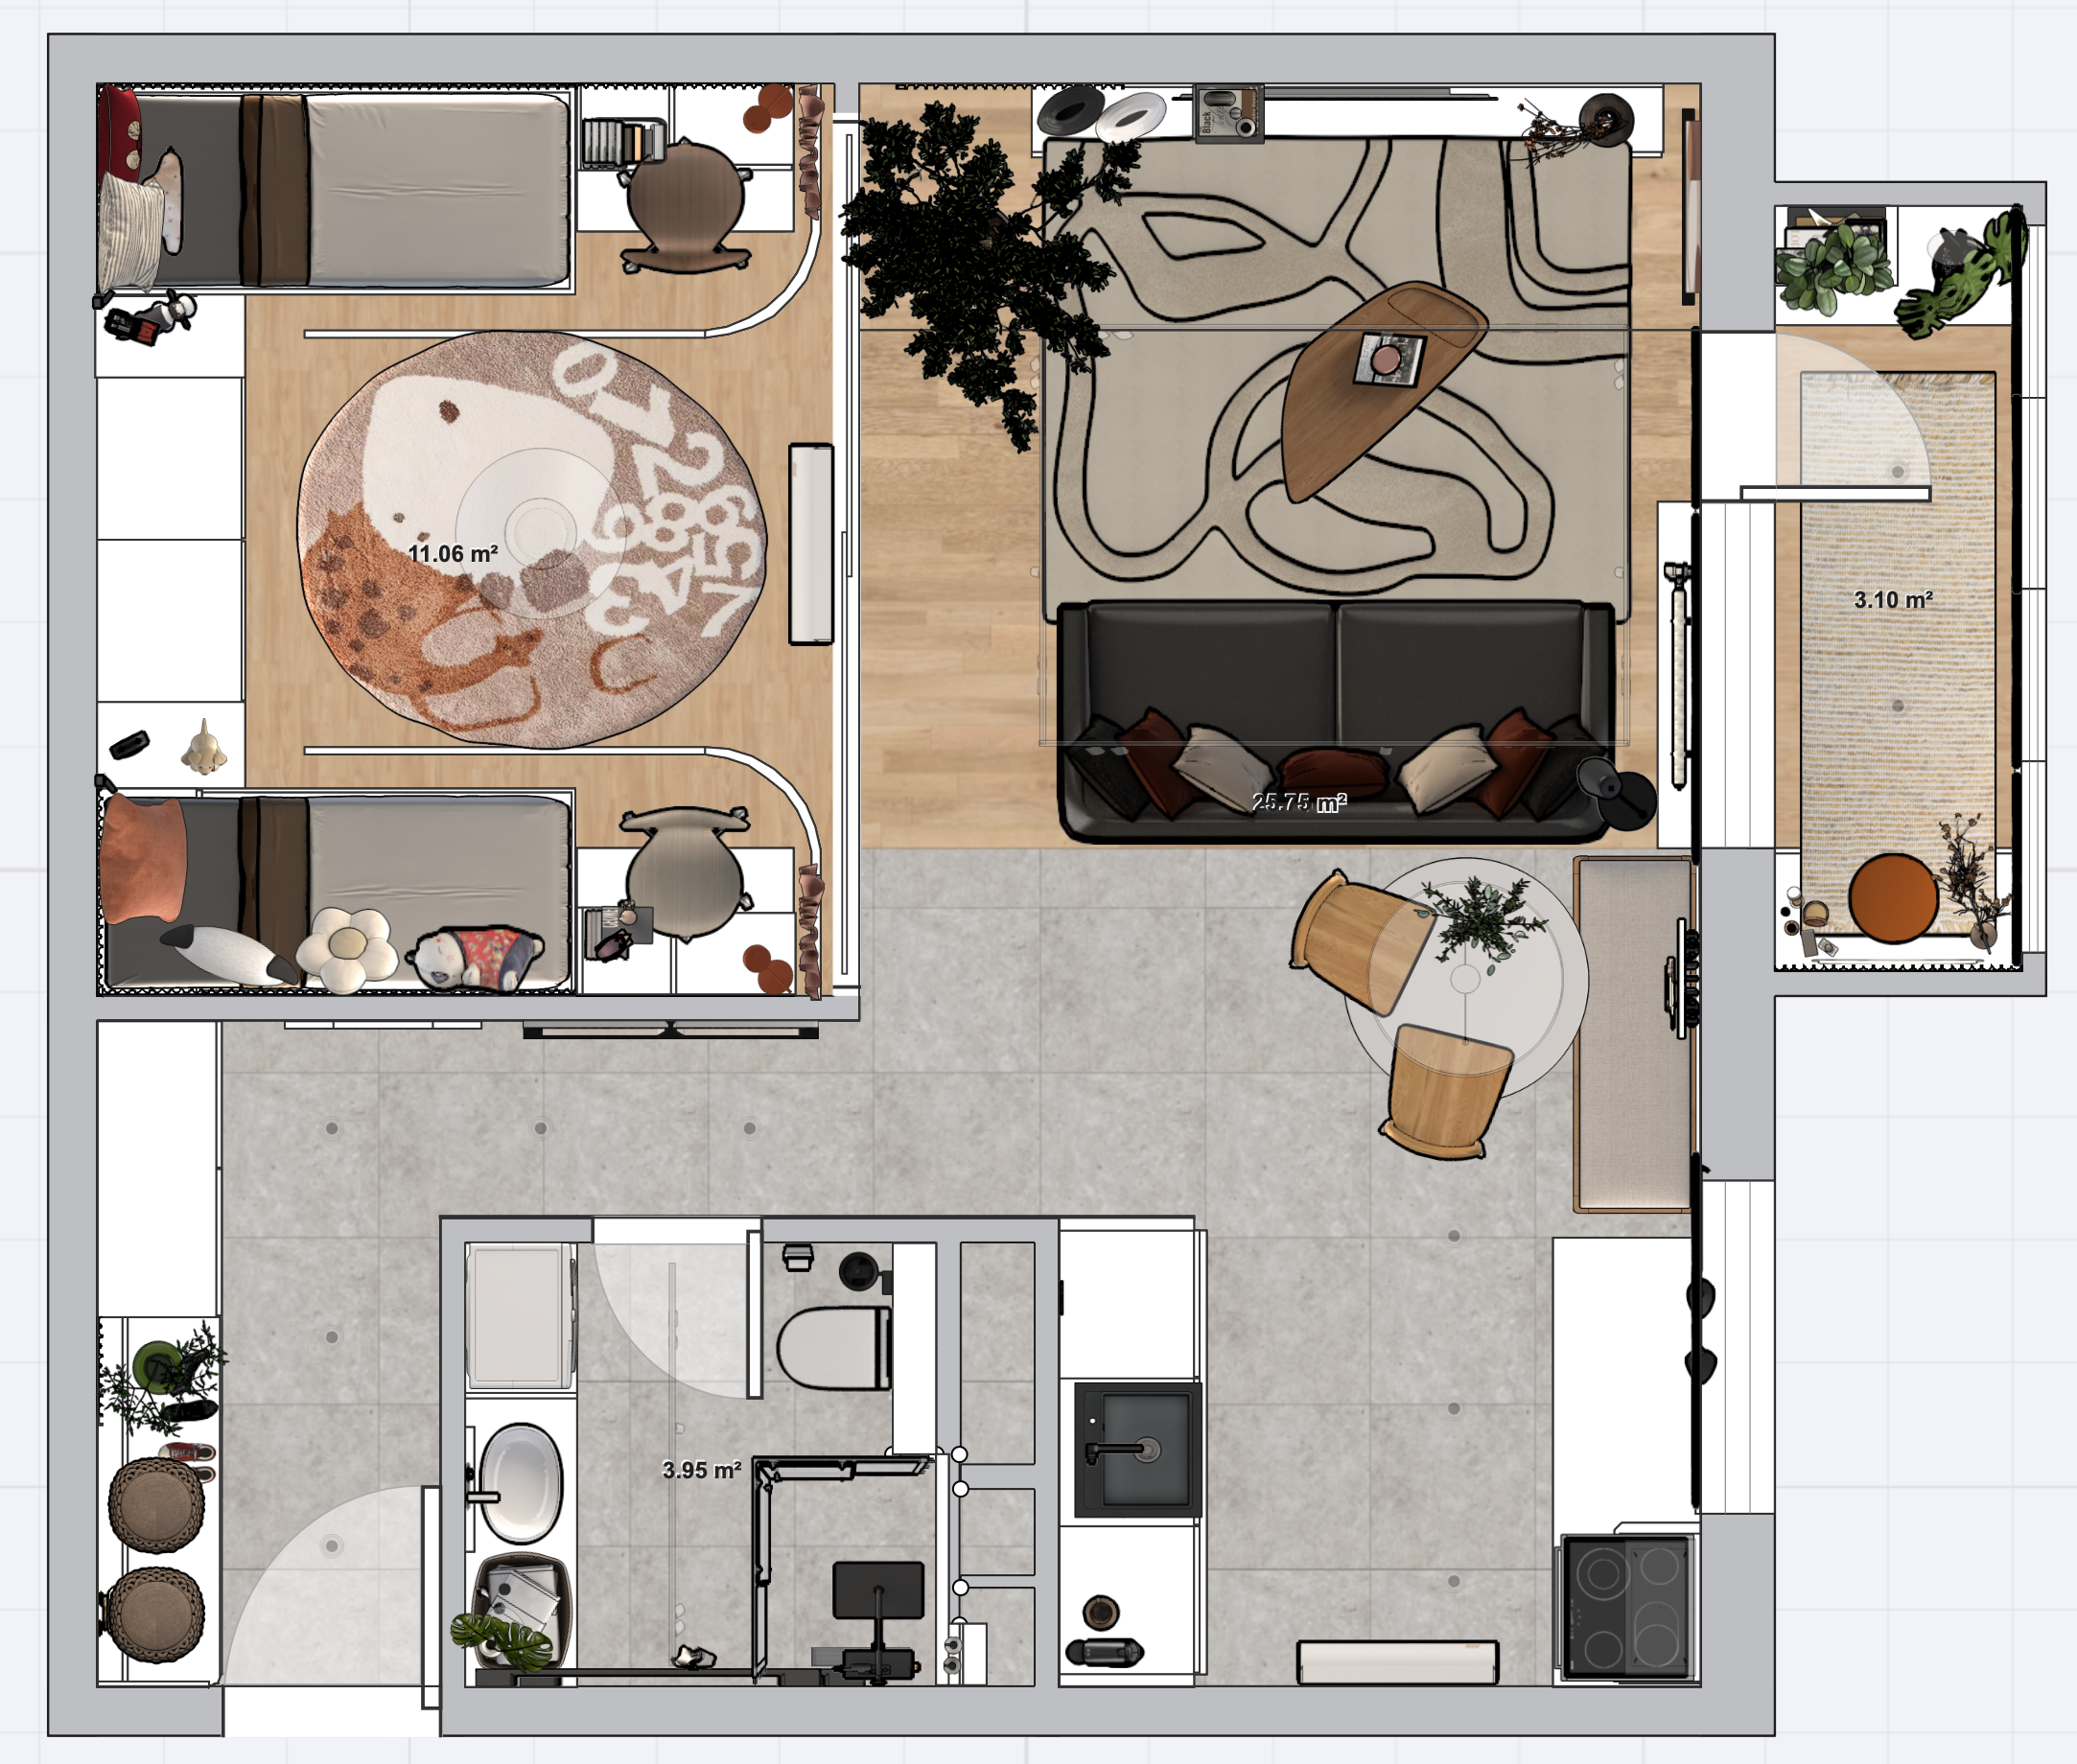
3.8 Name Rooms:
Click on the room in 2D view, the room information will pop up in the right, and you can choose the room type, or input the room name as you wish.

3.9 Add Doors, Windows & Structure:
Select the door/window/structural component model directly on the left to add it to the wall or room. After adding doors and windows, left-click to select and replace with the desired ones. You can also adjust detailed property parameters on the right property panel.
In this way, our floor plan is created, and then we continue to read the following tutorial to start decorating the room!
Now let us proceed to the next tutorial of our Learning Path:https://www.homestyler.com/forum/view/1486265016393289729
Other posts for beginners:
1.Introduction to design interface