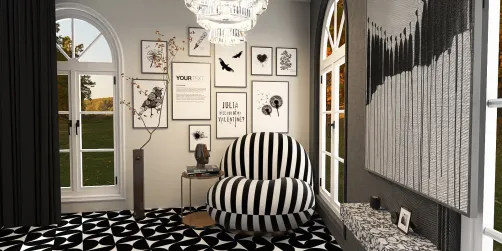
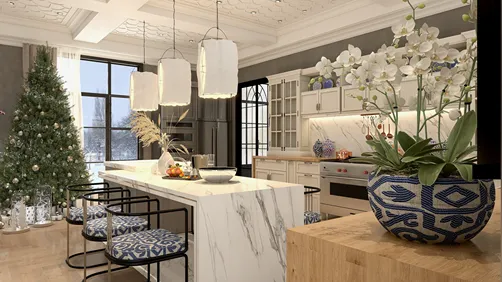
Harnessing the power of Vray within SketchUp can significantly enhance your interior design portfolio and leave a lasting impression on clients. In this guide, we will explore the fundamental steps required to effectively render interiors, ensuring you produce high-quality visuals that accurately reflect your design vision.
1. Preparing Your SketchUp Model for Rendering
Before you begin the rendering process, it's crucial to have your SketchUp model in peak condition. Streamline your model by removing any extraneous geometry, and ensure all surfaces are correctly grouped. This preparation not only streamlines rendering but also improves the aesthetic quality of the final output.
2. Installing and Setting Up Vray for SketchUp
To embark on your rendering journey with Vray, the first step is to install the Vray plugin for SketchUp. Once the installation is complete, access Vray’s settings conveniently from the toolbar. Remember to adjust the render settings specifically to match your project requirements, including image resolution and quality levels.
3. Texture and Material Application
Applying realistic materials is a vital part of rendering. Utilize Vray’s material editor to create and adjust materials for your surfaces. Ensure proper texture mapping so that the materials adhere seamlessly to your model’s geometry. Here are essential tips to remember:
4. Lighting Setup for Interior Renderings
Lighting is a critical factor that influences how your interior space is perceived. Experiment with a blend of natural and artificial lighting to achieve a harmonious ambiance. Here are some effective lighting strategies:
5. Camera Setup and Composition Techniques
Correct camera setup is essential for capturing your intended shots. Use Vray’s camera settings to modify exposure, field of view, and depth of field effectively. Take the following considerations into account:
6. Rendering Your Interior Scene with Precision
After establishing your model with appropriate materials, lighting, and camera angles, the next step is rendering. Select render settings that optimize both quality and rendering time. Begin with a draft render to make preliminary adjustments before finalizing a high-resolution output.
7. Enhancing Your Renders through Post-Processing
Post-rendering, you can further refine your images using software like Photoshop. Modify brightness, contrast, and integrate additional elements to bring your render to life. Here are some swift enhancement techniques:
8. Saving and Exporting Your Rendered Images
Ultimately, remember to save your renders in the desired format that aligns with your usage, whether it’s for presentations or online dissemination. PNG or JPG formats are typical for web purposes, while TIFF may be more suitable for print applications.
Conclusion: Mastering Interior Renderings
By adhering to these guidelines, you can produce impressive interior renderings using Vray in SketchUp. Keep in mind that continuous practice is key, so don’t hesitate to explore various settings and techniques to hone your skills.
Frequently Asked Questions
Q: What does Vray for SketchUp offer? A: Vray is an advanced rendering engine that seamlessly integrates with SketchUp, allowing for the creation of photorealistic images and animations.
Q: What is the process to install Vray for SketchUp? A: Vray can be downloaded from the official Chaos Group website, where you will find detailed installation instructions.
Q: Is Vray capable of rendering both interiors and exteriors? A: Absolutely, Vray is proficient in rendering both interior and exterior scenes efficiently.
Discover the best Home Design Software for your projects