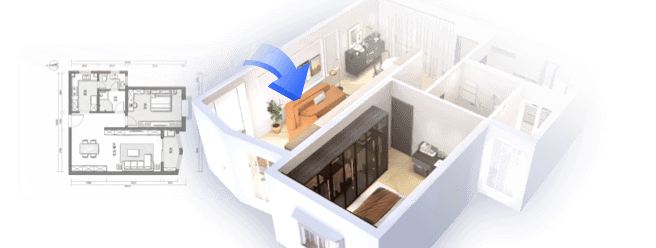
Transforming your architectural visualizations with awe-inspiring wall extrude renderings is attainable through Autodesk 3D Max. This comprehensive guide will walk you through each step of the process, making it easier for you to effectively utilize the wall extrude feature. Whether you're working on a compact space or a sprawling area, mastering this technique will greatly enhance the realism of your designs, similar to how the Homestyler tool empowers users in interior design.
Getting Started with Wall Extrusion Techniques
Before embarking on the extrusion journey, it's essential to have a fundamental grasp of the Autodesk 3D Max interface. Begin by organizing your project file and getting comfortable with the primary tools necessary for wall creation.
Step 1: Drawing the Initial Wall Shape
Kick off by sketching a 2D form that will act as the foundation for your wall. You can utilize the line or shape tools to construct a rectangle or your chosen polygon that defines the outline of your wall's base.
Step 2: Transition to Editable Poly
Once your shape is complete, convert it into an Editable Poly. Right-click on your drawing and select 'Convert to' > 'Convert to Editable Poly'. This change will provide you the flexibility to adjust the vertices and edges of your modeled shape with ease.
Step 3: Executing the Wall Extrusion
Highlight the wall shape and locate the 'Extrude' option within the modify panel. You can modify the extrusion height to match your vision. Additionally, consider tapering or beveling the edges for a unique appearance.
Step 4: Applying Materials and Textures
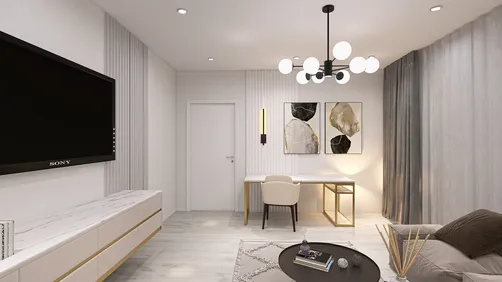
After establishing the extrusion, it’s important to add materials and textures to your wall. Visit the Material Editor, create or choose a material, and apply it to your wall. This stage is vital for achieving truly realistic renderings, much like what you’d see using Homestyler.
Step 5: Arranging Lighting and Rendering Settings
Effective lighting significantly impacts the quality of your renderings. Set up various light sources in your scene, including standard and photometric lights, to elevate the wall’s visual appeal. Subsequently, tailor your rendering settings according to the preferred output quality.
Step 6: Rendering Your Complete Scene
With all elements in place, it’s time to render your scene. Access the Render Setup dialog to specify your output resolution and format. Press the render button to reveal your wall extrusion in its full splendor.
Enhancing Your Renderings: Tips
To take your renderings to the next level, try varying your lighting configurations and materials. Utilize high-resolution textures, and be sure to adjust the camera angles for the most flattering perspective.
Frequently Asked Questions
Q: What does wall extrude mean in 3D Max? A: Wall extrude refers to a process that transforms two-dimensional designs into three-dimensional walls by extending their height or depth.
Q: How can I elevate my rendering quality? A: To enhance results, apply high-quality textures, ensure adequate lighting, and fine-tune rendering options such as anti-aliasing and resolution.
Q: Can wall extrusion be animated? A: Absolutely! You can keyframe the extrusion settings to create dynamic animations within Autodesk 3D Max.
Welcome to the Top Home Design Software
Design Now for FREE


