
Creating beautiful home plan renderings is made simple with Homestyler, a tool designed to help you achieve professional-looking results. Whether you are an interior designer or a homeowner aiming to visualize your ideal space, knowing the rendering process using Homestyler is crucial. In this guide, we will delve into the essential steps for effectively rendering a home plan with Homestyler.
Getting Started with Homestyler
Before you begin rendering, it's vital to familiarize yourself with the Homestyler interface and its features. Understand the basic functionalities, such as shape creation, material application, and lighting usage.
1. Import your floor plan: Start by bringing your 2D floor plan into Homestyler. You can accomplish this by navigating to File > Import and selecting your desired file.
2. Construct 3D walls: Utilize the Line tool to trace your floor plan and create 3D walls and architectural details.
3. Add structural elements: Incorporate basic shapes to include doors, windows, and other structural components in your model.
Applying Materials and Textures
After completing your model, it's time to enhance its realism through materials and textures.
1. Access the Material Editor: Press M on your keyboard to open the Material Editor, allowing you to browse and customize materials.
2. Apply materials: Simply drag and drop your chosen materials onto surfaces to achieve the desired look. Experiment with various textures for walls, floors, and furniture.
Lighting Your Scene
Effective lighting is crucial for achieving a realistic rendering. Here are a few tips for setting up lighting in Homestyler.
1. Add standard lights: Use Omni or Target Spot lights to brighten your scene, positioning them strategically to highlight important areas.
2. Implement natural light: Consider using a daylight system to mimic sunlight, adjusting the time of day for different lighting effects.
Rendering Settings
Once your scene is equipped with materials and lighting, it’s time to set your rendering options.
1. Choose a render engine: Homestyler provides various rendering options. Select one that aligns with your project requirements.
2. Modify render settings: Access the Render Setup menu to specify output size, quality, and other configurations for optimal rendering.
Finalizing Your Render
After fine-tuning your settings, initiate the rendering process by clicking the Render button and patiently await the outcome.
To further enhance your rendered image, consider using image-editing software. Adjust brightness, contrast, and color to achieve your preferred final appearance.
Conclusion
Rendering a home plan with Homestyler can be a fulfilling journey that allows you to visualize your design concepts. By mastering the steps outlined in this guide, you’ll be well-equipped to create beautiful and photorealistic renderings that will impress your clients and enrich your portfolio.
FAQ
Q: What is the best render engine for Homestyler? A: The most suitable render engine depends on your particular needs; however, popular choices include those known for their quality and efficiency.
Q: How can I enhance my rendering speed? A: Boost rendering speed by optimizing your scene, such as lowering polygon counts, using lower-resolution textures, and tweaking your render settings.
Welcome to the leading home design software, Homestyler.


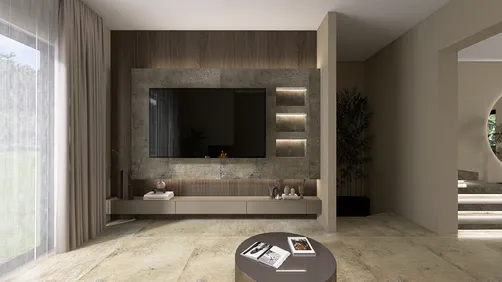


![Design [4]](https://hs-designs.homestyler.com/production/design/images/07c2de3a-88ec-4be8-8910-ff255b795bc2/1731419398293/7841697.jpg?x-oss-process=image/resize,w_502,m_mfit/format,webp)


