Transforming architectural presentations with grayscale rendering in Photoshop can greatly enhance your housing masterplan demonstrations, delivering a polished and professional visual appeal. This technique focuses on the structure and spatial dynamics of your designs, eliminating the potential distraction of color. In this article, we will outline the vital steps to create striking grayscale illustrations of your architectural projects using innovative tools like Homestyler.
The Significance of Grayscale Rendering
Before we delve into the methodology, understanding the significance of grayscale rendering in architecture is essential. Grayscale visuals accentuate various aspects such as illumination, texture, and form, allowing the audience to concentrate on the finer details of the design. This approach is particularly beneficial during the initial design phase when clear concept presentations are required without color influence.
Guideline for Grayscale Rendering
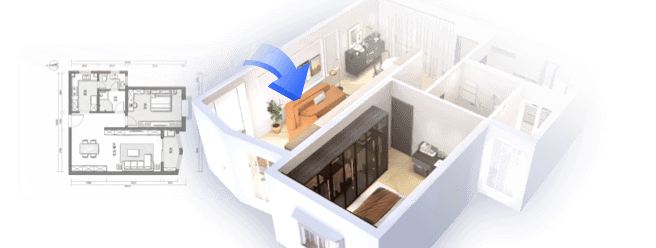
Begin by confirming that your 3D architectural model is finalized. Utilize platforms such as SketchUp, Revit, or even Homestyler to develop an intricate model. Once completed, export your design as a high-resolution image, ensuring it captures all vital details needed for effective rendering.
Launch Photoshop and import the previously exported image. Adjust the canvas size as necessary to improve visibility and detail during your editing process.
To change your image to grayscale, navigate to Image > Adjustments > Black & White from the menu. This feature allows you to manage how varying colors transform into different shades of gray, enabling you to strike the right balance of contrast.
Enhance the image depth by tweaking the levels through Image > Adjustments > Levels. This adjustment allows you to control shadows, midtones, and highlights, ensuring your rendering has the required contrast to make elements stand out and enhance clarity.
Utilize the Dodge and Burn tools to refine specific portions of your rendering. The Dodge tool will lighten areas while the Burn tool darkens them, effectively enhancing textures such as brick, wood, or metal, thereby adding a realistic touch to your work.
Implement any final tweaks like sharpening the image or adding a soft vignette for added depth. You might also wish to overlay a grid or scale for context, enhancing viewer understanding.
Once you are pleased with your grayscale rendering, save the file in a high-resolution format, such as PNG or TIFF, to guarantee the best quality. Your final product is now ready to be integrated into your housing masterplan presentations.
Final Thoughts
Grayscale architecture rendering using Photoshop stands out as an invaluable resource for architects and designers. By adhering to these outlined steps, you can produce captivating visuals that communicate your housing masterplan ideas effectively. Whether you are presenting to clients or peers, mastering this skill will significantly enhance your design portfolio.
Frequently Asked Questions
Q: What are the advantages of using grayscale rendering? A: Grayscale rendering highlights architectural elements and spatial relations, simplifying the audience's focus on the design.
Q: Is it possible to introduce color afterward? A: Absolutely, you can layer colors onto your grayscale rendering in Photoshop if desired.
Q: Which software is most suitable for architectural modeling? A: Notable options include SketchUp, Revit, and Homestyler, as they all facilitate the creation of detailed 3D models.
Welcome to the Premier Home Design Tool
Progetta ora GRATIS


