Crafting breathtaking elevations for your architectural projects using Homestyler can significantly boost the aesthetic charm of your designs. Elevation rendering plays a crucial role in presenting architectural details and the overall look of a structure. This guide will delve into effective techniques that can enhance your design and produce striking visuals that leave a memorable impression.
Grasping the Concept of Elevation in Architecture
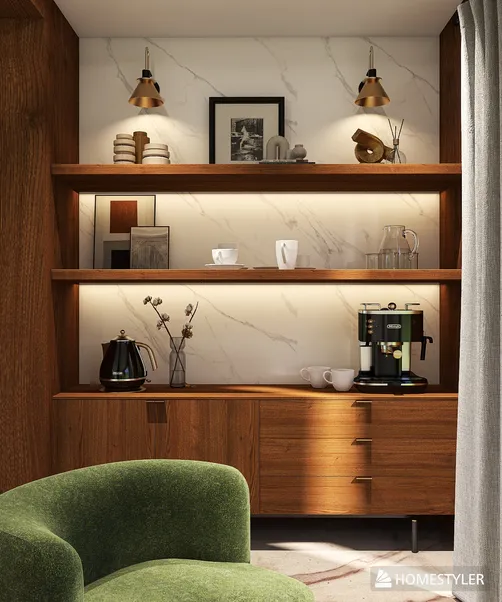
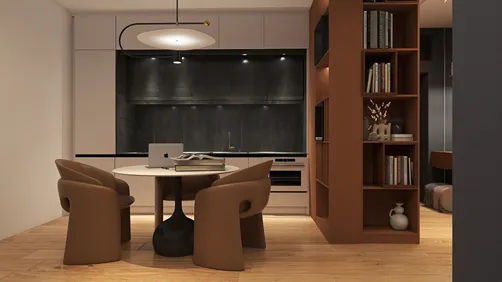
Elevation represents a two-dimensional depiction of a building's outer structure, highlighting the façade while providing vital insights into the design elements, materials, and colors utilized. When rendered using Homestyler, elevation images come to life with realistic lighting, textures, and shadows that engage viewers.
1. Front Elevation: This view is crucial as it showcases the primary entrance and façade of the structure.
2. Side Elevation: Useful for underscoring architectural features such as windows, doors, and roofing intricacies.
3. Rear Elevation: Though often overlooked, it is essential for a comprehensive representation of the design.
1. **Camera Configuration**: Make use of the camera tool to manage angles and perspectives for the best elevation views possible.
2. **Lighting**: Play with both natural and artificial lighting to create dimension and showcase textures effectively.
3. **Material Selection**: Use realistic materials that interact with light accurately to elevate the visual quality of your renderings.
Strategies for Impactful Elevation Rendering
To maximize your elevation renders within Homestyler, keep these tips in mind:
Incorporate high-resolution textures to ensure surfaces appear realistic, including finishes like brick, wood, glass, and metal.
Introducing trees, shrubs, and walkways can provide context to your elevation, making it more welcoming.
Experiment with various rendering settings and formats to obtain the finest visual output for your elevations.
Rendering Methods for Homestyler Elevations
Applying specific rendering strategies can greatly influence the final outcome of your elevation:
Consider integrating V-Ray's powerful renderer within Homestyler, which provides extraordinary global illumination and photorealistic effects.
Mental Ray is another excellent choice, aiding in crafting detailed and realistic shadows and lighting effects.
Leverage tools like Adobe Photoshop for post-processing your renders to enhance colors, contrast, and overall quality.
Final Thoughts
By mastering elevation rendering techniques through Homestyler, you are capable of creating visually captivating representations of your architectural designs that impress both clients and stakeholders. Emphasizing detail, lighting, and materials is essential for truly elevating your projects.
Frequently Asked Questions
Q: What is the optimal approach for creating elevation renders in Homestyler? A: Concentrate on camera setup, quality textures, and realistic lighting for your elevation renders.
Q: Is it possible to utilize V-Ray with Homestyler for elevation rendering? A: Absolutely, V-Ray is a superb option for achieving photorealistic outcomes in Homestyler rendering.
Q: How crucial is post-processing in elevation rendering? A: Post-processing can greatly improve your renders by enhancing colors and details for a polished finish.
Welcome to the Leading Home Design Software