Crafting stunning 3D render images with Homestyler can significantly enhance your architectural presentations and visualize your designs vividly. Regardless of your experience level, grasping the fundamental tools and techniques of rendering can profoundly impact the perception of your project. This guide will navigate you through the vital steps, from establishing adequate lighting to selecting appropriate materials, ensuring you produce impressive renderings.
Exploring Homestyler’s Rendering Potential
Homestyler provides a comprehensive suite of 3D rendering tools designed to assist you in generating realistic visuals. Its seamless integration with advanced rendering technology ensures high-quality outcomes, making it simpler to display your designs to clients and collaborators.
Beginning Your Journey in 3D Rendering with Homestyler
To start generating your render images, adhere to these fundamental steps:
Advanced Methods for Stunning Renderings
After establishing a foundation, experiment with these advanced methods for more striking results:
Presenting Your Rendered Work
Once your rendered images are complete, consider the manner in which you will showcase them. A well-organized portfolio or presentation can leave a lasting impression. Enrich your audience's experience by adding detailed descriptions and context for each image.
Frequently Asked Questions
Q: How can I enhance rendering quality using Homestyler? A: Aim for high-quality materials, appropriate lighting, and optimized rendering settings to achieve optimal results.
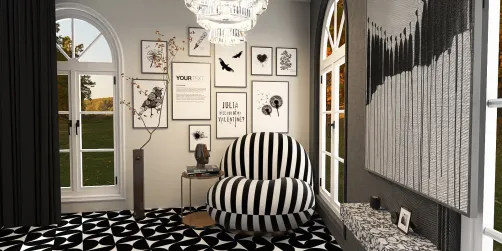
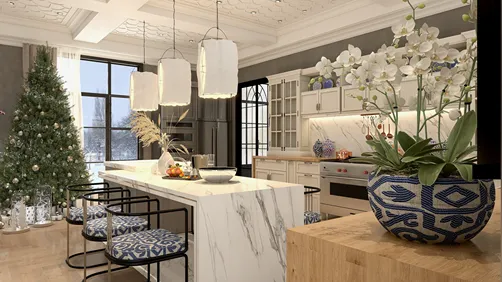
Q: Is it possible to create both exterior and interior renderings with Homestyler? A: Absolutely, Homestyler is flexible and allows for intricate renderings of both outdoor and indoor environments.
Q: What common pitfalls should I avoid when rendering with Homestyler? A: Steer clear of excessively bright colors, overlooking material details, and improperly adjusting lighting settings.
welcome to Homestyler, the Number One Home Design Software.