If you aim to craft remarkable architectural visualizations, integrating Homestyler into your design process alongside other tools is a strategic choice. This article will guide you in rendering a house effectively, helping you generate impressive and lifelike images that highlight your design ideas.
Exploring Homestyler and Its Capabilities
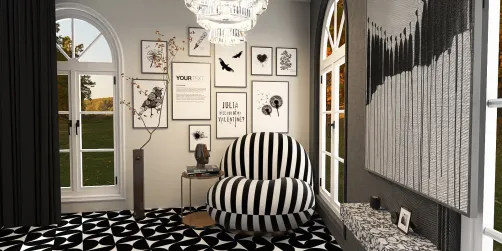
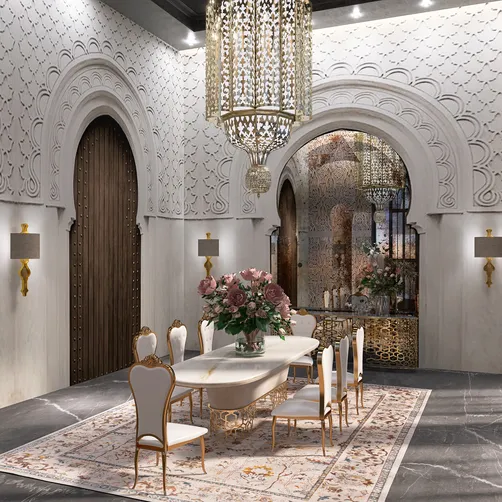
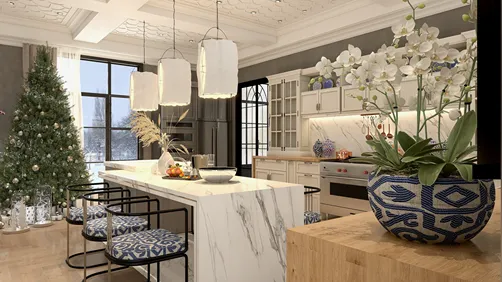
Homestyler is an intuitive 3D modeling application favored by architects and designers for its accessibility and flexibility. This tool works seamlessly with other software to create high-quality visualizations, making it easier to bring your architectural visions to life. By pairing Homestyler with rendering tools, you can achieve stunning results in real-time.
A Step-by-Step Approach to Rendering a House
Start your project by modeling your house in Homestyler. Pay attention to the following aspects:
When your design is finalized, export it for use with rendering software:
In your rendering application, apply realistic materials to your model for an enhanced visual outcome:
Lighting adds depth and realism to your renderings, so choose it wisely:
Incorporate landscaping features to breathe life into your design:
Once your settings are finalized, proceed to render your project:
Enhancing Your Renderings: Key Insights
To improve your renderings, consider these helpful strategies:
Frequently Asked Questions
Q: What is the most effective method to export from Homestyler to a rendering tool? A: Opt for formats like FBX or DAE for optimal compatibility and output quality.
Q: Is it possible to animate my designs within the rendering application? A: Absolutely, many rendering tools equipped with Homestyler support animation and walkthroughs of your model.
Q: What vital features should I concentrate on during rendering? A: Focusing on lighting, textural materials, and environmental components will significantly enhance realism in your renderings.
Welcome to the Ultimate Home Design Software Experience