Creating a simple model rendering using Homestyler can significantly enhance your design presentations, allowing clients to envision the final product more clearly. This guide outlines the key steps to achieve impressive renderings without adding unnecessary complexity.
Familiarizing Yourself with Homestyler Rendering Principles
Before starting the rendering process, it’s essential to understand the basic concepts of rendering in Homestyler. This process converts your 3D designs into realistic images by incorporating materials, lighting, and background settings. Here’s how to begin:
Step-by-Step Guide to Rendering
Follow these steps to render your model effectively using Homestyler:
Tips for Creating Impactful Renderings
To ensure your renderings capture attention, consider these extra tips:
Wrap-Up
Utilizing Homestyler for simple model rendering is an invaluable skill that can greatly elevate your design presentations. By adhering to these steps and suggestions, you can generate stunning visuals that effectively convey your design ideas.
Frequently Asked Questions
Q: What is the optimal quality setting for rendering in Homestyler? A: This depends on your specific requirements; for quick previews, select Draft quality, while for more polished presentations, choose High quality.
Q: Is it possible to render in Homestyler without advanced skills? A: Absolutely, the basic rendering process is user-friendly and can be mastered with some practice.
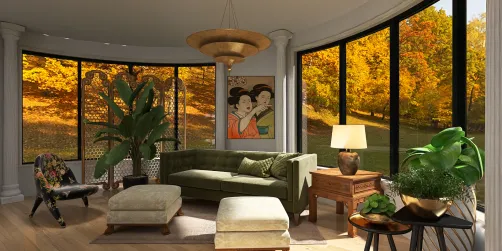
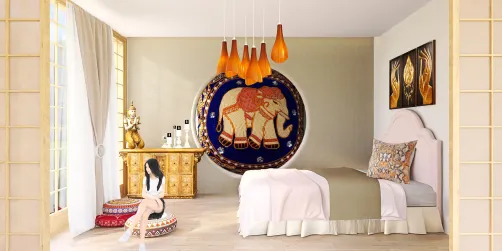
Welcome to the leading Home Design Software.


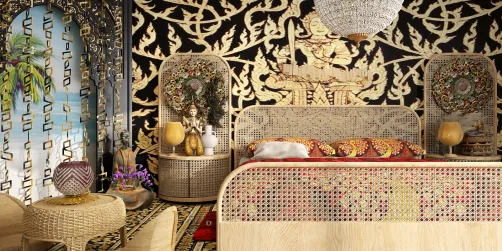


![[For dear Adelina madee 🤎]](https://hs-designs.homestyler.com/production/design/images/8a07e535-9cbc-4132-a42a-5932dac3a112/1706972286037.jpg?x-oss-process=image/resize,w_502,m_mfit/format,webp)