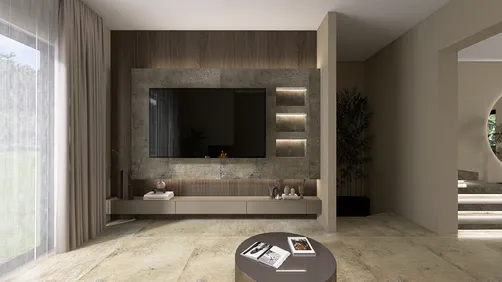
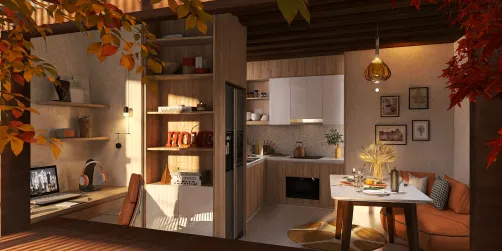
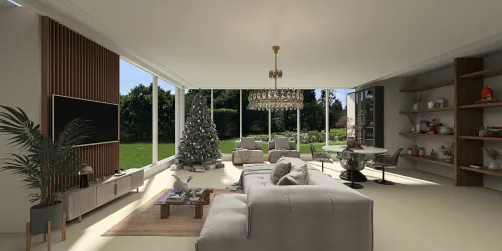
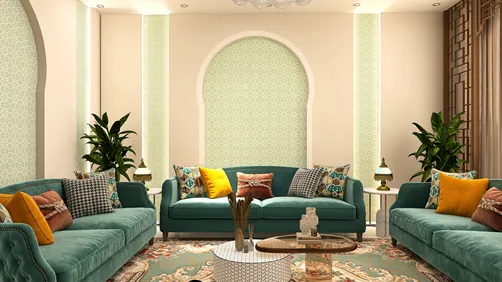
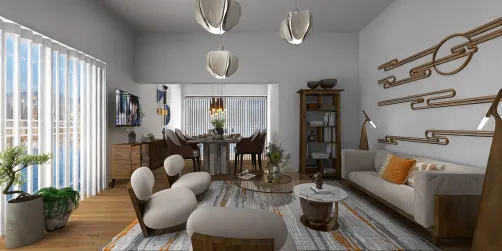
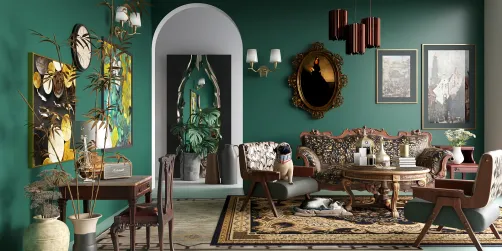
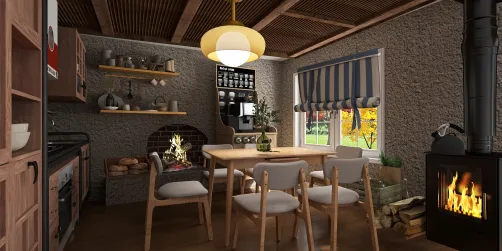
Creating an effective 3D cut plan for Corona Render is a crucial step in ensuring the optimal visual representation of your projects. A well-organized cutting plan enables designers to better conceptualize their ideas and guarantees cohesive integration of all components. In this article, we will delve into various elements of crafting a 3D cut plan, focusing on techniques, strategies, and resources, including the use of Homestyler, that can elevate your rendering experience.
Grasping the Fundamentals of 3D Cutting Plans
A 3D cut plan acts as a guide for your design, clarifying how various elements interact within a given space. Here are several important considerations:
Tools and Software for Developing 3D Cut Plans
Having the appropriate tools can greatly influence the effectiveness of your cut plans. Below are some recommended software options to explore:
Strategies for Efficient 3D Cutting Techniques
To optimize your cut plans in Corona Render, keep the following strategies in mind:
Frequently Asked Questions
Q: What is the most effective method to create a 3D cut plan for rendering? A: The ideal strategy involves utilizing a mix of drafting software and rendering applications while emphasizing layering and depth to improve the final result.
Q: How can I achieve realistic shadows in my cut plans? A: Absolutely; by meticulously planning your cut levels and accounting for the light source, you can create lifelike shadows that enhance the depth of your render.
Q: Which materials are best suited for 3D cut plans? A: Materials that effectively reflect light, such as glass or glossy surfaces, can significantly boost the visual appeal of your cuts in renderings.
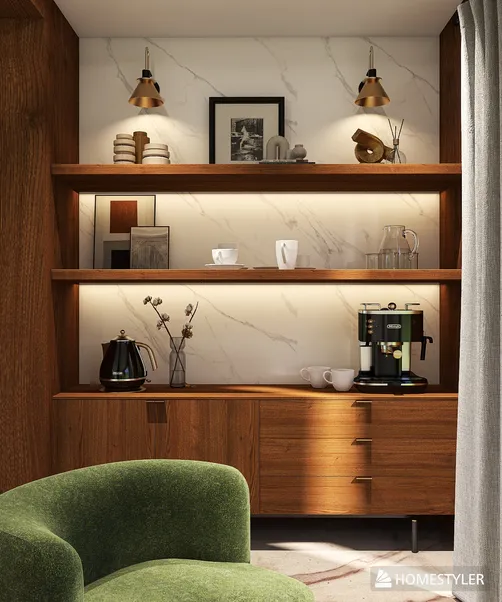
Welcome to the Premier Home Design Software, Homestyler!