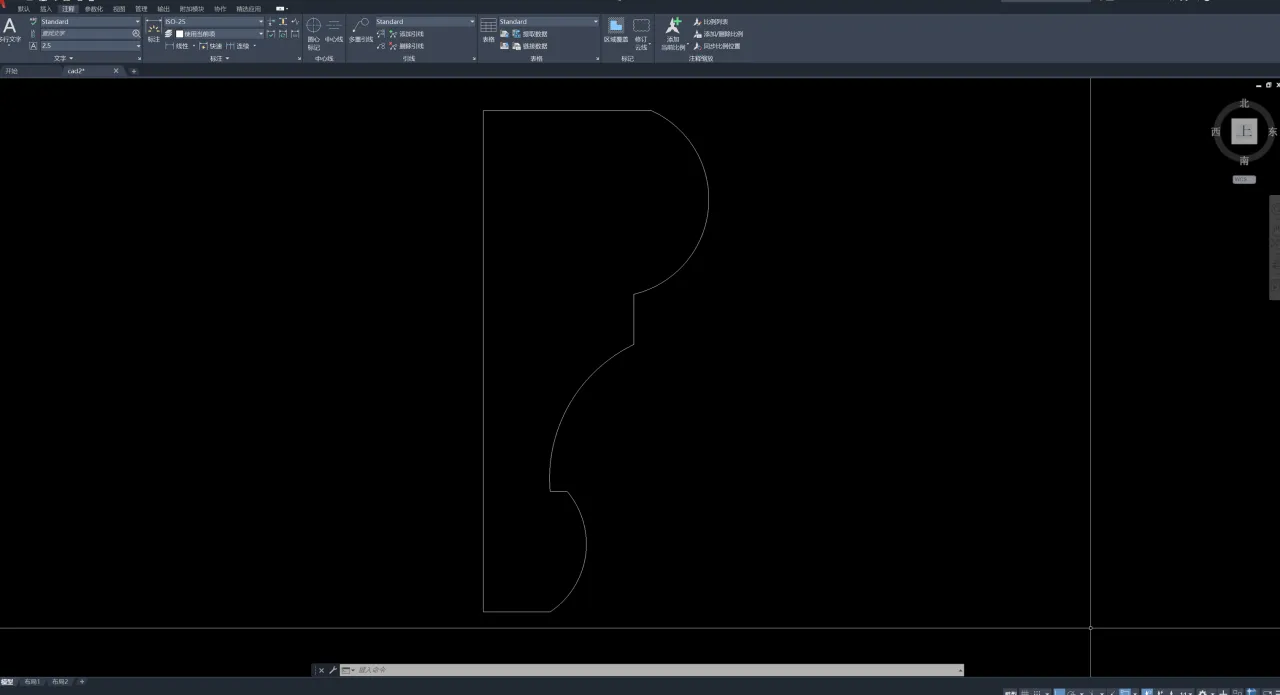
Step 1: Prepare the CAD Profile Cross-Section
Before uploading:
·Keep only the profile cross-section;
·Remove dimensions, drawing frames, and other unrelated content;
·Ensure that the profile outline is complete, closed, and free of gaps;
·Make sure the profile cross-section faces the Top View;
·Export the file in DWG or DXF format.
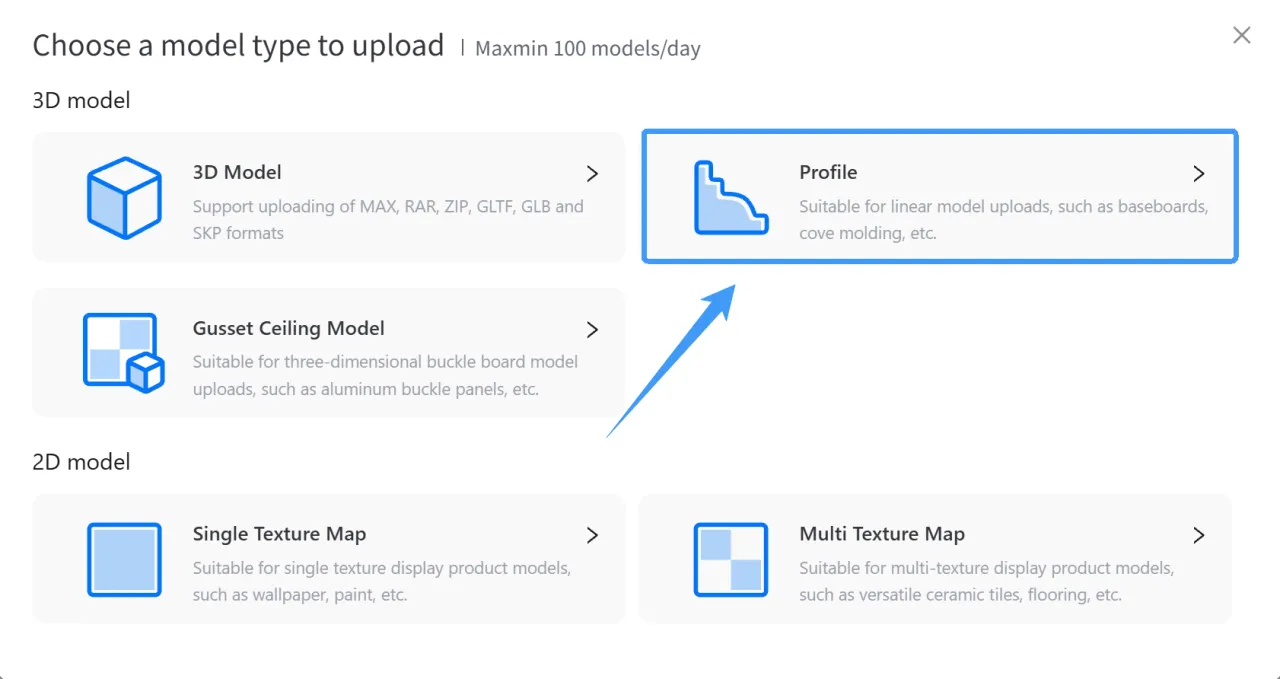
Step 2: Upload the File
Click Profile and select the prepared DWG or DXF file.
Step 3: Open the Editing Page
After the file has been uploaded, click GO Submit.
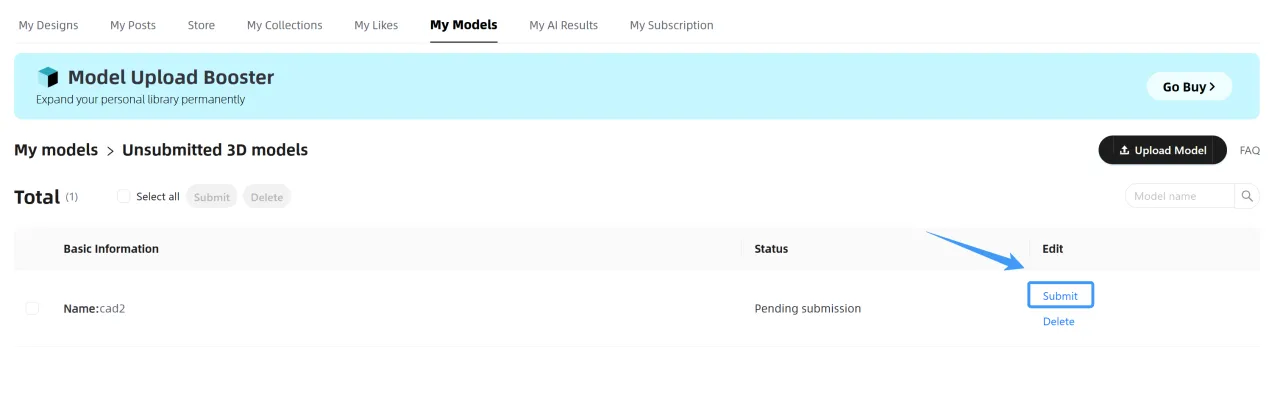
Step 4: Select a Model Category
Under Edit, click Submit, then select the appropriate Profile category.

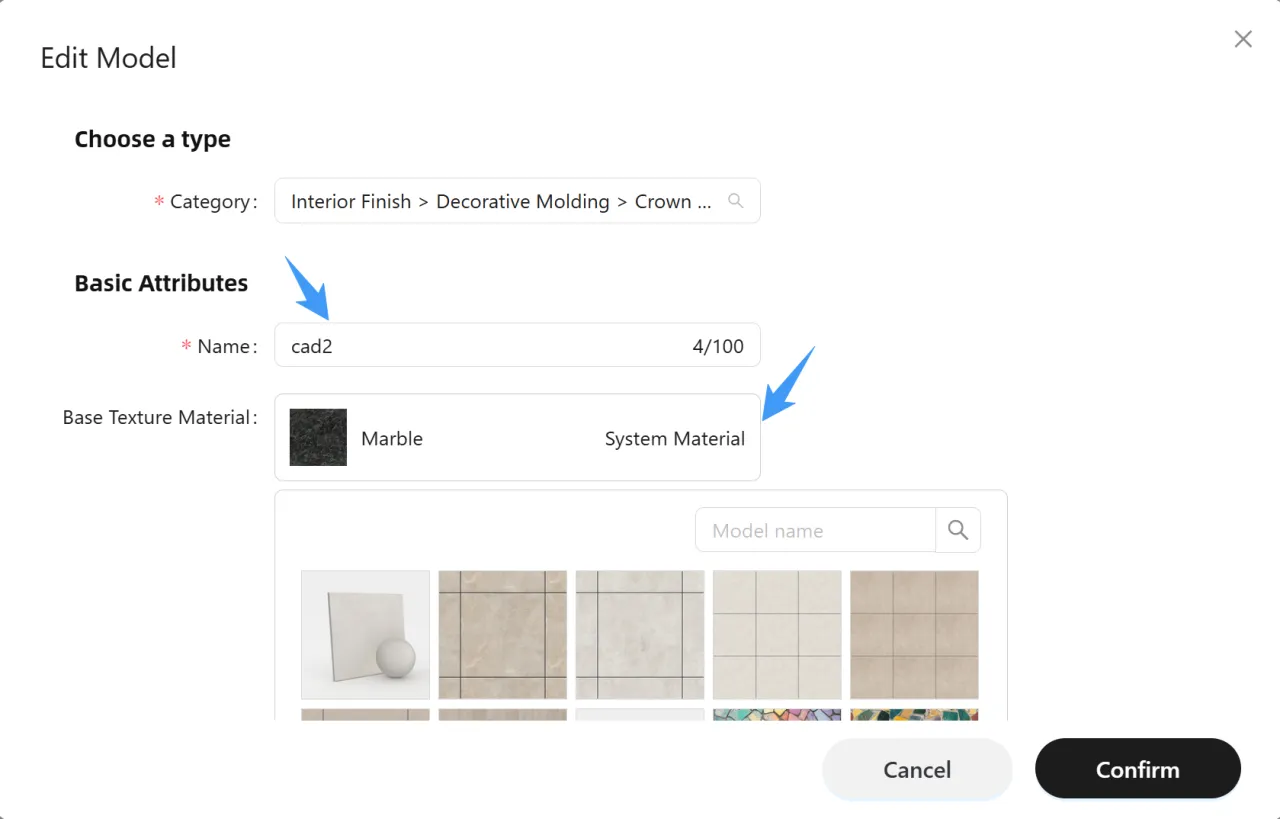
Step 5: Edit the Model Information
After selecting a category, you can edit the model name and Base Texture Material.
Use the default material or click System Material to select a material from your personal material library.
Step 6: Complete the Upload
Click Confirm to complete the upload, then wait for the model to finish processing.
A Profile model typically takes approximately 3 minutes to process.
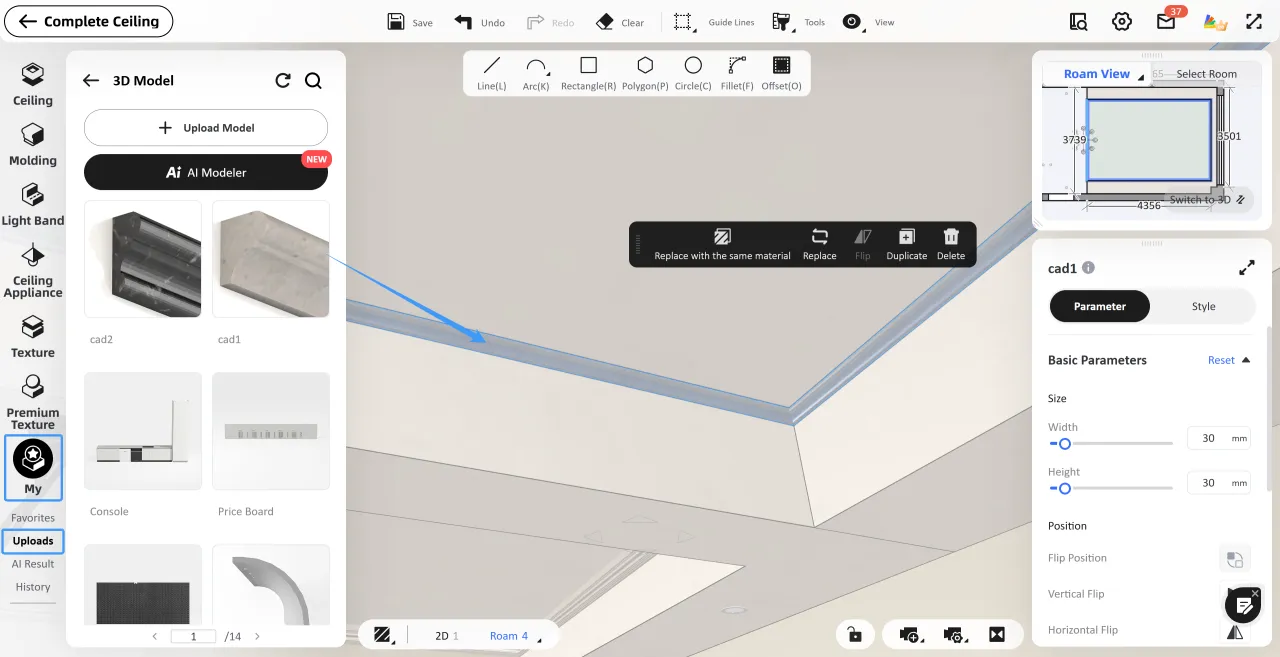
Step 7: Use the Profile Model
·Profile models in the Crown Moulding and External Corner Moulding categories are used in the ceiling design environment;
·Profile models in the Baseboard category can be dragged directly onto a wall. Homestyler will automatically generate baseboards around the room based on the selected profile.