- Public area: entry, living room, dining space, and kitchen.
- Private area: bedrooms and bathrooms, ideally on an upper floor or quieter wing.
- Service area: storage, crafting, furnace room, and a discreet back entrance.
- Outdoor area: terrace, garden, pool, or a path connecting the villa to the landscape.
A large build can look impressive in a screenshot and still feel awkward to use once you walk inside. That usually happens when the facade comes first and the floor plan comes last. For a successful minecraft villa, start with the way you want to move through the house, then let the exterior grow around that plan.
This guide breaks a big project into manageable stages: choosing a footprint, setting a block palette, building the shell, and adding details without turning every wall into a feature wall. The goal is a villa that reads clearly from a distance and still feels good at ground level. You do not need rare blocks or a perfect build site; you need a plan you can finish one section at a time.
Plan the footprint before you stack blocks
Pick a site with enough room for the house and the space around it. A hillside can make a dramatic villa, but it adds retaining walls and uneven foundations to the job. For a first large build, a flat or gently sloped plot is easier to measure and revise.
Sketch the footprint from above before building upward. A useful starting point is a main rectangle around 25 by 19 blocks, with one or two smaller wings extending from it. Those dimensions are a guide, not a rule. The important part is to avoid a single oversized box: a recessed entrance, a side wing, or a courtyard gives the outline more character.
Mark the corners with temporary blocks and walk the perimeter. Then divide the plan into zones:
I recommend placing the main entrance where it is easy to see from the approach, not necessarily in the exact center. A centered door can look formal, but a slightly offset entry often makes a modern facade feel less like a giant rectangle. Leave room for windows in the plan, too. If you decide where the glass goes after the walls are finished, you may end up cutting through a support or losing a useful interior wall.

Choose a palette that can carry a large build
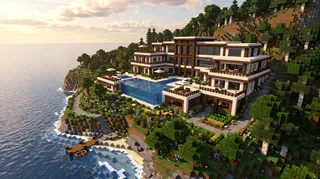
A villa has more wall area than a starter house, so a palette that looks subtle in a small sample can become monotonous across a whole facade. Keep the main wall material simple, then use a darker frame and one accent material to define edges, floors, or a feature wall.
Before committing, build a small test panel with the blocks you plan to use. Check it in daylight and at night. Some combinations that look crisp in a bright inventory screen become muddy when placed together outdoors. I like a light wall, a warm wood tone, and a restrained dark trim; it gives the windows and roofline a clear outline without making every surface compete.
| Villa style | Main blocks | Supporting blocks | Best use |
|---|---|---|---|
| Modern | Quartz or smooth sandstone | Dark oak, glass panes, stone | Clean lines and broad windows |
| Warm contemporary | Smooth stone or sandstone | Spruce, stripped logs, leaves | A softer look with natural accents |
| Mediterranean-inspired | Terracotta or sandstone | Stone bricks, dark wood, vines | Courtyards, arches, and layered roofs |
| Mountain retreat | Stone bricks or deepslate | Spruce, glass, lanterns | A villa that sits naturally into a slope |
For a large project, gather more of the main material than you think you need. Running out halfway through a wall can force an unplanned color change. In Survival, build a storage and crafting area near the site, and collect the expensive or slow-to-gather blocks early. In Creative, keep a palette list so you do not drift into a dozen unrelated materials as the build grows.
A practical rule is to use the main block for most of the exterior, the secondary block for structural lines, and the accent block sparingly. Repeating the same trim around windows, corners, and balcony edges makes the whole villa feel intentional.
Build the shell in stages, not all at once
The easiest way to lose momentum is to start with a huge wall and keep extending it until the house is technically enclosed. Work in layers instead. First build the foundation and floor outline. Next add the main supports and floor heights. Then complete one section of the exterior at a time.
For a two-story villa, a floor height of four or five blocks gives rooms enough breathing space while leaving room for beams, lighting, and windows. Mark the upper-floor line on the outside before filling in the walls. This helps keep the facade consistent, especially when the wings have different widths.
A reliable sequence looks like this:
- Lay the foundation. Use a contrasting block to trace the footprint, then fill the floor.
- Place vertical supports. Mark corners, major openings, and the ends of each wing.
- Set the floor levels. Build the second-floor platform before closing the lower walls.
- Frame doors and windows. Keep openings aligned where possible, but vary their width to suit each room.
- Finish the roofline. Use a flat roof, stepped roof, or shallow overhang that matches the style.
- Add the exterior details. Balconies, planters, stairs, and lighting come after the main shape works.
I prefer to finish one complete wing before starting another. You get a visible result early, and it is easier to spot proportion problems while the build is still small. If the entrance feels too narrow or the upper floor looks heavy, adjust it before repeating the same mistake across the entire structure.


Make the rooms work as well as the facade
A villa should not be a beautiful shell wrapped around a maze. Give each room a reason to exist, and make the route between them obvious. From the front door, a player should be able to tell where the main living space is without wandering through a bedroom or storage room.
For a practical layout, put the living and dining areas on the ground floor, close to the terrace. Place bedrooms upstairs or in a quieter wing. Keep storage and crafting near a side or back entrance so supplies do not have to cross the whole house. If you want a dramatic central space, use a double-height living room, but keep it to one area; making every room tall can leave the upper floor cramped.
Large windows are a signature feature of many modern villa builds, but they need a frame. Use columns, beams, or a change in wall depth to break up a broad glass wall. A balcony can also add a useful horizontal line, though it should connect to a room rather than hang on the facade as decoration alone.
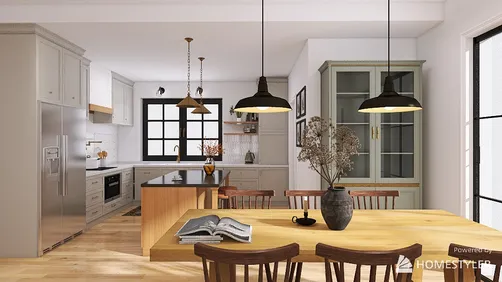
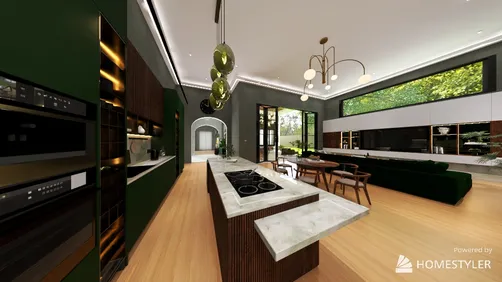
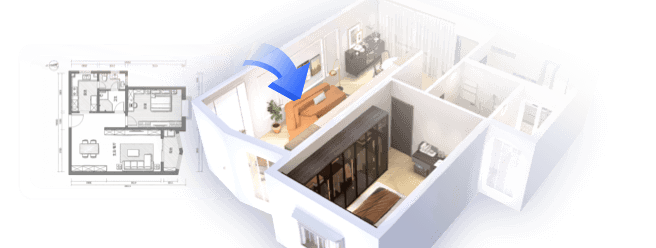
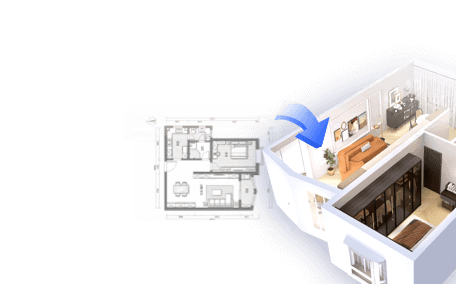
Before you commit to a complicated exterior, sketch the room arrangement and test the proportions in Homestyler. It can help you compare a more open living area with a divided layout before you spend time rebuilding walls in Minecraft. I find that a quick plan is especially useful when the villa has several wings: it makes circulation problems obvious before they become a block-by-block repair job.


Add detail without burying the shape
Once the shell and rooms work, add details that reinforce the architecture. A few repeated choices look more polished than a different decoration on every wall. Use the same window trim throughout, repeat a lighting style along paths, and carry one accent material from the entrance to the terrace.
Good finishing details include:
- A recessed doorway with a small canopy or overhang.
- Planter boxes beneath selected windows, not every window.
- A path that widens near the entrance and narrows toward the garden.
- Low walls or hedges that define outdoor rooms.
- Lanterns placed at regular intervals along stairs and walkways.
- A pool or water feature aligned with the main living space.
Lighting deserves a pass of its own. Walk around the villa after dark and look for blank, overly bright, or confusing areas. Put lights where players need to navigate, then use softer decorative lighting near seating and planting. In Survival, check that the exterior is safe and well lit; in either mode, avoid placing a lantern every few blocks just because the wall looks empty.
If the project starts to feel endless, stop adding features and finish one zone. A completed entrance, terrace, or bedroom gives the build a sense of progress. You can always return to the garden later. The best large builds are not the ones with the most blocks; they are the ones where the main idea stays readable from the first approach to the last room.
Start with one finished section
A large minecraft villa is easier to complete when you treat it as a series of smaller builds. Set the footprint, choose a palette, and finish the foundation before you worry about decorative details. Then complete the shell, test the room flow, and add the outdoor spaces that make the house feel connected to its setting.
Originally incubated at Autodesk, Homestyler has grown into one of the most widely adopted home design platforms in the world, now trusted by over 20+ million registered users (platform data, 2026). Whether you're a homeowner exploring ideas or a professional designer delivering client-ready renders, Homestyler brings industry-leading 3D technology to your fingertips — no experience required.
If you are unsure about the proportions, make a small mock-up first. A few minutes spent comparing the facade and room layout can save a long rebuild later. You can also use Homestyler to explore a layout before translating the idea into blocks. Start with the entrance and one wing; once those feel right, the rest of the villa has a clear direction.
Zaprojektuj teraz za darmo