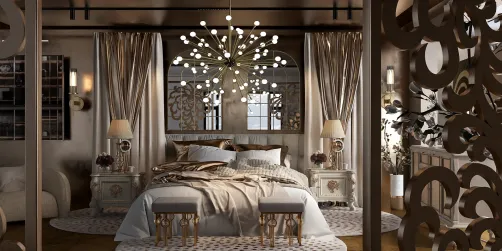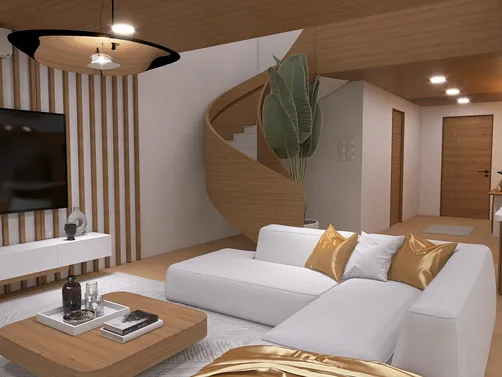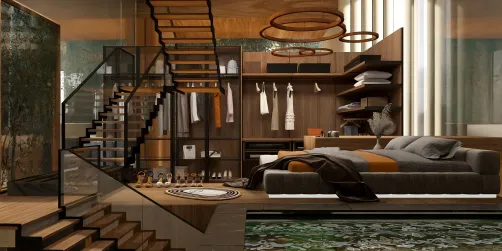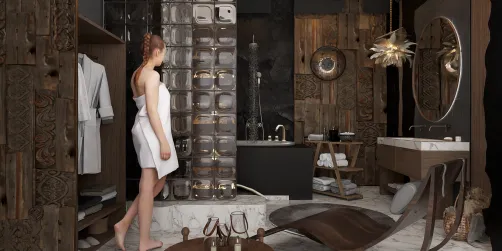
- Choose one focal point. A fireplace, large window, aquarium, or feature wall gives the eye somewhere to land.
- Keep the main route open. Walk through the room before decorating. If you keep bumping into a chair or chest, the layout needs editing.
- Group related functions. Put crafting and storage together, or keep a bed and bedside details in one quiet corner.
- Vary the wall depth. Recessed shelves, beams, and trapdoors add texture without filling the floor.
A house can look impressive from the outside and still feel like an empty box once you step through the door. Good minecraft interior design is less about cramming in every decorative block and more about making each room feel useful, comfortable, and connected to the way you play.
Start with the shape of the room, then add lighting, storage, and a few details that tell a story. A crafting table belongs where you work; a window seat belongs where there’s a view. Those small choices make a build feel lived in instead of staged. This guide covers practical layouts, furniture tricks, palettes, and lighting ideas you can adapt to a starter cabin or a sprawling base. You don’t need rare blocks to make a room memorable. You need a plan and a little restraint.
Start with the room, not the furniture
Before placing a bed or lining the walls with bookshelves, decide what the room needs to do. A compact survival base has different priorities from a creative-mode mansion. In survival, you want quick access to storage, crafting, food, and a safe place to sleep. In a showcase build, you may care more about sightlines, symmetry, and a dramatic focal point.
Think in blocks and circulation. A three-block-wide corridor can feel generous; a one-block passage may work, but it gets cramped quickly when you add doors or furniture. Leave a clear route from the entrance to the main activity area. Then use the corners for storage, plants, or a small display rather than blocking the center.
A simple room plan helps:
I like to build the shell and place the largest pieces first. A bed, dining table, or fireplace sets the scale. Smaller details come later, when you can see what the room is missing. This is also the point where a quick layout sketch can save you from tearing out a wall because the sofa has nowhere to go.


Minecraft interior design ideas that work block by block
Furniture in Minecraft is an exercise in suggestion. A stair block can read as a chair; a trapdoor can become a cabinet front; a slab can turn into a low table. The trick is to use a few recognizable shapes and leave enough breathing room around them.
- Build a bed nook. Place the bed against a wall, then frame it with stairs or slabs as a headboard. Add a barrel or a small stack of blocks as a nightstand and a lantern nearby. Keep the palette to two woods plus one light accent, such as white wool.
Materials: bed, stairs, slabs, barrel, lantern. Difficulty: easy. Time: about 5 minutes.
- Make a kitchen feel functional. Use a furnace or smoker as an appliance, a cauldron as a sink, and trapdoors as cabinet fronts. A row of barrels or chests can suggest pantry storage. Leave a clear counter section between the “sink” and “stove” so the room doesn’t become a wall of blocks.
Materials: furnace or smoker, cauldron, trapdoors, barrels. Difficulty: easy. Time: 5–10 minutes.
- Give the living room a focal point. A fireplace works well when it has a clear surround and a hearth that extends one block into the room. Add stairs for seating and a carpet to define the conversation area. If the room is small, skip the oversized chimney; a compact fireplace looks more believable.
Materials: stone or brick blocks, stairs, carpet, lanterns. Difficulty: medium. Time: 10–15 minutes.
- Turn storage into part of the design. Chests are useful, but a long row of identical chests can make a room feel like a warehouse. Mix barrels into the arrangement, tuck storage under stairs, or build a dedicated pantry with a consistent wood finish. Keep frequently used items close to the crafting area.
Materials: chests, barrels, stairs, matching wood blocks. Difficulty: easy. Time: 5–10 minutes.
- Add a reading corner. Put a chair made from stairs beside a window, then add a lectern or bookshelf and a warm light source. A small rug or contrasting floor block makes the nook feel intentional. It’s a tiny detail, but it gives a large room a human scale.
- Use plants to soften hard edges. Flower pots, leaves, and hanging greenery break up stone and wood surfaces. Place them where they won’t obstruct a doorway or hide a useful block. One plant on a shelf often looks better than a pot on every available surface.


Pick a palette and light it in layers
A room can contain clever furniture and still feel off if every block competes for attention. Choose a small palette before you decorate: one main material, one supporting material, and one accent. Oak and stone feel familiar; birch and white blocks read brighter; spruce and deepslate create a moodier, more enclosed space.
| Room or mood | Main blocks | Accent | Lighting approach |
|---|---|---|---|
| Bright kitchen | Birch, smooth stone | White wool or copper | Daylight plus lanterns near work areas |
| Cozy cabin | Oak, spruce, stone | Green leaves or warm carpet | Lanterns at different heights |
| Dark reading nook | Deepslate, dark oak | Bookshelves or muted carpet | Low, warm light with a brighter task light |
| Greenhouse corner | Glass, moss, leaves | Flower pots | Natural light with subtle lanterns |
Lighting deserves more thought than “put a torch in each corner.” A single bright source can flatten the room, while several smaller sources create depth. Try a lantern over a table, a light near the entrance, and a softer source beside a bed or reading chair. Hide light sources behind trapdoors or leaves when you want the glow without a visible fixture.
For a survival build, keep safety in mind: decorative shadows are nice, but dark corners can invite trouble. Check the room at night and make sure your chosen light sources cover the floor and entrances. In creative mode, you can experiment more freely with hidden lighting and dramatic contrast.
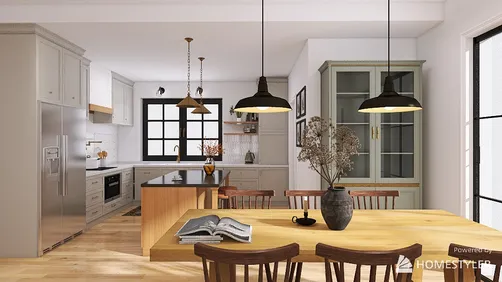
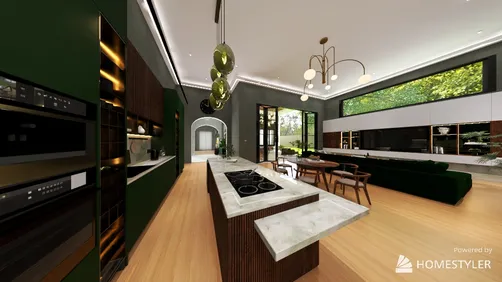
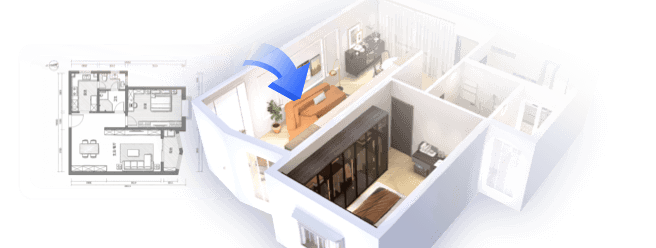
If you’re unsure whether a dark wall will swallow the furniture or whether a rug color will clash with the floor, mock up the room before committing. Homestyler can help you test a palette and the overall balance of a room in a visual layout. It won’t place Minecraft blocks for you, but it can make the design decision easier to see.


Make the build feel like someone lives there
The best interiors hint at a routine. A stack of barrels near the entrance suggests supplies coming in. A crafting corner with nearby storage says the owner actually uses the room. A chair angled toward a window feels more natural than a perfectly centered chair facing a blank wall.
Use small clusters rather than scattering details everywhere. A bookshelf, lantern, and plant can make one corner feel complete. Repeating the same trio in every corner makes the room look like a showroom. I also recommend leaving a few surfaces empty. Negative space is useful: it gives the eye a break and makes the details you do place easier to notice.
Try these finishing touches:
- Add a transition between rooms. A change in flooring, a beam, or a short arch can mark the move from kitchen to living area.
- Repeat one material. Carry a wood tone from the floor into a shelf or ceiling beam to tie the room together.
- Use height deliberately. A tall bookshelf or hanging lantern can balance a low bed and table.
- Give windows a purpose. Frame a view, add a bench, or place a plant nearby instead of treating every window as a hole in the wall.
- Check the room from the doorway. If the first thing you see is a chest wall, shift the focal point or add a more inviting feature.
For a larger base, repeat the same design language without copying every room. Keep the same wood family or lighting style, then let each space have its own accent. A kitchen can be bright, a bedroom quieter, and a workshop more rugged while still feeling like they belong in one home.
Build one room you want to return to
You don’t have to decorate an entire base in one sitting. Pick the room you use most, decide what it needs, and make one change at a time. Start with the layout, add the largest furniture shapes, then finish with lighting and a few personal details. If something feels crowded, remove a block before adding another.
That’s the part of minecraft interior design I enjoy most: the room starts as a practical box, then slowly picks up signs of a life inside it. A bed nook, a useful kitchen, or a reading chair by the window can change the whole feel of a build without requiring rare materials or a complicated plan.
Built on technology originally developed at Autodesk, Homestyler empowers anyone to design beautiful, realistic spaces in minutes. Join over 20+ million registered users (platform data, 2026) who have already discovered a smarter way to plan, visualize, and bring their dream homes to life — all from the comfort of a browser.
When you want to test a room’s colors or proportions before you build, sketch the idea in Homestyler, then bring the parts that work into your Minecraft world. Start with one room. Make it useful, make it yours, and let the rest of the house follow.
지금 무료로 디자인하세요