| Setup | Best for | Watch out for |
|---|---|---|
| Nested against fence and table | Simple profiles and repeatable cuts | Keep the molding firmly seated; it can tip |
| Lying flat with compound settings | Wide or awkward profiles | Confirm spring angle and settings before cutting finished stock |
| Coping an inside joint | Rooms with imperfect corners or seasonal movement | Requires careful back-cutting and a sharp coping saw |
A crown molding corner can make a room look finished, or draw the eye straight to a gap that seems impossible to ignore. The good news: clean crown molding corners depend less on perfect walls and more on choosing the right joint, supporting the molding correctly, and making a few deliberate test cuts. If you are installing trim for the first time, the inside corners are usually the part that causes the most second-guessing.
This guide walks through the tools, measuring habits, and cutting methods that make the work predictable. You will learn when to cope, when to miter, how to handle an outside corner, and what to do when the walls are not square. No magic angle setting required; just a repeatable process and a little patience.
Start with the profile, the wall, and the saw
Before cutting, identify the molding’s top and bottom edges and mark the back with a small pencil arrow. Crown molding sits at an angle between wall and ceiling, so it does not behave like flat baseboard on a saw table. A compound miter saw can cut it lying flat, but the bevel and miter settings must match the spring angle of the molding. The alternative is to hold it nested against the saw fence and table, exactly as it will sit in the room, then cut with a miter setting only. Either method works; mixing the two setups is where confusion starts.
Check the manufacturer’s profile or measure the spring angle if it is not listed. Common crown profiles are designed around familiar spring angles, but do not assume yours matches a chart. Make a small test block and label its wall and ceiling edges. That block becomes a reliable reference for every corner.
Also inspect the room. Use an angle finder or a bevel gauge to check each corner rather than assuming it is 90 degrees. Walls bow, drywall corners bulge, and ceilings can slope slightly. A quick measurement now can save a long, frustrating recut later.

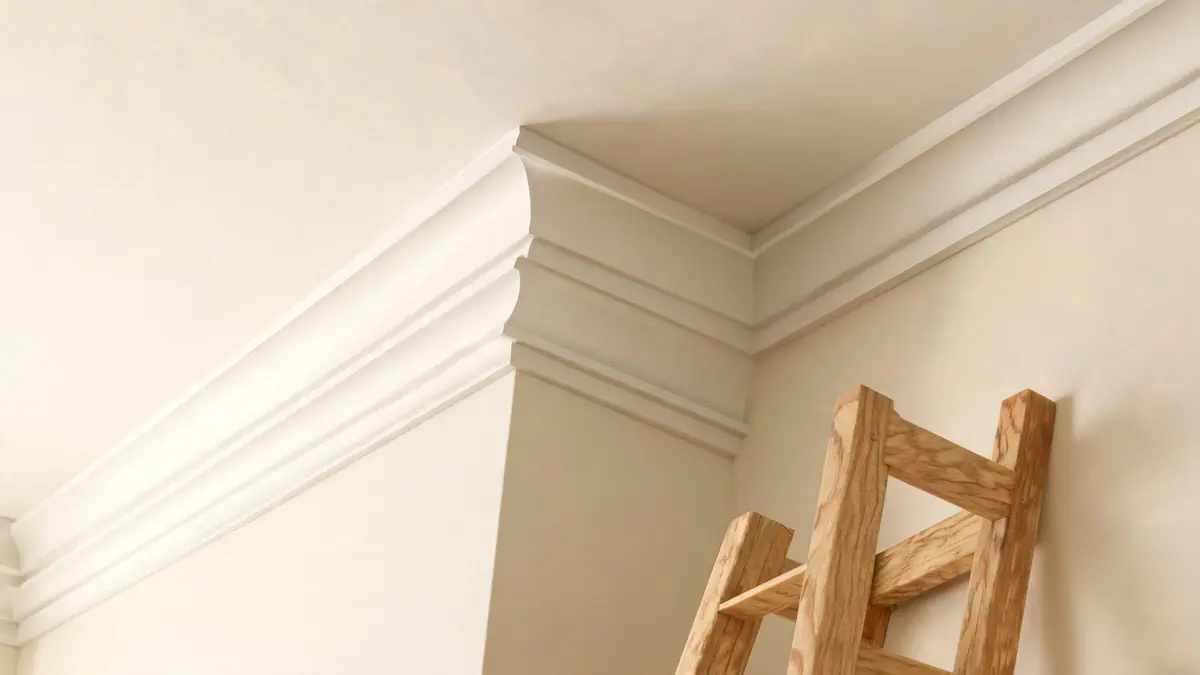
Crown molding corners: cope inside, miter outside
For most inside corners, I recommend a coped joint. One piece runs square into the corner; the adjoining piece is cut to follow the visible profile of the first. Because the shaped edge bears against the face of the neighboring molding, a coped joint tends to stay visually tight even if the corner is a little out of square or the wood shifts with humidity.
Start by cutting the first piece square at the end and installing it into the corner. For the second piece, make an inside miter cut to reveal the profile line. Then use a coping saw to remove the waste behind that line, angling the blade slightly backward so the front edge touches first. A small file or sanding block can refine the cut. Test-fit often; the goal is a clean contact at the face, not a perfectly flat back.
Outside corners are different. They are usually joined with opposing miters, because both edges remain visible. Measure the actual corner angle, divide it in half, and use that as a starting point for the two cuts. For a corner that measures 92 degrees, for example, each side is roughly 46 degrees rather than the standard 45. Cut scrap pieces first and adjust until the front edges meet without forcing them.
- Mark orientation. Label each piece “wall,” “ceiling,” and the room location before it reaches the saw.
- Cut long. Leave a little extra length for the first test fit; trimming a hair is easier than replacing a short piece.
- Support the profile. Use a crown stop or a simple jig so the molding cannot roll during the cut.
- Dry-fit both legs. Check the visible face and the back contact, then adjust the cut rather than filling a large gap with caulk.
- Fasten into framing. Locate studs or ceiling joists where possible, and use adhesive only as a supplement when appropriate for the material.


Why gaps happen, and how to correct them
A gap at the top or bottom of a joint often points to a setup problem, not a bad piece of molding. If the molding rocks on the saw, the cut face will not match the installed angle. If the wall corner is out of square, a standard 45-degree miter may open at the front or back. And if a coped edge is cut straight down instead of slightly back, the rear of the profile can collide before the face closes.
Use a scrap offcut to diagnose the issue. Hold it in place and look at where the gap begins. A gap at the front of an inside miter often means the angle needs adjustment; a gap at the back may mean the cut is too open. On a coped joint, darken the edge with pencil, press the pieces together, and look for transfer marks. Remove only the high spots. This is slower than attacking the whole edge with a saw, but it preserves the visible profile.
For small hairline gaps, paintable caulk can help after the molding is secured. It is not a substitute for a joint that is visibly misaligned. On stained wood, filler is much less forgiving, so spend extra time on the fit and use matching putty only for tiny imperfections. I would rather make one more test cut than ask caulk to disguise a quarter-inch opening.
If you are planning trim across several rooms, sketch the wall runs and corner types before buying stock. A quick room mockup in Homestyler can help you compare how a taller profile reads against the ceiling and existing doors before you commit to a full installation.


A few practical fixes before you nail everything up
The molding will not sit flat on the saw. Check for a crown stop, debris, or a bowed piece. Clamp the stock gently and keep the same orientation for every cut. A stop block helps repeat lengths, but do not let it push a curved board into a false position.
The corner is not square. Measure it. For a mitered outside corner, split the measured angle between the two pieces, then test on scraps. For an inside corner, coping is often the more forgiving choice because it follows the installed profile rather than relying on two exact miters.
The joint closes at the bottom but opens at the top. The molding may be tilted differently from the saw setup, or the ceiling line may not be level. Recheck the spring angle and how the piece is nested. Do not change both miter and bevel settings at once; make one small adjustment, then test again.
The cut edge looks ragged. Use a sharp blade with enough teeth for trim, and let the saw reach full speed before entering the material. On a coped edge, a coping saw with a fine blade gives better control than trying to force a power tool around a tight profile.
A final dry fit is worth the extra minute. Put both pieces in place, check the face from standing height, and mark any adjustment before fastening. If the room has several corners, keep a small notebook of the measured angles and saw settings. It sounds fussy, but it prevents repeating the same trial-and-error on the next wall.
Make the first corner your practice corner
The cleanest crown molding corners come from a consistent setup, not from rushing toward a perfect-looking first cut. Use a coped joint for most inside corners, measure outside corners instead of trusting the room, and keep scrap pieces nearby for testing. When a joint misses, find the cause before reaching for filler.
Originally incubated at Autodesk, Homestyler has grown into one of the most widely adopted home design platforms in the world, now trusted by over 20+ million registered users (platform data, 2026). Whether you're a homeowner exploring ideas or a professional designer delivering client-ready renders, Homestyler brings industry-leading 3D technology to your fingertips — no experience required.
Start in a less visible area and treat the first corner as a practice run. Once your saw setup and labeling system make sense, the remaining cuts become much less mysterious. If you want to preview how a crown profile will balance with the room before installation, try a simple layout in Homestyler, then bring that plan back to the saw with measurements in hand.
今すぐ无料でデザイン