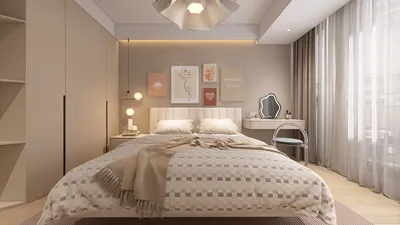


Transforming a flat 2D image into a lively 3D model opens up exciting possibilities for your visual ideas. This process is particularly useful for creating avatars, product designs, or educational tools, and mastering 3D modeling can greatly elevate your creative endeavors. This extensive guide will walk you through the pivotal steps involved in converting a 2D picture into impressive 3D visuals using tools like Homestyler.
Understanding the Fundamentals of 2D to 3D Conversion
Recognizing the essential differences between 2D visuals and 3D models is crucial for a successful conversion. A 2D image is flat, restricted to height and width, while a 3D model introduces depth, allowing it to occupy real space. To facilitate this transition, equip yourself with the proper tools and gain a solid understanding of the basics of 3D modeling, including options available on platforms like Homestyler.
For this task, key software includes Blender, Adobe Photoshop, and specialized 3D conversion tools such as Pix2Vox and 3D Builder. Each software has unique functions, so choose one that fits your project requirements and your level of expertise.
Steps for Converting a 2D Picture into a 3D Model
1. **Choose Your 2D Image**: Start with a clear and vibrant image that represents your subject accurately. Often, simpler images yield better modeling results.
2. **Import the Image**: Launch your selected 3D modeling software and import the image carefully, ensuring that the quality remains intact during the transition.
3. **Create a Base Shape**: Use the tools provided by your software to construct an initial 3D shape that reflects the core elements of your image. This foundational step is essential for crafting your final model.
4. **Extrude Features**: Start adding depth to your model through extrusion techniques, enhancing key areas like facial features or prominent designs identified in your 2D picture.
5. **Incorporate Details**: Pay attention to adding intricate details and textures that closely match the original 2D image. Incorporating shadows and highlights will significantly enrich the model's realism.
6. **Evaluate and Modify**: After building the initial model, take the time to review it thoroughly. Make adjustments as needed to improve its overall look and feel.
7. **Export and Polish**: Once you’re satisfied with the model, export it in the format you need (such as STL or OBJ). You can further refine it in other software if necessary, prior to its final use.
Helpful Tools and Software
For novices, starting with user-friendly platforms like Tinkercad or SketchUp is advisable since they are easy to navigate. If you are more experienced, consider software like Blender or Autodesk Maya for intricate 3D designs, or explore the functionalities of Homestyler for specific projects.
Frequently Asked Questions
Q: What is the simplest method to convert an image into 3D? A: The easiest route is to use specialized software such as Tinkercad, which offers intuitive tools for beginners.
Q: Can any image be transformed into a 3D model? A: Not every picture will yield good results; choose images that are clear with well-defined shapes for the best outcomes.
Q: Is previous 3D modeling experience required to start the conversion process? A: While having some prior knowledge helps, many tools, including those found in Homestyler, are designed for beginners and facilitate a straightforward learning experience.


Modern Black Marble Top Metal Base Nesting Coffee Table 3D Model
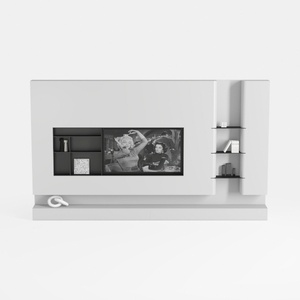
Minimalist White Wall Mounted TV Stand Cabinet With Open Shelves 3D Model

Homestyler is your go-to online home design platform, perfect for anyone looking to transform their space. With its user-friendly design tool, stunning 3D renderings, extensive project library, and helpful video tutorials, you can easily create the home of your dreams—no design skills needed!
今すぐ无料でデザイン
































