


Mastering the art of editing a 3D model using Photoshop can significantly expand your creative potential. Whether your goal is to enhance visual demonstrations or to craft completely unique designs, having expertise in 3D model editing has become a fundamental skill. Let's explore the editing process in a detailed manner!
Comprehending 3D Layers in Photoshop
Photoshop offers a robust feature for working with 3D layers that contain 3D content. To start editing efficiently, make sure you're acquainted with the 3D workspace by navigating to Window > 3D. Keeping your workspace organized is crucial, especially when dealing with intricate designs.
After importing your 3D model, it will be displayed in the 3D panel. This is where you can manage scene elements, lighting, materials, and meshes linked to your model. Exploring the myriad of options available can greatly boost your creativity and insight into 3D editing.
Modifying Textures and Materials
The textures and materials you choose are critical in defining the visual appeal of your model. To alter the material of a 3D object, simply click on the mesh located in the 3D panel. The properties panel will present options to modify the diffuse, specular, and ambient color settings, allowing for significant customization of the appearance.
You can upload textures from your local storage or utilize Photoshop's rich libraries. It’s essential to adjust both the scale and mapping to ensure the textures align well with your model. Always utilize the 3D workspace for previewing changes to catch any glitches early on!
Incorporating Lighting and Shadows
Lighting can dramatically influence the perception of a 3D object. You have the option to introduce multiple light sources into your scene, such as key lights, fill lights, and backlights, to create depth and enhance dimension. Experimenting with these lighting elements can produce stunning outcomes and set the desired mood for your designs.
Control the shadows by modifying their softness and intensity. Experimenting with these settings is vital to achieving a look that complements and enhances your overall design.
Exporting Your 3D Model
Once you’re satisfied with your adjustments, exporting your model is simple. Navigate to File > Export > 3D Layer to export your creation. You can choose from various formats such as OBJ or STL, depending on the needs of your project. Consider the ways you’ll implement these models in future endeavors, possibly using tools like Homestyler to bring your designs to life!
Common Questions
Q: Is it possible to edit a 3D model made in another application? A: Absolutely, Photoshop supports numerous 3D formats for import, allowing you to make modifications to models created in various software programs.
Q: What steps can I take to enhance the appearance of my 3D model? A: Concentrate on refining textures, adjusting lighting, and ensuring correct shading to significantly improve the visual quality of your work.

Modern Minimalist Solid Wood TV Stand Cabinet with Storage 3D Model
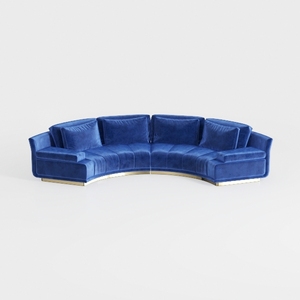
Modern Navy Velvet Gold Base Curved Sectional Sofa 3D Model

Minimalist Fabric Curved Sofa With Throw Pillow 3D Model
Homestyler is your go-to online home design platform! With its easy-to-use design tool, stunning 3D renderings, diverse interior projects, and helpful DIY video tutorials, you can effortlessly transform your home vision into reality—no design experience needed!
Progetta ora GRATIS


