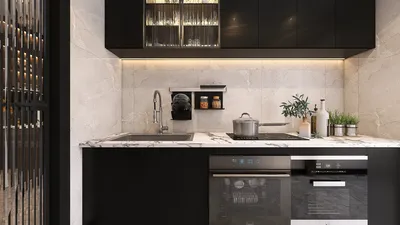


Mastering the art of 3D modeling metal objects with curves in Blender can significantly enhance your design capabilities. Whether you're creating elaborate sculptures, industrial designs, or simply experimenting with advanced curves, Blender's robust tools enable you to produce stunning metallic effects and lifelike shapes. Are you ready to get started?
Let’s begin by highlighting the role of curves in modeling. Curves in Blender are essential not just as mere shapes; they serve as a basis for constructing smooth and organic forms. By utilizing these curves effectively, you can design intricate metallic shapes that would take considerably longer to achieve with standard polygon modeling.
1. Setting Up Your Blender Workspace
Start by launching Blender and configuring your workspace. Make sure your layout allows easy access to both the Tool Shelf and the Properties Panel. You can modify these preferences to better suit your modeling workflow.
Then, initiate a new project and select the curves you wish to work with. You can find the curve options in the ‘Add’ menu, where you can choose either ‘Curve’ and then pick from options like Bezier or Nurbs.
2. Crafting Your Metal Objects with Curves
After introducing a curve, it’s time to begin defining your metal object. Enter Edit Mode to adjust the curve points. Move and fine-tune the control points to achieve the intended silhouette. For metal designs, it's crucial to focus on smooth transitions and rounded edges to emulate the reflective qualities of metal.
Once your shape is complete, convert the curve into a mesh (Object > Convert To > Mesh from Curve). This step allows you to utilize Blender’s mesh editing tools for further refinement of your object.
3. Applying a Material for a Realistic Metal Finish
To create a lifelike metallic finish, you’ll need to apply a material to your model. Navigate to the Material Properties to create a new material. Adjust the Base Color to match a metallic hue—such as gray or silver—according to your design needs. Set the Metallic slider close to 1 and experiment with the Roughness setting to define the sheen of your metal surface.
For more control over the metallic appearance, employ nodes in the Shader Editor. Incorporating Fresnel nodes can help produce realistic reflections and elevate the material's visual quality. Make sure to enable screen space reflections in the render settings to view these effects in your viewport.
4. Adding Details and Final Touches
For projects like metallic ornaments or intricate industrial pieces, incorporating finer details can enhance their impact. You can achieve this by utilizing modifiers such as Bevel and Subdivision Surface to refine the shape without complicating the geometry too much.
5. Rendering Your Metal Object
Once you’re satisfied with your model and materials, it's time to render your creation. Position your camera to capture the best angle of your metal object. Adjust the render settings to match your resolution and quality requirements, ideally using Cycles as your rendering engine for superior lighting and reflections.
After rendering, you can refine the scene’s lighting or modify the model itself based on the output. Remember, rendering can be an iterative process—don’t hesitate to explore different settings to achieve your ideal result.
FAQ
Q: What is the most effective way to achieve a realistic metallic effect in Blender? A: Adjust the shader settings by increasing the metallic value and tweaking the roughness to dictate how shiny or matte you want the surface to appear.
Q: Is it possible to animate metal objects created using curves? A: Absolutely! Once your metal object is crafted, you can animate it utilizing Blender's animation features, including keyframes and modifiers.
Q: What advice do you have for beginners starting with 3D modeling using curves? A: Begin with simple forms and progressively tackle more complex designs as you become familiar with Blender’s capabilities. Practice using curves to craft smooth shapes before diving into material applications.
Q: How can I enhance my rendering quality? A: Always opt for higher sample rates in your render settings for better quality. Additionally, playing around with HDR lighting can produce more authentic reflections.
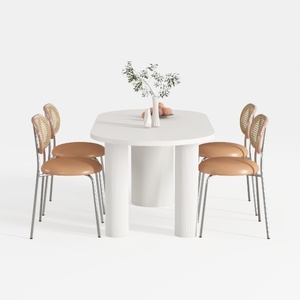
DUOMAY Modern Boucle Dining Chairs Set of 2,
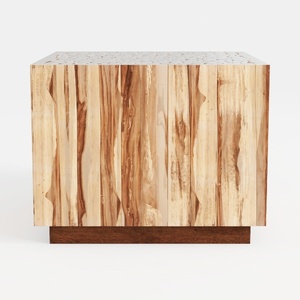

Minimalist Solid Wood Accent Cabinet with Textured Top 3D Model
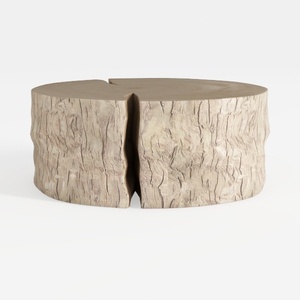
Rustic Solid Wood Split Log Coffee Table 3D Model
Looking to transform your space? Homestyler is your go-to online home design platform! With its user-friendly design tool, stunning 3D renderings, and a wealth of DIY video tutorials, you can effortlessly turn your decorating dreams into reality. Start designing today!
Projete agora para LIVRE
































