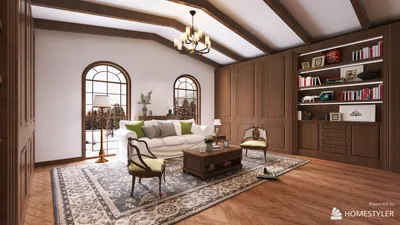


Designing a 3D dome model is an engaging endeavor that can significantly boost your design abilities. Whether your focus is on compact spaces, architectural structures, or artistic creations, incorporating a dome can be a remarkable enhancement to your portfolio. Here’s a comprehensive guide to assist you in crafting an impressive 3D dome model with the help of Homestyler.
Understanding the Fundamentals of Dome Geometry
Let’s start with the essential geometry of a dome. Domes can manifest in various styles, including geodesic, hemispherical, and elliptical. Grasping these configurations will enable you to select the ideal direction for your design. Which style do you find most visually appealing?
To spark your creativity, take inspiration from existing dome structures. Examine iconic designs like Rome’s Pantheon and the innovative geodesic domes by Buckminster Fuller. Which features resonate with you the most?
Selecting the Appropriate Software for 3D Modeling
Kick off your modeling journey by choosing software that matches your proficiency level. For beginners, tools like SketchUp and Tinkercad are user-friendly options, while seasoned designers may opt for platforms like Blender or Autodesk Maya. Have any of these applications been a part of your experience?
Once you have selected your software, take the time to become familiar with its interface. Most platforms offer tutorials to help you grasp the fundamental concepts expeditiously. Utilizing these resources can significantly streamline your creative process.
Step-by-Step Approach to Constructing Your Dome Model
Now, it’s time to bring your dome to life! Begin by establishing the foundational shape. In most applications, you can generate a circular base effortlessly. Subsequent steps involve extruding or modifying the shape to form the dome. Are you excited to see your concepts materialize?
Enhance the model by incorporating windows or textures that replicate materials like glass, wood, or metal. Experimenting with diverse attributes will certainly render your dome model distinctive!
Rendering and Final Touches
Once you have modeled your dome, the next phase is rendering it. Choose the angles that best accentuate your design and fine-tune the lighting to amplify its features. Proper rendering is vital for effectively showcasing your work to potential clients or on various online platforms—using tools like Homestyler can substantially assist in this process.
Make sure to seek feedback! Sharing your model with peers or across forums can yield new insights that might have escaped your notice. What constructive critiques have you received in the past that enhanced your designs?
Frequently Asked Questions
A: Depending on your skill level, you can use software like SketchUp, Tinkercad, Blender, or Autodesk Maya. Homestyler is also a fantastic choice for beginners!
A: There are various dome types available, such as geodesic, hemispherical, or elliptical—each suited to different aesthetic preferences and project requirements.
A: To achieve a realistic appearance, incorporate textures that mimic actual materials, along with appropriate lighting and shadowing techniques to enhance your model.

Modern Dark Green Velvet Tufted L-shaped Sectional Sofa 3D Model


Modern Pink Velvet Curved 3 Seater Sofa with Decorative Throw Pillows 3D Model

Discover the ease of home design with Homestyler! This user-friendly platform offers a powerful online design tool, stunning 3D renderings, and a wealth of inspiring design projects and DIY video tutorials. Bring your dream spaces to life effortlessly and creatively!
Design Now for FREE
































