


Designing a floor plan using PowerPoint can significantly enhance your ability to visualize and optimize your space effectively. This approach enables you to bring your ideas to life and create functional layouts, all while utilizing an easily accessible software. Let’s explore how to create the ideal floor plan with PowerPoint!
Step 1: Preparing Your PowerPoint Slide
Begin by launching a new presentation in PowerPoint. The initial task is to set the slide dimensions to correspond with your floor plan scale. Navigate to the 'Design' tab, select 'Slide Size', and opt for 'Custom Slide Size'. Keeping these dimensions proportional to your actual space will streamline the design process.
Next, think about the background color or gridlines that could assist in aligning objects throughout your design. A lighter background typically enhances visibility.
Step 2: Constructing Walls and Shapes
PowerPoint comes equipped with a range of shapes to help you create walls. Head to the 'Insert' tab, select 'Shapes', and pick rectangles or lines for your room boundaries. Remember to modify the wall thickness for a more realistic effect. Arrange these shapes to accurately reflect the dimensions of your rooms.
After establishing your walls, you can apply various colors or textures to differentiate areas, like living rooms or bedrooms, thereby improving the overall clarity of your floor plan.
Step 3: Adding Doors and Windows
To introduce doorways and windows, select suitable shapes from the 'Insert' → 'Shapes' menu. Represent doors with small rectangles placed along walls, while windows can be depicted as half rectangles or lines. It's crucial to maintain consistency in your design for an orderly look.
Arrange these elements thoughtfully to enhance the flow within your space while ensuring they remain practical and accessible.
Step 4: Furnishing Your Space
Utilize PowerPoint’s shapes to include furniture indicative of how you plan to utilize each area. Rectangles can symbolize tables, lines can illustrate sofas, and circles can represent coffee tables. Be mindful of traffic patterns and spacing when placing your items.
Incorporating icons or images can further enrich your floor plan, making it lively and engaging while creating a dynamic layout.
Step 5: Saving and Sharing Your Plan
Once your floor plan is finalized, save it by selecting 'File' → 'Save As' and choosing the desired format, be it a PowerPoint file or an image. This allows for easy sharing with colleagues or clients for feedback or collaboration on your design.
FAQ
Q: Is PowerPoint suitable for creating professional floor plans? A: Although PowerPoint is not specifically tailored for professional floor planning, it offers a versatile and user-friendly platform for quick designs and presentations.
Q: Can I incorporate measurements into my floor plan? A: Absolutely! You can add text boxes to specify dimensions beside your walls and furniture to enhance clarity.

Rustic Solid Oak Square Coffee Table with Geometric Inlay Pattern 3D Model
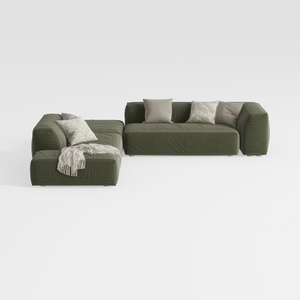
Minimalist Modern Fabric L Shaped Sectional Sofa with Throw Pillows 3D Model

Minimalist Walnut Fabric Loveseat Sofa 3D Model
Homestyler is your go-to online home design platform! With its user-friendly design tool, stunning 3D renderings, and a wealth of DIY video tutorials, transforming your space into your dream home has never been easier. Start creating beautiful designs today!
Design Now for FREE
































