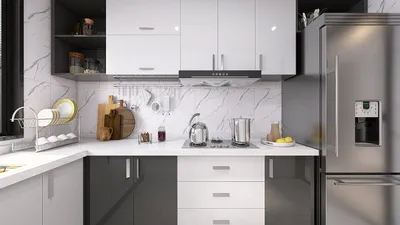


Developing 3D model textures is crucial for adding vibrancy to your designs, enhancing both realism and depth. In this tutorial, we will delve into a comprehensive, step-by-step approach to crafting textures for your 3D models. Are you prepared to elevate your models into breathtaking visual creations?
Grasping Texture Mapping
Texture mapping refers to the method of applying a surface texture onto a geometric shape. This process involves generating a 2D image that envelops a 3D model, reminiscent of wrapping paper around a present. Familiarizing yourself with various types of maps will aid in achieving realistic outcomes.
The primary types of texture maps are: 1. Diffuse Maps: These determine the fundamental color of your material. 2. Normal Maps: They contribute depth by mimicking minor surface intricacies. 3. Specular Maps: These regulate the shiny appearance of surfaces.
Crafting Your Texture
To create your texture, follow these instructions: 1. Select your software: Popular options include Adobe Photoshop, GIMP, or dedicated 3D applications like Blender. 2. Begin with a base layer: Utilize a blank canvas to establish the base color of your model. You may also incorporate photographs or patterns if they align with your design.
3. Integrate details: Employ brushes, filters, or layers to introduce textures such as wood, metal, or fabric. Play around with opacity and blending modes to achieve the desired effect.
Exporting and Implementing Textures
After finalizing your texture, export it in an appropriate format (like PNG or JPEG). Then, import it into your 3D modeling software and apply it with the material editor. Ensure to adjust your UV mapping to guarantee the texture aligns flawlessly with your model.
Tips for Enhancing Your Textures
1. Always test your textures on the model to observe how they perform under various lighting scenarios. 2. Utilize high-resolution images for more intricate textures. 3. Consider the scale and tiling of your textures to ensure a believable appearance.
Frequently Asked Questions
Q: Which software is optimal for designing 3D textures? A: Programs such as Adobe Photoshop, GIMP, and Blender are exceptional for generating and applying textures.
Q: How can I elevate the realism of my textures? A: Concentrate on employing high-resolution images and experiment with various effects like bump and specular maps. Additionally, consider using Homestyler to streamline your texturing process.
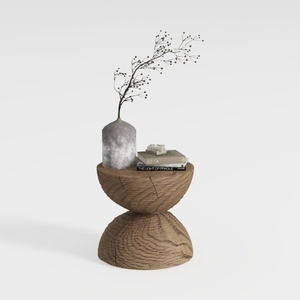
Minimalist Solid Oak Wood Side Table Unique Hourglass Shape 3D Model
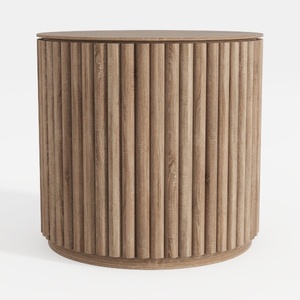
Minimalist Fluted Solid Wood Round Side Table 3D Model
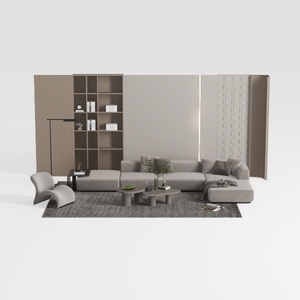
Minimalist Modern Fabric Sectional Sofa Living Room Set 3D Model
Unlock your creativity with Homestyler, the premier online home design platform! Enjoy a user-friendly design tool, stunning 3D renderings, and a wealth of DIY video tutorials to help you craft your dream space effortlessly. Transform your home design journey today!
立即免费设计
































