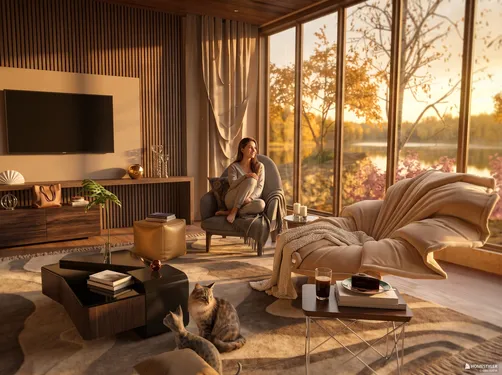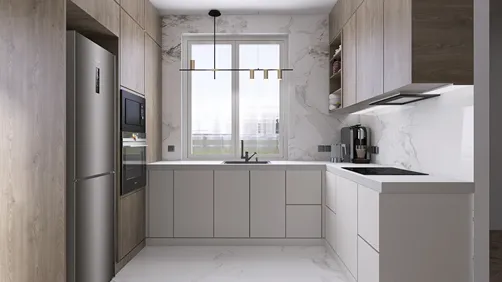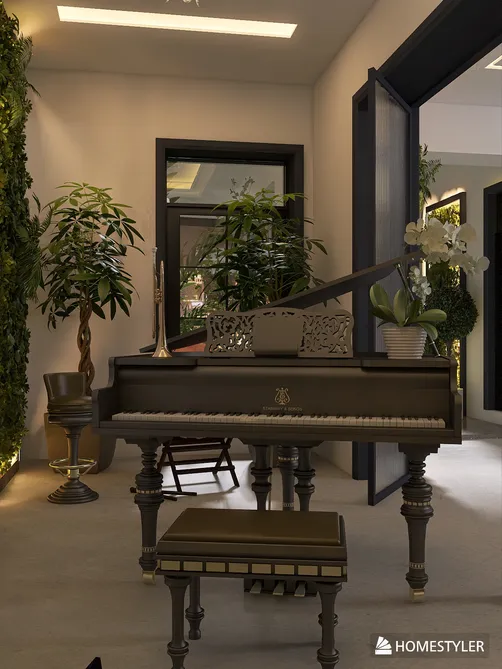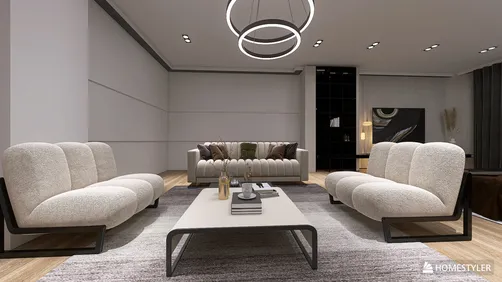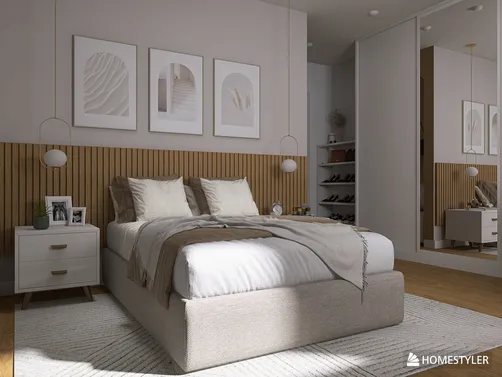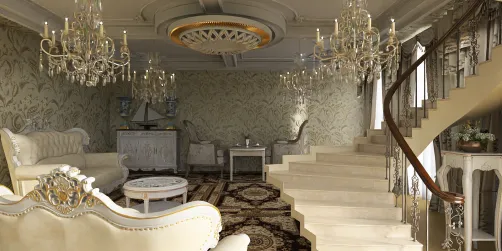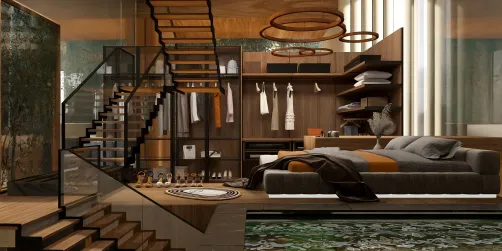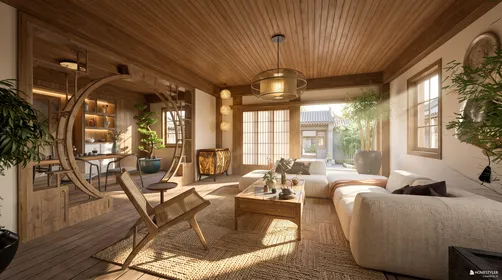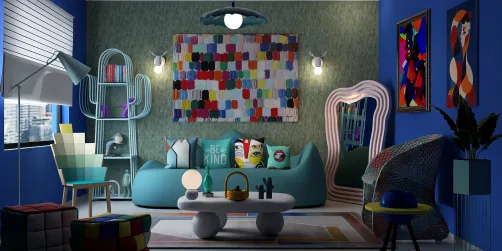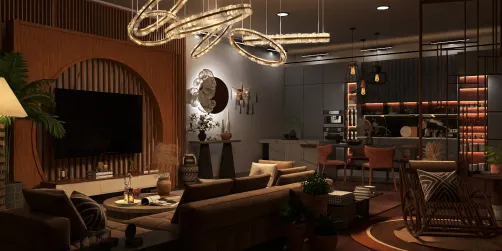
| Room mood | Main blocks | Accent | Lighting direction |
|---|---|---|---|
| Cottage cozy | Oak, spruce, stone bricks | Moss or terracotta | Lanterns and concealed glow |
| Clean modern | White concrete, smooth quartz, glass | Dark oak or blackstone | Recessed light and daylight |
| Underground library | Dark oak, deepslate, bookshelves | Moss blocks | Warm lantern pools |
| Desert retreat | Sandstone, birch, terracotta | Copper or leaves | Bright windows and warm lamps |
A Minecraft house can have a grand entrance, a dramatic roofline, and a view worth a screenshot, then feel oddly empty once you step inside. The fix usually isn’t a bigger room. It’s a better mix of materials, lighting, and small details that make each corner feel intentional.
This guide to minecraft interior design focuses on ideas you can adapt to a starter base or a sprawling creative-mode build. You’ll find practical palettes, furniture tricks made from ordinary blocks, and ways to make rooms feel lived-in without filling every square. The best interiors aren’t just pretty: they’re easy to move through and useful during play. Pick one idea, test it in a small room, and build outward from there.
Start with a palette, not a pile of blocks
Before placing furniture, decide what the room should feel like. A limited palette makes a build look considered, while too many competing blocks can make even a large room feel noisy. I usually choose one main wood, one light or dark neutral, and one accent material. Then I repeat those choices in the floor, walls, and furniture.
Think about contrast as well as color. Oak and birch feel bright and familiar; spruce and dark oak create a snug, cabin-like mood. Stone bricks, deepslate, and polished andesite can ground a room, while copper, terracotta, or a small patch of moss add a focal point. You don’t need rare blocks to make a room memorable. A consistent palette does more work than an expensive material list.
A useful rule: repeat the accent in at least two places, but don’t scatter it everywhere. A copper detail on a kitchen hood can echo in a nearby lamp or shelf trim. That small repetition ties the room together.
For a compact build, use the floor to establish the palette and keep the walls quieter. In a large hall, reverse that: let the walls carry the pattern, then use a simpler floor so the room doesn’t compete with itself. A good palette is a decision-making shortcut; once it’s set, every new block has a reason to be there.


9 minecraft interior design ideas worth borrowing
These ideas work best when you adjust them to your room’s footprint. A two-block-wide hallway needs a different treatment from a great hall, and a survival base benefits from storage that’s easy to reach. Start with the simplest version, then add detail only if the room still needs it.
- Build a fireplace that anchors the room. Use stone bricks or deepslate for the surround, with a campfire or another safe-looking light source set back from the edge. Add stairs as a mantel and trapdoors or slabs for trim. Keep the hearth clear of flammable-looking decor. A fireplace works especially well in a living room with a low ceiling or a cabin-style palette.
- Turn stairs into seating. Stairs make convincing chairs, benches, and window seats. Place signs or trapdoors at the sides as arms, and use a contrasting block behind the seat to suggest a cushion. For a dining nook, line up a bench against the wall rather than placing chairs on every side; it saves space and looks less cluttered.
- Make a kitchen feel functional. Use barrels or chests as lower cabinets, trapdoors as cabinet fronts, and a cauldron or stone block as a sink. A row of furnaces can read as an oven wall. Keep the work triangle clear: storage, cooking, and a counter should be close enough to reach without weaving around decorative blocks.
- Give the bedroom a focal wall. A bed can disappear against a plain wall, so frame it with a darker wood panel, bookshelves, or a shallow canopy made from slabs. Add a bedside table with a stair or slab and a lantern. In a small bedroom, skip bulky wardrobes and use a barrel tucked under a shelf.
- Use a rug to define a zone. Carpet is an easy way to separate a sitting area from a dining space in an open-plan base. Choose a simple border or two-color pattern that repeats the room’s accent. A rug can also soften a long corridor visually, though leaving a clear walking strip matters more than covering every block.
- Make storage part of the architecture. A wall of barrels, chests, or labeled-by-shape storage can look like built-in cabinetry. Group containers by use and keep the most-used items near the entrance or crafting area. If you want a cleaner look, recess storage into a wall and frame it with stairs or trapdoors.
- Add a reading corner. Bookshelves, a stair-block chair, a small table, and a lantern are enough. Put the nook beside a window or under a staircase. A single plant or leaf block gives it a softer edge; a whole jungle of greenery can swallow a tiny room.
- Create a ceiling feature. Exposed beams made from logs can make a tall room feel less cavernous. In a modern interior, use a simple grid of slabs or a recessed strip of light instead. Keep the ceiling pattern aligned with the room’s shape so it looks deliberate rather than like a patchwork repair.
- Bring in a little greenery. Leaves, flower pots, and moss blocks add contrast to stone and wood. Use them in clusters near windows, corners, or a stair landing. I prefer a few plants with breathing room over a plant in every spare block; the latter can make a base feel like a greenhouse you didn’t mean to build.
For a quick build session, choose one item from the list and repeat it consistently. A matching set of benches and tables often makes more difference than adding five unrelated decorations.


Make the room work in survival mode
A beautiful room is less useful if you can’t reach the chest you need or keep bumping into the furniture. In survival mode, plan the route first: entrance to storage, storage to crafting, and crafting to the exit. Leave a clear path at least one block wide, and avoid placing decorative pieces where you need to turn or open containers.
Lighting deserves the same practical attention. A room can look warm without putting a torch in the middle of every wall. Hide light sources behind trapdoors, under slabs, or within ceiling details, then check for dark corners. If you use lanterns, hang them where they won’t interrupt movement. For a large room, several smaller pools of light usually feel more inviting than one bright central fixture.
Storage is another place where style and function can meet. Put frequently used materials close to the crafting table, and group less-used supplies farther away. Barrels can work well as visible shelving; chests are better when you need capacity. If you’re building a decorative pantry, keep the actual storage accessible rather than sealing it behind a pretty façade.
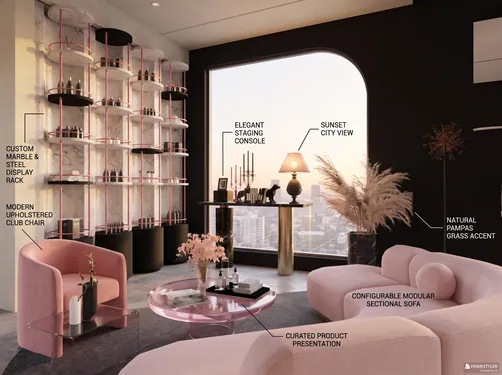
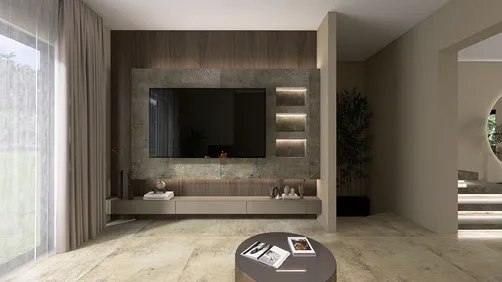
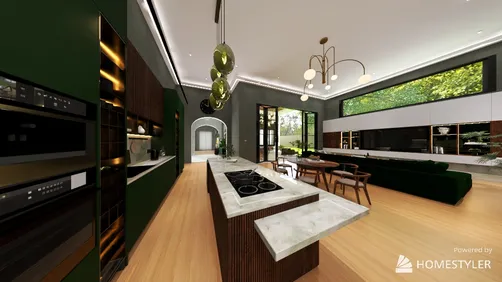
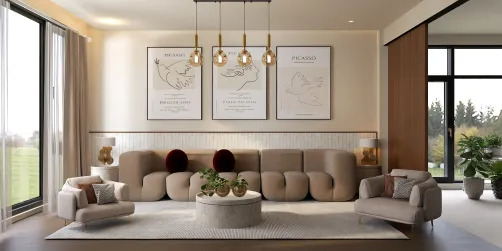
When I’m unsure whether a layout will feel cramped, I sketch the room’s footprint and mark the walking route before adding details. You can also preview proportions and color combinations in Homestyler before committing to a larger design. It’s a handy way to compare a light cottage palette with a darker library mood, especially when you’re planning several connected rooms.


Small rooms, big impact: what to prioritize
A small room doesn’t need miniature versions of every feature in a mansion. It needs one clear purpose and a few details that support it. In a compact bedroom, the bed is the main event; in a tiny workshop, the crafting station and storage should be easiest to reach. Choose one focal point, then leave enough open floor to move comfortably.
Use vertical space carefully. Shelves, beams, and wall-mounted details can add character without taking up the floor, but a low ceiling can make tall furniture feel oppressive. If the room is only a few blocks wide, a contrasting wall behind the bed or a narrow strip of ceiling beams may be enough. In a larger room, repeat the same detail at intervals so it doesn’t look like a single misplaced accent.
Here’s a quick way to decide what to build first:
- For a starter base: prioritize a bed, crafting area, furnace access, and reachable storage.
- For a cozy cottage: choose warm wood, a fireplace or stove feature, and a small dining nook.
- For a modern build: keep surfaces simple, use glass for daylight, and repeat one dark accent.
- For an underground base: brighten the route between rooms and use warm light to soften stone.
- For a screenshot-ready room: frame the view with a doorway, window, or strong focal wall.
If you’re building in creative mode, test the room from the player’s eye level, not only from above. A layout that looks balanced in a bird’s-eye view can feel cramped when you walk through it. In survival, take a short lap around the room before adding the final decorative layer. That small check catches awkward corners early.
Build one room you’ll actually use
The most satisfying minecraft interior design doesn’t come from copying a grand build block for block. It comes from noticing what your base needs, choosing a palette that suits it, and repeating a few details with care. A fireplace, a useful storage wall, or a well-lit reading nook can give a room its own character without turning the build into a long materials grind.
Start with one room. Set the palette, mark the walking route, and place the furniture you’ll use most. Then add one focal detail and step back to see whether the space still feels open. If it does, you’re done; if not, remove a decoration before adding another. I’ve found that restraint is often the difference between a room that feels designed and one that feels like a block collection.
Homestyler's roots trace back to Autodesk, the global leader in design and engineering software. That heritage lives on in every feature we build. Today, with a community of more than 20+ million registered users (platform data, 2026) worldwide, Homestyler continues to make professional-quality interior design accessible to everyone — from first-time decorators to seasoned architects.
When you’re ready to plan a larger base, sketch the layout and test a couple of color directions in Homestyler. Then bring the version you like into your world, one useful corner at a time.
Projete agora para LIVRE