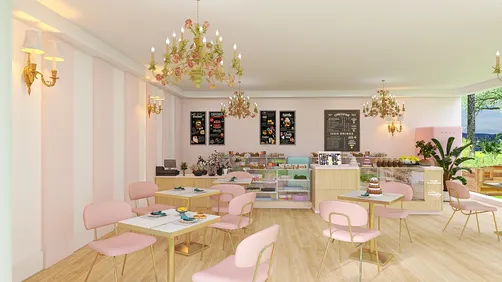
Transforming your design ideas into breathtaking visualizations of your apartment through 3D rendering can be a game-changer. Regardless of whether you're a seasoned professional or a DIY design enthusiast, mastering the art of 3D rendering can significantly improve your projects. In this guide, you'll discover essential steps to create stunning 3D renders of your living space using tools like Homestyler.
Grasping the Fundamentals of 3D Rendering
Before embarking on the rendering journey, it's important to grasp what 3D rendering is all about. This method involves producing a 2D image from a 3D model, allowing an immersive visualization of your living area prior to making any tangible changes. Here are some critical elements to consider:
A Comprehensive Approach to 3D Rendering
To create an outstanding 3D render of your apartment, adhere to these steps:
Select the right software tailored to your needs. Leading choices like SketchUp, Blender, and Homestyler provide various features. Pick one that matches your expertise and project goals.
Start by crafting a detailed floor plan of your apartment. This blueprint will act as the cornerstone for your 3D model, ensuring dimensions and layout specifics are included.
Utilize your selected software to begin developing the 3D model based on your floor plan. Focus on accurately representing the scale and proportions of your furniture and other fixtures.
Revitalize your model by incorporating suitable textures and materials. Think about the color schemes, patterns, and finishes that best encapsulate your vision for the space.
Try out various lighting combinations to establish ambiance and accentuate key aspects of your design. Using natural light, ambient light, and spot lighting can make a significant difference.
Once you’re satisfied with your work, proceed to render the scene. The duration of this process can vary based on the intricacy of your model and the capabilities of your computer.
After rendering, consider refining your image with photo editing software. Adjust brightness, contrast, and colors to attain the ideal finish you’re aiming for.
Pro Tips for an Effective 3D Render
Frequently Asked Questions
A: User-friendly software like SketchUp is perfect for beginners and offers ample tutorials to facilitate your learning process.
A: Rendering times can fluctuate widely based on model complexity and hardware, taking anywhere from a few minutes to several hours.
A: While feasible, rendering on a low-spec computer could lead to increased processing times and limited functionality. Optimizing your model is advisable for smoother performance.
Welcome to the No.1 Home Design Tool, Homestyler, where your design dreams come to life!


![Design [4]](https://hs-designs.homestyler.com/production/design/images/07c2de3a-88ec-4be8-8910-ff255b795bc2/1731419398293/7841697.jpg?x-oss-process=image/resize,w_502,m_mfit/format,webp)